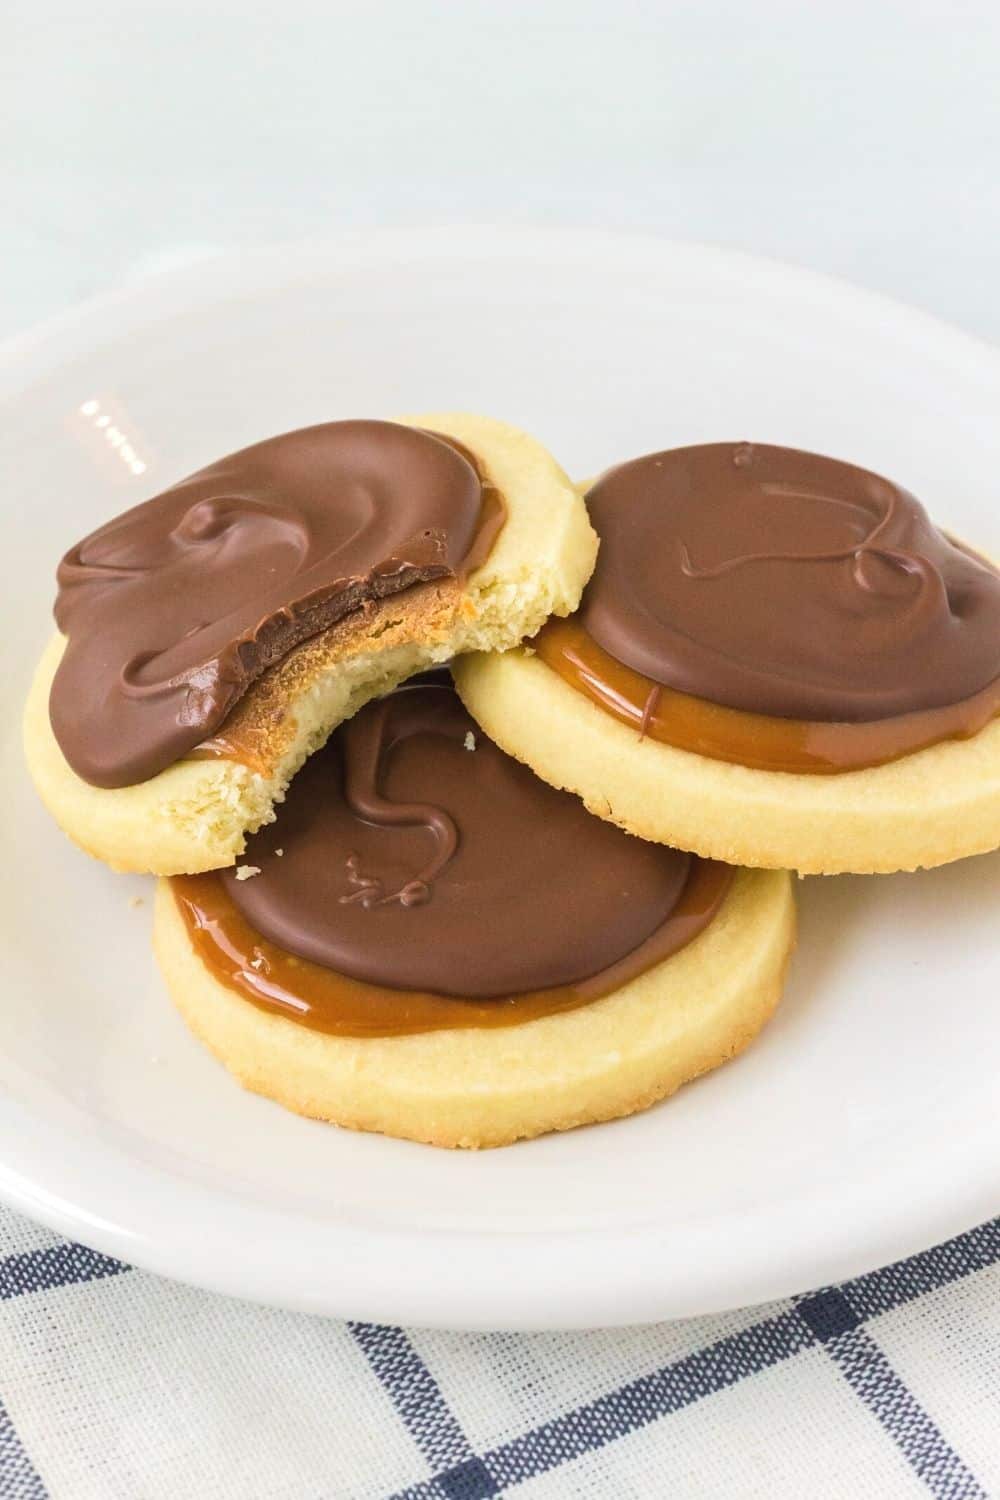
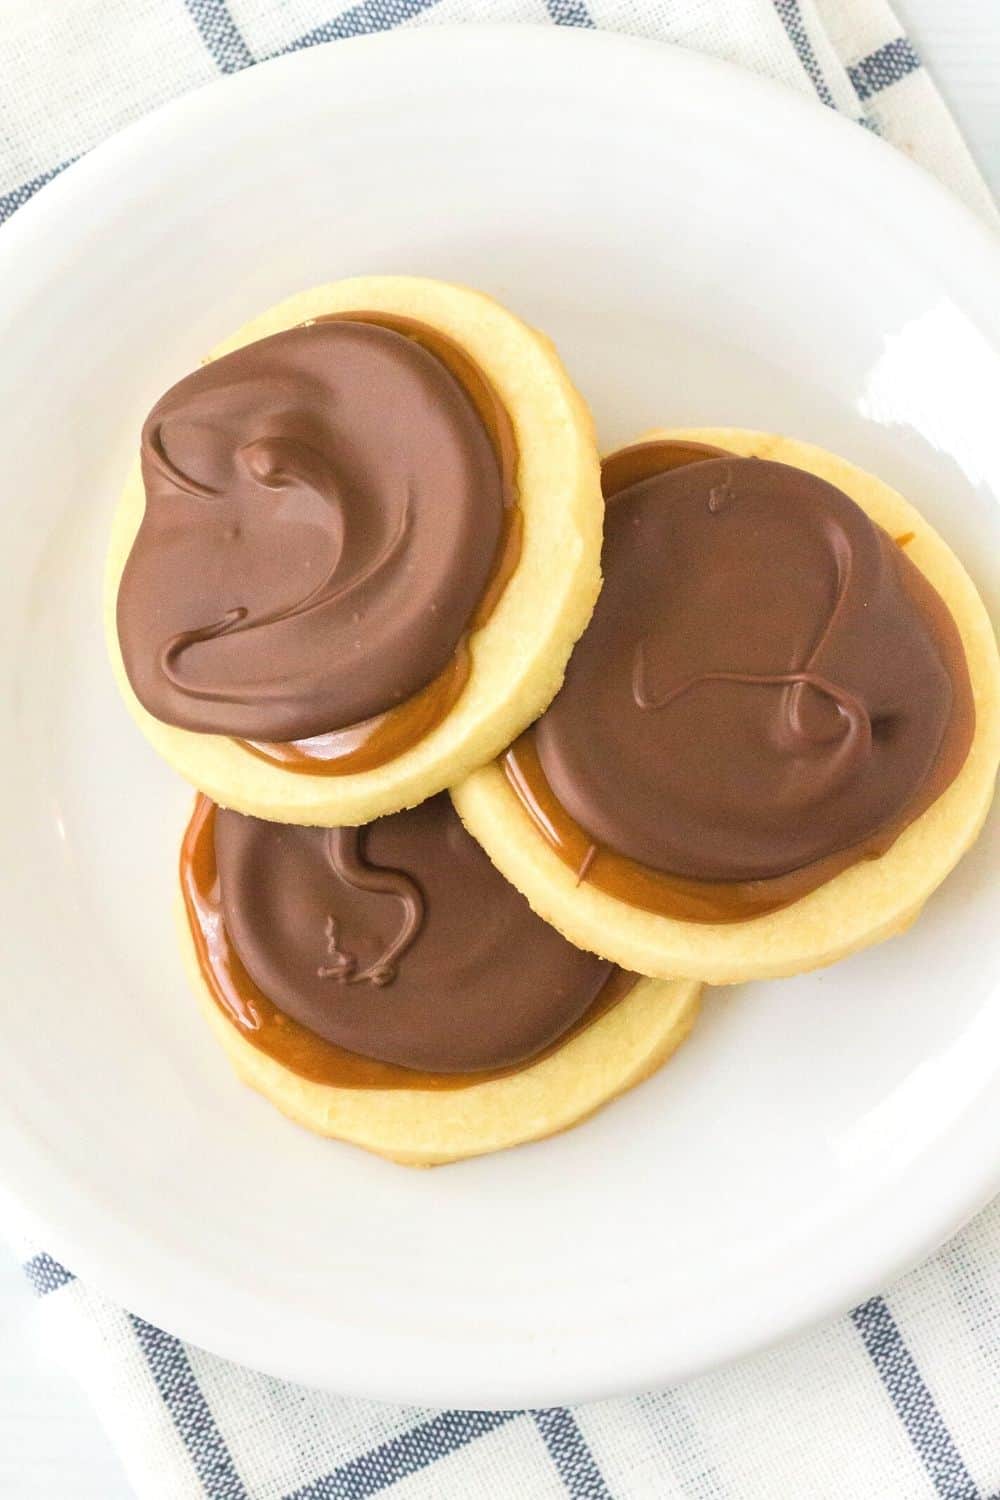
Twix Cookies have decadent layers of shortbread, caramel and chocolate that will make your mouth water with delight.

This Twix cookie recipe tastes just like your favorite candy bar and is perfect for gift giving.
Note: This post may contain affiliate links for your convenience. If you make a purchase, this site may receive a small commission at no additional cost to you. You can read my full disclosure policy here.
It never matters to me if it’s on the left side or the right side–if there is a Twix bar, I’m going to eat one. Or maybe both!
The combination of the sweet chocolate, the chewy caramel and the buttery shortbread cookie is satisfying in so many ways.
Why not enjoy it in a cookie form?
These showstopping Twix cookies not only look beautiful, but they also taste great and, believe it or not, they don’t require a ton of work.
Unwrapped caramel bits, a bag of chocolate chips and a few other ingredients you already have on hand make baking these cookies a breeze.
Chocolate caramel cookies are perfect for gift-giving around the holidays, take them to a Christmas cookie exchange, or pile a batch on a plate and watch your family’s eyes light up when they see them on the table.
This Twix cookie recipe is a variation of my Scottish shortbread cookies, which make up the base of these cookies, then are topped with caramel and chocolate.
I think you’ll find these Twix shortbread cookies taste just like a Twix candy bar, and they are super simple to make.
More Cookie Recipes To Try:
- Brownie Mix Cookies
- Old-Fashioned Molasses Cookies
- Bisquick Sugar Cookies
- Cream Cheese Cookies
- Cosmic Brownie Cookies
Twix Cookies Layers
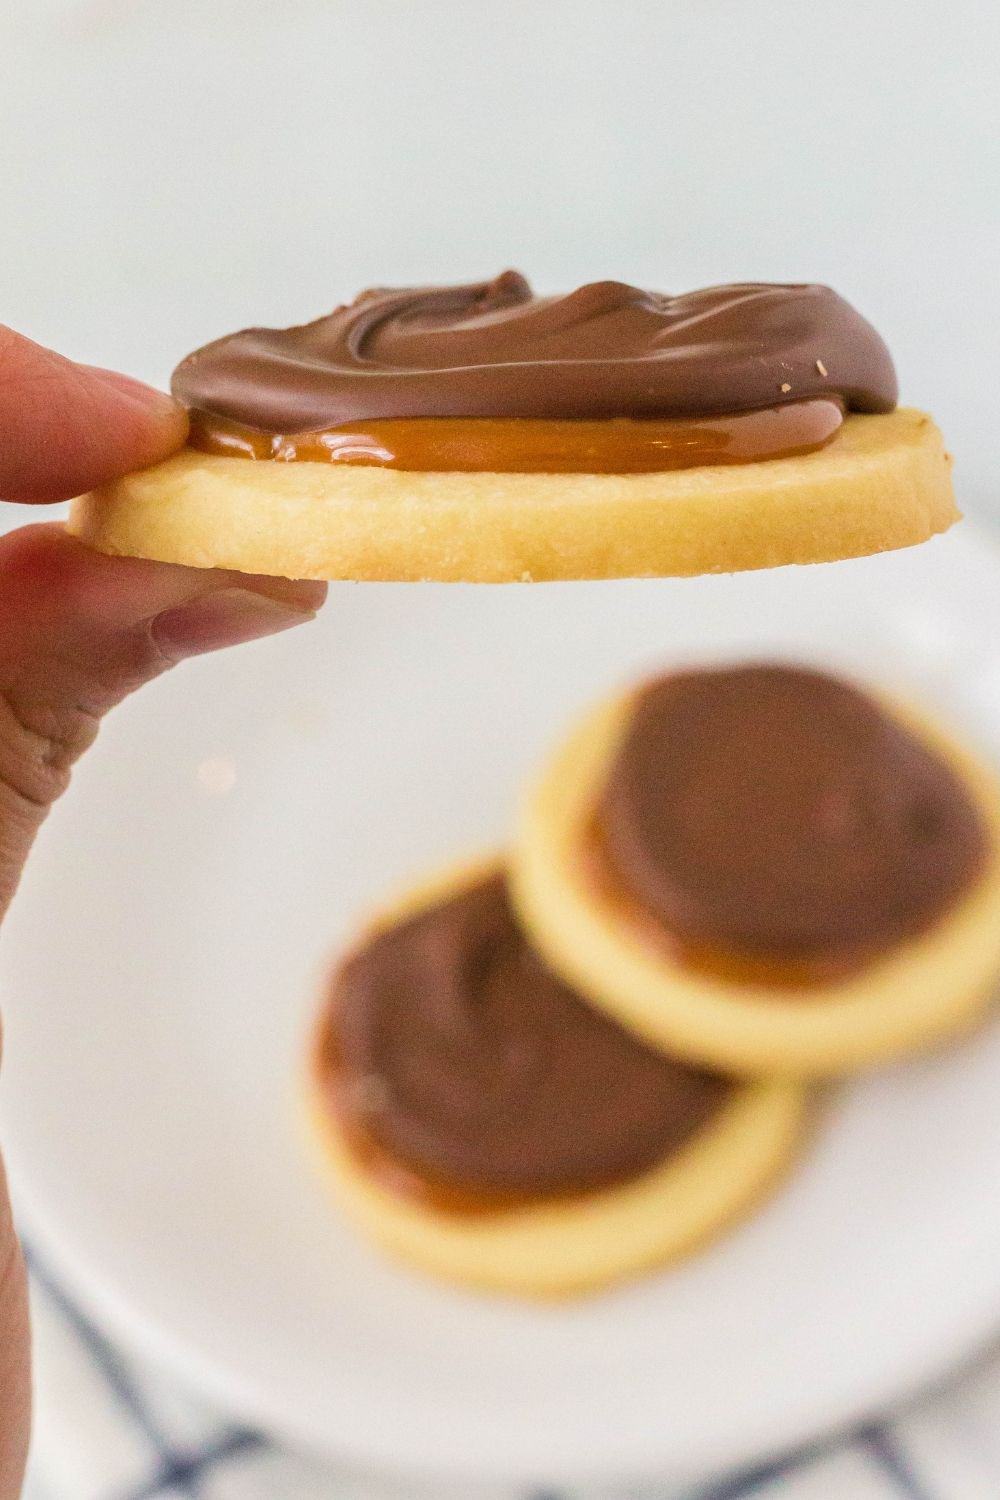
The three flavorful layers of these cookies combine in perfect harmony. They have just the right amount of sweetness without overloading your tastebuds, and the combination of textures is satisfying.
Crumbl Cookies makes a version of Twix cookies, but these are a fabulous (and less expensive) alternative!
Cookie Layer – When it comes to shortbread, there is always a debate over whether or not to refrigerate the dough. I’ve tried it both ways, and honestly, the results were the same.
Refrigeration can help the dough firm so the cookies are easier to cut out. I’ve tested the recipe both ways and never noticed a significant difference. I like that not refrigerating speeds up the process, but if you live in a warm or humid climate, you may benefit from chilling the dough for 20-30 minutes.
Caramel Layer – I avoided desserts with caramel for years because I didn’t want to spend the time peeling all the caramel candies, and getting the right consistency with homemade caramel can be a little tricky.
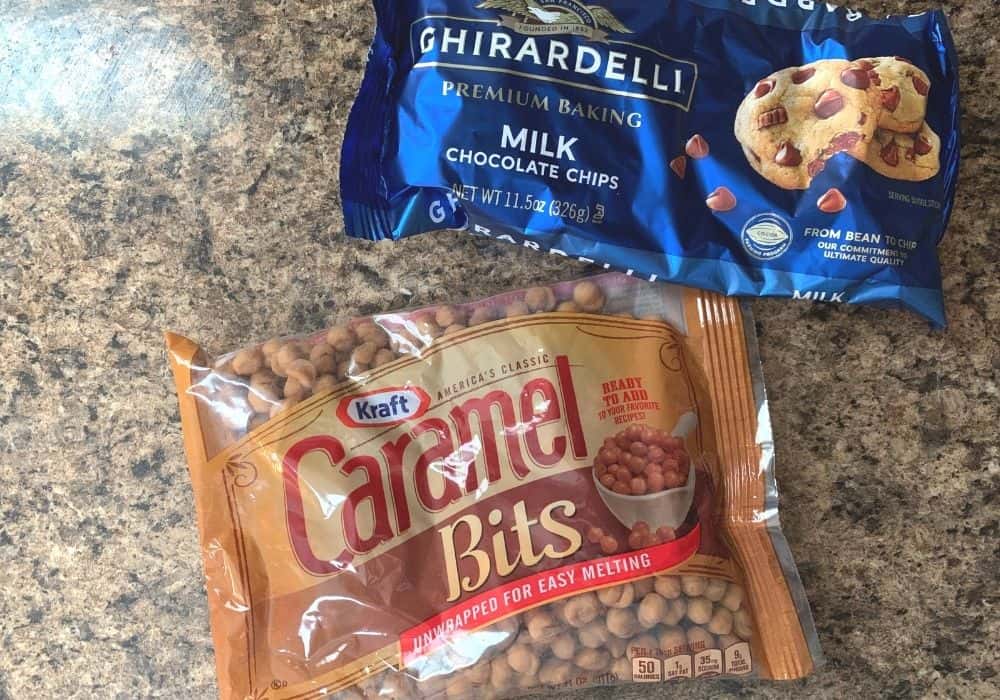
The unwrapped caramel bits from the baking aisle changed all of that! They are so easy to work with and have the same great flavor as original caramel candies.
Chocolate Layer – I like to use high-quality chocolate, like Ghiradelli, for the chocolate layer. Switching from milk chocolate to semi-sweet or dark chocolate would also be a decadent option.
How to Make Twix Shortbread Cookies
It’s really easy to make these chocolate caramel cookies. While there are a few different steps in the process, it’s not difficult at all.
Ingredients You’ll Need:
- Butter
- Powdered Sugar
- Vanilla Extract
- All-purpose Flour
- Salt
- Caramel Bits
- Cream
- Milk Chocolate Chips
- Coconut Oil or Vegetable Shortening
How to Make It:
(Full printable recipe is available below)
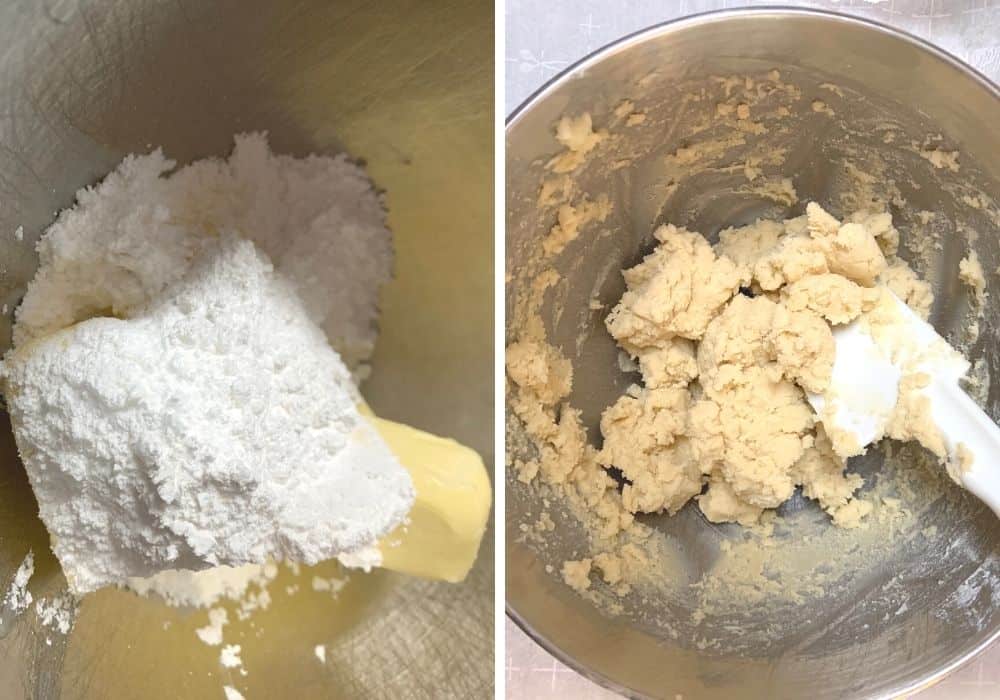
Prepare the cookie dough. First, you’ll combine the butter and powdered sugar until well combined. Gradually add the vanilla, flour, and salt, mixing just until a soft dough forms.
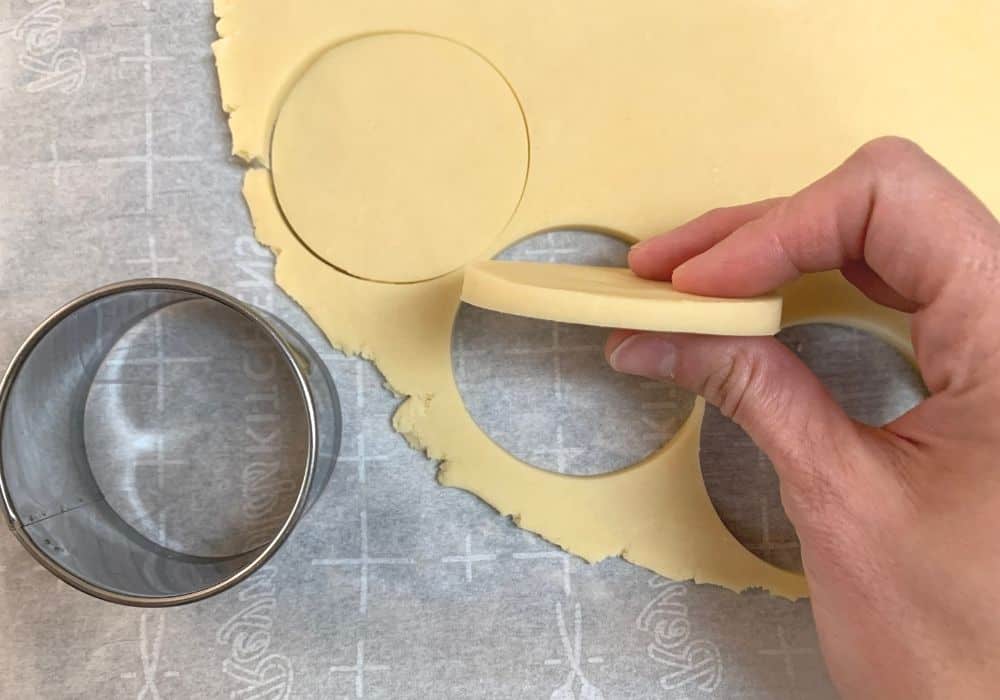
Form the cookie. Next, you’ll roll the dough to an even 1/4 inch to 1/2 inch thickness. Use a round biscuit or cookie cutter to cut out rounds of dough.
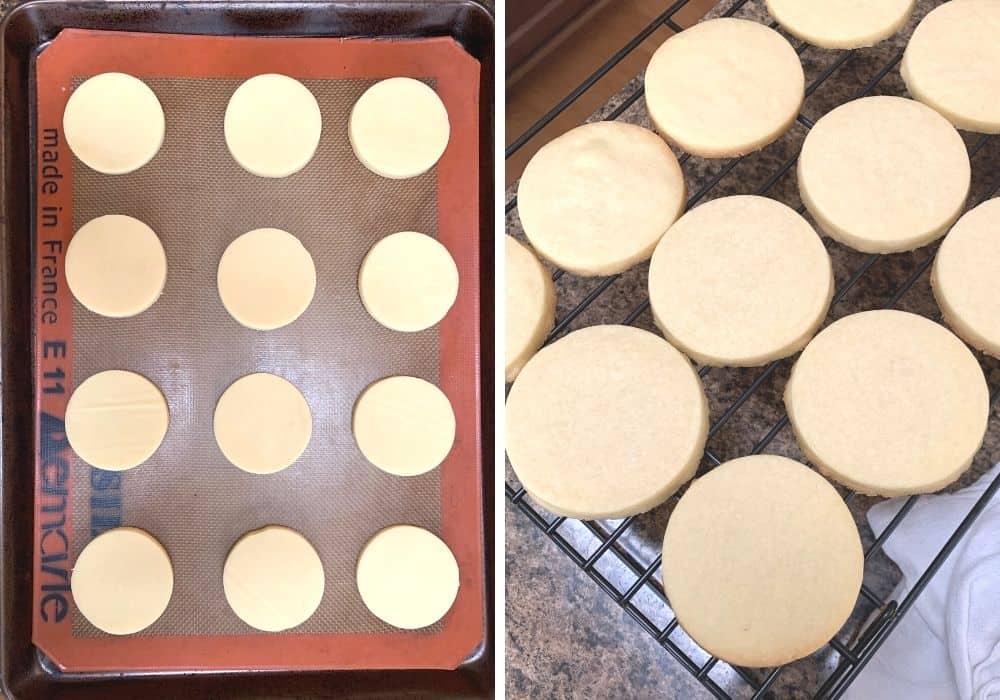
Bake the cookies. Next, you’ll place the cookies 1 inch apart onto baking sheets and bake for 10-12 minutes until the edges are just golden in color. Cool the cookies completely.
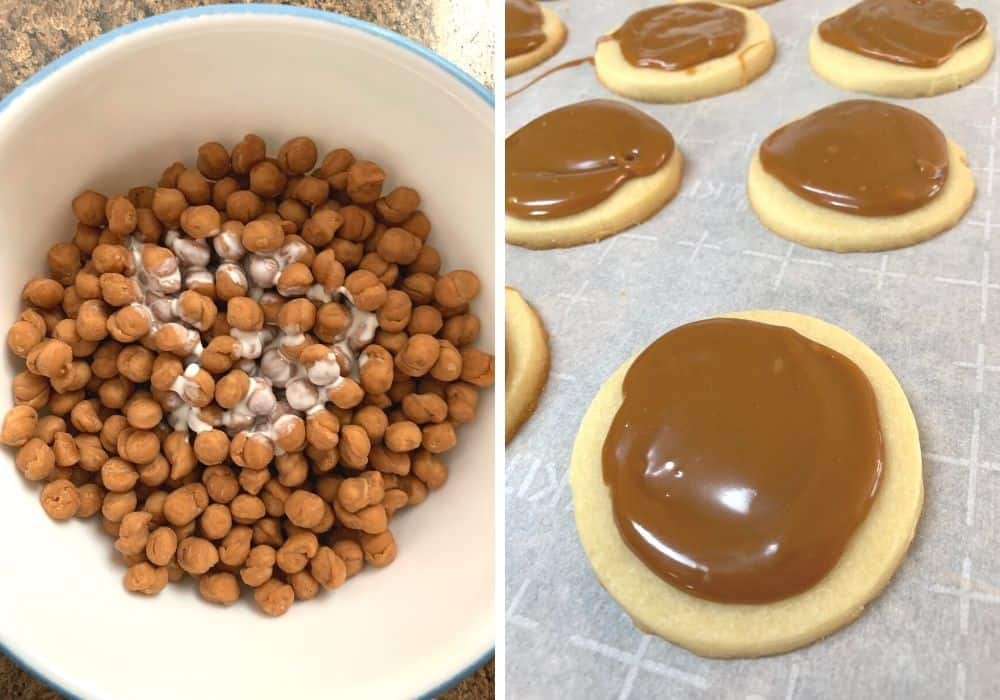
Make the caramel. Next, you’ll combine the caramel bits and cream in a bowl and microwave for 60 seconds. Stir, microwaving in additional 15-second increments until the caramel is smooth.
Spoon caramel over the cookies and smooth to the edges. Cool completely.
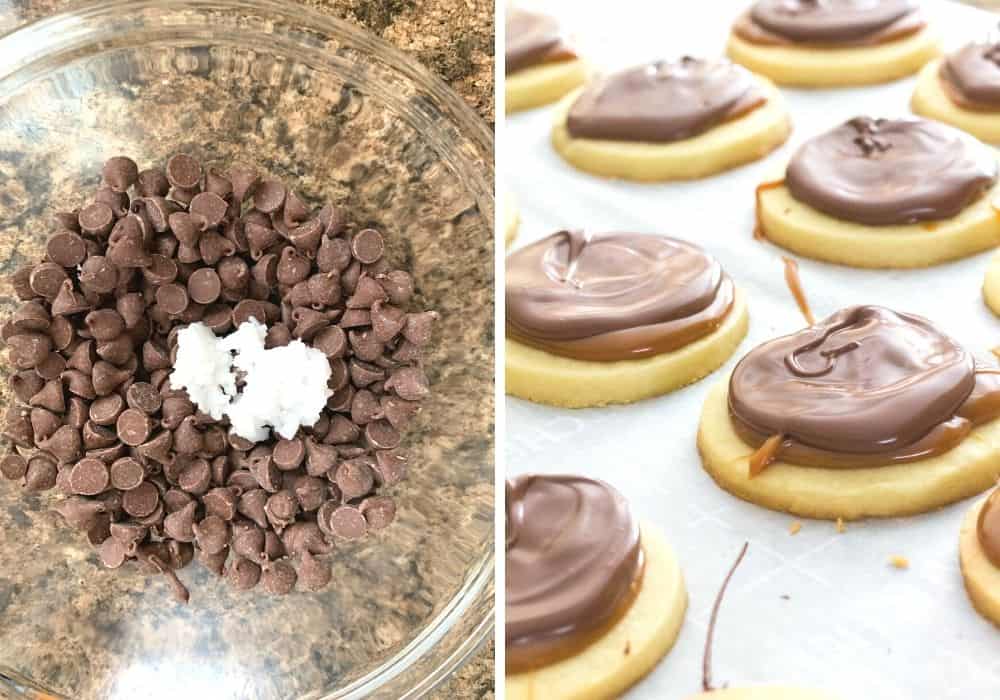
Make the chocolate. Next, you’ll combine chocolate chips and coconut oil in a bowl and microwave in 30-second increments, stirring until smooth. Spoon over the cooled caramel and spread to the edges.
Serve and enjoy. Last, you’ll enjoy a bite of these decadent Twix cookies! So worth it!
Notes and Adaptations:
- I use unwrapped caramel bits, which can be found in the baking aisle of the grocery store. These are a great way to save time! However, if you can’t find the caramel bits, you can unwrap regular square caramels.
- Use good quality chocolate chips for these–I prefer Ghirardelli, which are easy to find in most grocery stores.
- Rolling the dough out between parchment paper keeps it from sticking and reduces the need to add more flour to the dough.
- If you find your dough difficult to work with, you can chill it in the refrigerator for 20 minutes, which will firm it up a bit. I tested it both ways and didn’t find a significant difference in results, so I personally skip the chill time. But if you live in a particularly hot or humid climate, chilling the dough can be helpful.
Recommended Equipment:
Twix Cookies

These Twix cookies combine the best parts of your favorite candy bar into a decadent cookie!
Ingredients
- 1 1/2 cups butter, softened to room temperature
- 1 cup powdered sugar
- 1 tsp vanilla extract
- 2 3/4 cups all-purpose flour
- 1/4 tsp salt
- 11-oz caramel bits
- 1 TBSP cream
- 2 cups milk chocolate chips
- 2 tsp coconut oil or vegetable shortening
Instructions
- Preheat oven to 350F and line a baking sheet with parchment paper or a silicone baking mat.
- In the bowl of a stand mixer fitted with the paddle attachment, add butter and powdered sugar. Mix on low speed until combined.
- Add vanilla extract, mixing to combine.
- With the mixer on low speed, gradually add flour and salt, mixing just until incorporated and a soft dough forms.
- Roll dough out between two sheets of parchment paper or waxed paper, rolling to a thickness of approximately 1/4 inch.
- Use a round cookie cutter or biscuit cutter (mine was 2.5 inches in diameter) to cut out rounds of dough. Place dough rounds on the prepared baking sheet, about 1 inch apart.
- Bake for 10-12 minutes, until edges are just starting to turn golden brown. Remove from oven and allow to cool on baking sheet for a few minutes, until cookies can be transferred to a cooling rack to cool completely.
- Once cookies are cool, combine caramels and cream in a microwave-safe bowl. Microwave for 60 seconds, then stir. Microwave for additional increments of 15 seconds, if needed, until smooth.
- Spoon melted caramel over the cooled cookies, spreading the caramel over the surface of each cookie.
- Allow the caramel to cool completely, then combine chocolate chips and coconut oil or shortening in a microwave-safe bowl.
- Microwave for 30 seconds, then stir. If needed, microwave for an additional 30 seconds until completely melted and smooth.
- Spoon melted chocolate over the cooled caramel, spreading it out over the surface.
- Allow chocolate to cool and set completely before serving (you can transfer to the refrigerator to speed up this process, if needed).
Notes
- I use unwrapped caramel bits, which can be found in the baking aisle of the grocery store. These are a great way to save time! However, if you can't find the caramel bits, you can unwrap regular square caramels.
- Use good quality chocolate chips for these--I prefer Ghirardelli.
- Rolling the dough out between parchment paper keeps it from sticking and reduces the need to add more flour to the dough.
- If you find your dough difficult to work with, you can chill it in the refrigerator for 20 minutes, which will firm it up a bit. I tested it both ways and didn't find a significant difference in results, so I personally skip the chill time now. But if you're in a warm climate, chilling may be helpful. Simply roll the dough out before chilling, then slide it onto a cookie sheet and pop it in the fridge.
- If you want to freeze these cookies, I recommend freezing the shortbread base before you add any toppings. Once the cookies have thawed out, proceed with adding the caramel and chocolate. Freezing the cookies with caramel and chocolate on them shouldn't affect the taste, but they won't be as pretty after freezing.
Nutrition Information:
Yield:
30Serving Size:
1Amount Per Serving: Calories: 228Total Fat: 14gSaturated Fat: 8gTrans Fat: 0gUnsaturated Fat: 4gCholesterol: 28mgSodium: 137mgCarbohydrates: 25gFiber: 1gSugar: 15gProtein: 2g
Nutrition information is automatically calculated and is not guaranteed for accuracy.







Can these cookies be frozen?
Hi Gail! If you want to freeze them, I think the best option would be to freeze the baked cookies before you add toppings. Then thaw them out before adding the caramel and chocolate closer to the time you want to serve them. I don’t think freezing the topped cookies would affect the taste, but chocolate can sometimes change colors and take on a hazy look when frozen, so they won’t look quite as pretty. Hope that helps! 🙂
I made these today and they are FABULOUS!! I’m definitely going to be making these again.
Thank you so much, Carol! I love hearing that you enjoyed them! 🙂
Wish I has seen the comment about freezing them without the chocolate and carmel and adding it after defrosting. I basically ruined a double recipe of cookies. They were supposed to go on cookie trays.., for teachers, friends.. They look so awful now, I cant use them…
Oh no! I’m so sorry, Karen. I will add a note to the recipe so others will see it before freezing. They should still taste good–maybe some can at least be salvaged for Santa or other situations where the look doesn’t matter as much?
These turned out great, everyone loved them! My only suggestion is to not roll out the dough and use a cookie cutter, but roll out individual balls on the sheet, lay a sheet of wax paper on top and press down with a glass bottom. They were perfectly round and saved so much time!
Hi Tracie! So glad you all enjoyed them. Thanks for the tip–that sounds like a great way to save some time! 🙂