

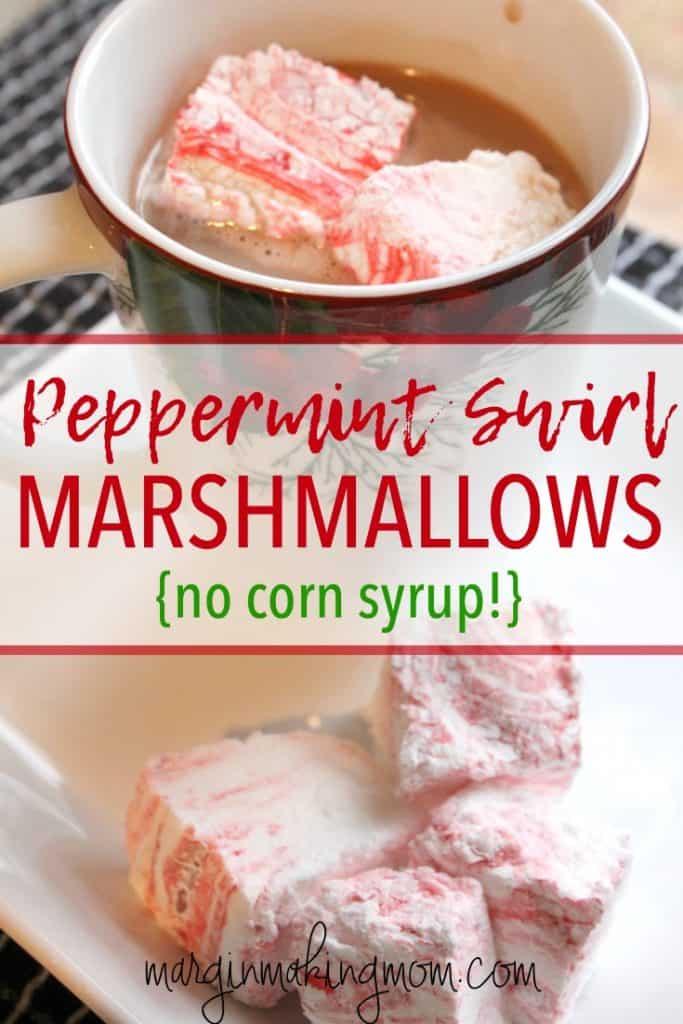
Easy Homemade Peppermint Marshmallows
Create a fabulous (and tasty!) handmade gift with this homemade marshmallow recipe!
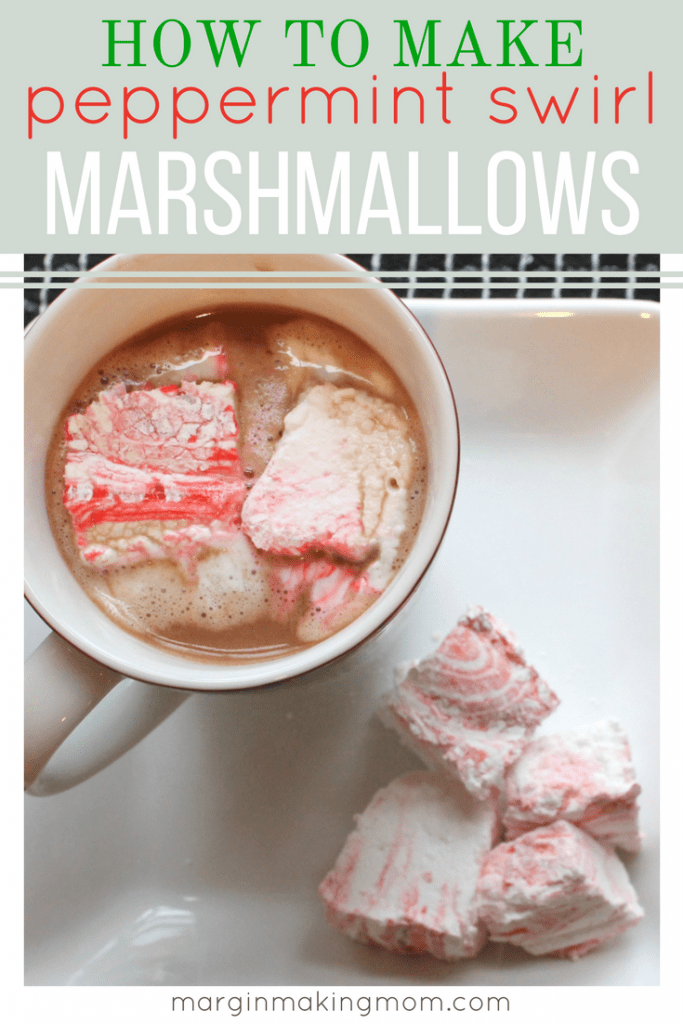
Learn how to make homemade peppermint marshmallows for the holidays, with no corn syrup required!
Disclaimer: This post may contain affiliate links for your convenience. You can read my full disclosure policy here.
One of the most wonderful things about winter is cozying up with a cup of hot cocoa and reading a book or watching a holiday movie.
Enjoying a warm cup of hot cocoa is one of the best ways to thaw out on a cold day. 🙂
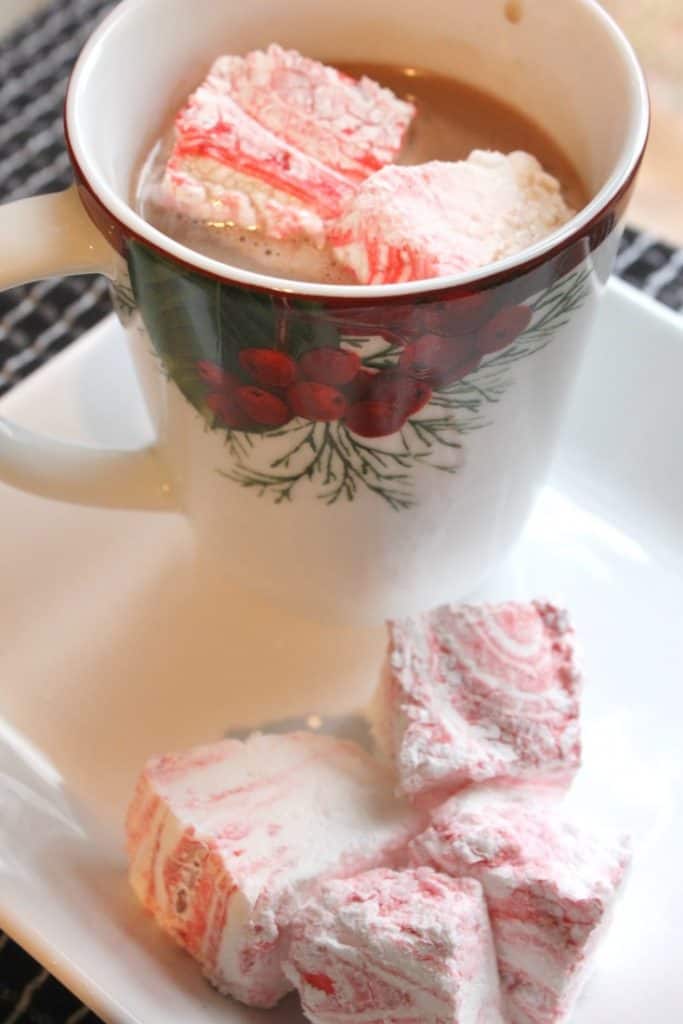
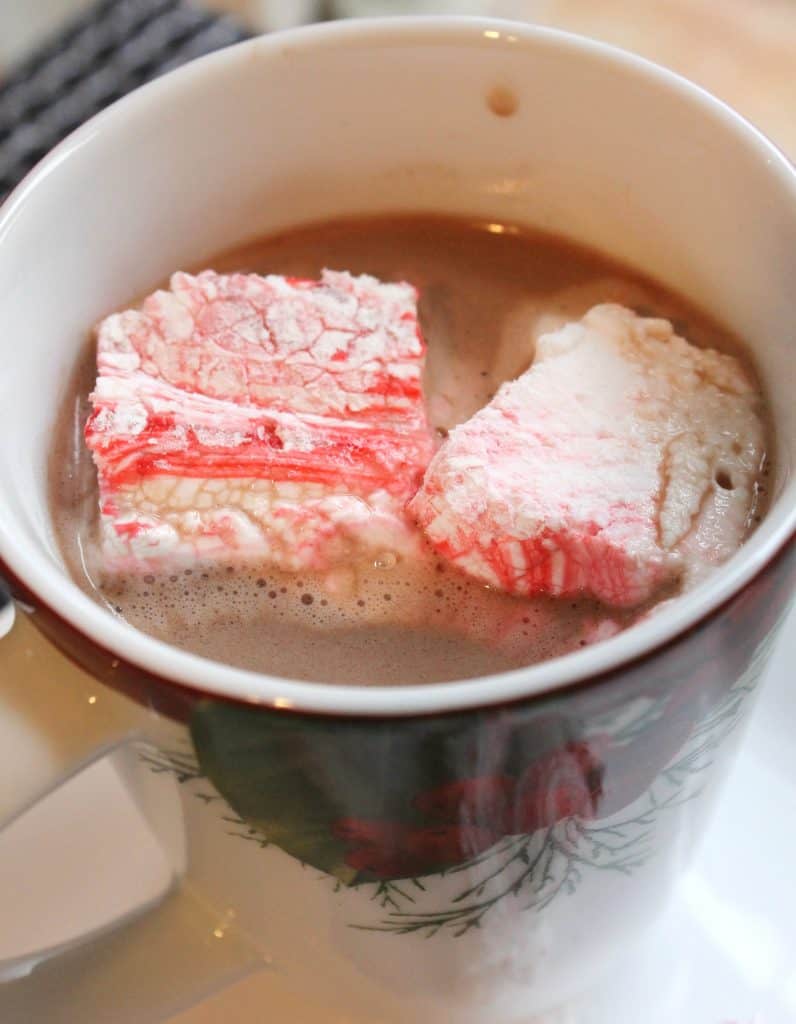
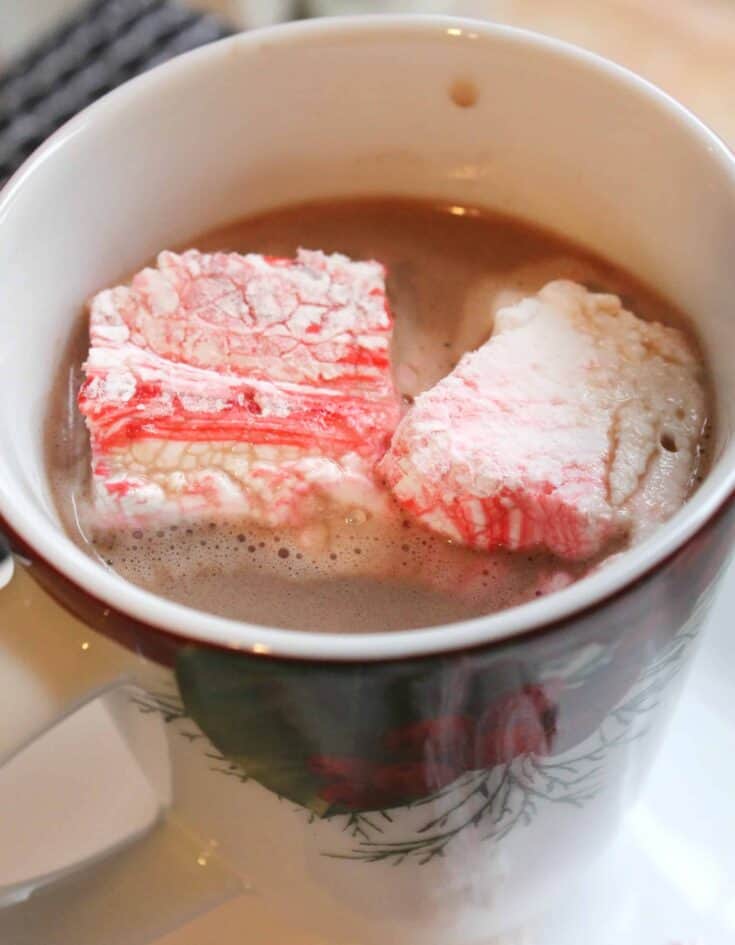
Topping your hot cocoa with some homemade peppermint marshmallows makes it feel like a festive gourmet treat in the comfort of your own home!
For years, I had no idea you could make your own marshmallows at home. The concept seemed so difficult to me.
I suppose I thought only skilled confectioners were able to make marshmallows.
Making Marshmallows at Home
A few years ago, I came across a recipe for vanilla marshmallows and decided to try it. To my surprise, it worked, and they were quite tasty!
However, that recipe called for corn syrup. I don’t personally have anything against corn syrup, especially in the occasional treat. But I know some people are sensitive to it and others have chosen to eliminate it from their diet completely.
So recently, I wanted to make a batch of marshmallows, but I didn’t have enough corn syrup to make the recipe.
They say necessity is the mother of invention, and here we are with these delightfully fluffy and sweet peppermint marshmallows that were made with no corn syrup!
Not only are they yummy, but they are also so very lovely! Just look at those red and pink swirls throughout each one!
An Easy Homemade Marshmallow Recipe for the Holidays
Really, making homemade marshmallows is not nearly as difficult as you might think!
With just a little bit of effort, you can have peppermint marshmallows to enjoy during your own holiday traditions or to give as an inexpensive and edible handcrafted gift.
They are perfect wrapped in a cellophane bag with a pretty ribbon…you could gift them by themselves or along with some hot cocoa mix and a mug to friends, coworkers, or teachers.
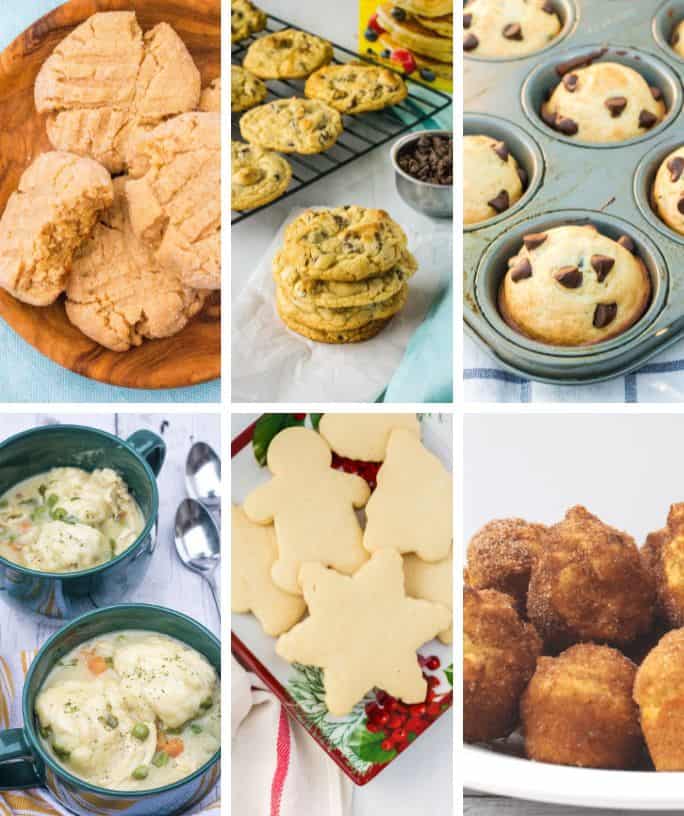
Looking for more edible gift ideas? Check out these stove top candied almonds and this festive holiday pistachio bread!
How to Make Peppermint Marshmallows without Corn Syrup
Homemade marshmallows are SO much better than store-bought. The texture is better, the flavor is better, and they’re so pretty! Give them a try, you’ll love them!
Ingredients You’ll Need:
- Butter (for greasing the pan)
- Confectioner’s Sugar (for dusting the pan)
- Plain Gelatin
- Cold Water
- Salt
- Peppermint Extract
- Red Food Coloring (Optional)
How to Make The Marshmallows:
Grease and dust. First, you’ll start off by greasing and dusting a baking dish, to help keep the marshmallows from sticking.
Combine gelatin and water. In a small bowl, combine gelatin and water and set aside so the gelatin can soften.
Create a simple syrup. In a saucepan, combine sugar and water over medium heat until the sugar is dissolved.
Boil and cool. Add the gelatin mixture to the sugar water and bring to a boil. Remove from heat, pour into the bowl of a stand mixer, and let cool for a few minutes. Add salt and peppermint extract.
Whip it. Using the whisk attachment, whip the mixture at high speed until it’s soft, shiny, and almost double in speed (about 10-12 minutes).
Pour and color. Transfer the mixture into the prepared pan and use a buttered spatula to spread it evenly. Add a few drops of red food coloring to the top and use the buttered spatula to swirl the color into the marshmallows.
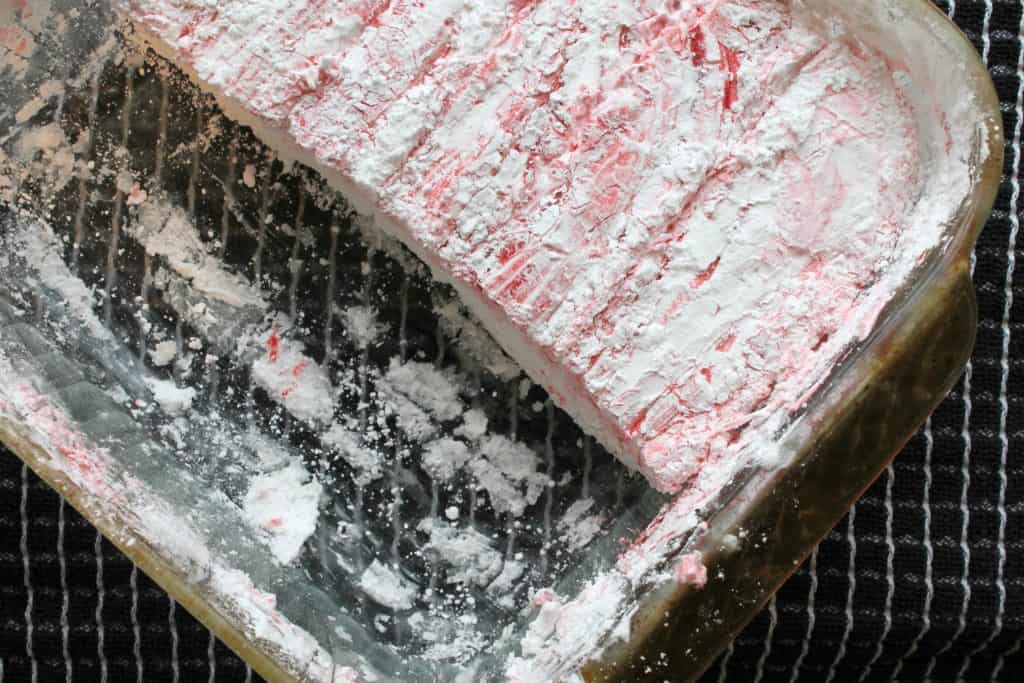
Dust and cool. Generously dust with confectioner’s sugar and allow to cool completely before cutting with a greased knife.
Notes and Adaptations:
- If you prefer to avoid red dye, you can totally omit it from this recipe. It does not affect the taste, it simply enhances the look of the marshmallows.
- If you need these to be dairy-free marshmallows, grease your pan with a bit of coconut oil instead of butter. Then serve with some oat milk hot cocoa for a decadent treat!
Recommended Equipment:
- 2-quart saucepan
- 8×8 or 9×9 inch square pan
- offset spatula
- sharp knife
Peppermint Swirl Marshmallows
Homemade peppermint swirl marshmallows are perfect for hot cocoa or coffee, and they make a lovely holiday gift!
Ingredients
- butter or vegetable shortening
- confectioner's sugar (for dusting)
- 2 envelopes of plain gelatin (I use Knox brand)
- 8 Tbs cold water
- 2 cups granulated sugar
- 1/2 cup cold water
- 1/4 tsp salt
- 1/2 tsp peppermint extract
- red food coloring (liquid)
Instructions
- Grease an 8- or 9-inch square pan with butter or vegetable shortening. Dust with confectioner's sugar and tap out excess.
- In a small bowl, combine gelatin and 8 Tbs cold water. Set aside.
- In a heavy saucepan, combine granulated sugar and 1/2 cup water. Stir and cook over medium heat until sugar is dissolved.
- Add gelatin mixture to sugar mixture, stirring to combine well. Bring mixture to a boil.
- Remove mixture from heat. Pour into the bowl of a stand mixer and let stand for about 5 minutes to partially cool.
- Add salt and peppermint extract.
- Using the whisk attachment, whip the mixture at high speed until it is soft, shiny, and about double in volume. This took about 12 minutes for me.
- Pour into prepared pan. Use a buttered offset spatula to spread the mixture evenly into the pan.
- Sprinkle several drops of red food coloring on top of the mixture. Using the buttered spatula, pull the color through the marshmallow mixture to create swirls.
- Generously dust with confectioner's sugar, spreading the sugar evenly over the mixture.
- Allow a few hours to cool and set.
- Once marshmallows are set, grease a sharp knife with butter and dust it with confectioner's sugar. Slice marshmallows into 1x1 inch squares (or other desired size). Grease and sugar the knife after each cut or as needed.
- Use the buttered offset spatula to help remove the squares from the pan. Dip the cut edges (which will be sticky) into confectioner's sugar to coat, tapping to remove excess. Repeat with all marshmallows.
- Store in an airtight container at room temperature. Enjoy!
Notes
If you prefer to avoid red dye, you can totally omit it from this
recipe. It does not affect the taste, it simply enhances the look of
the marshmallows.
Adapted from Food.com and Living Well Spending Less
Nutrition Information:
Yield:
20Serving Size:
1Amount Per Serving: Calories: 113Total Fat: 1gSaturated Fat: 1gTrans Fat: 0gUnsaturated Fat: 1gCholesterol: 2mgSodium: 35mgCarbohydrates: 26gFiber: 0gSugar: 26gProtein: 0g
Nutrition information is automatically calculated and is not guaranteed for accuracy.


Easy family-friendly recipes in your inbox!