

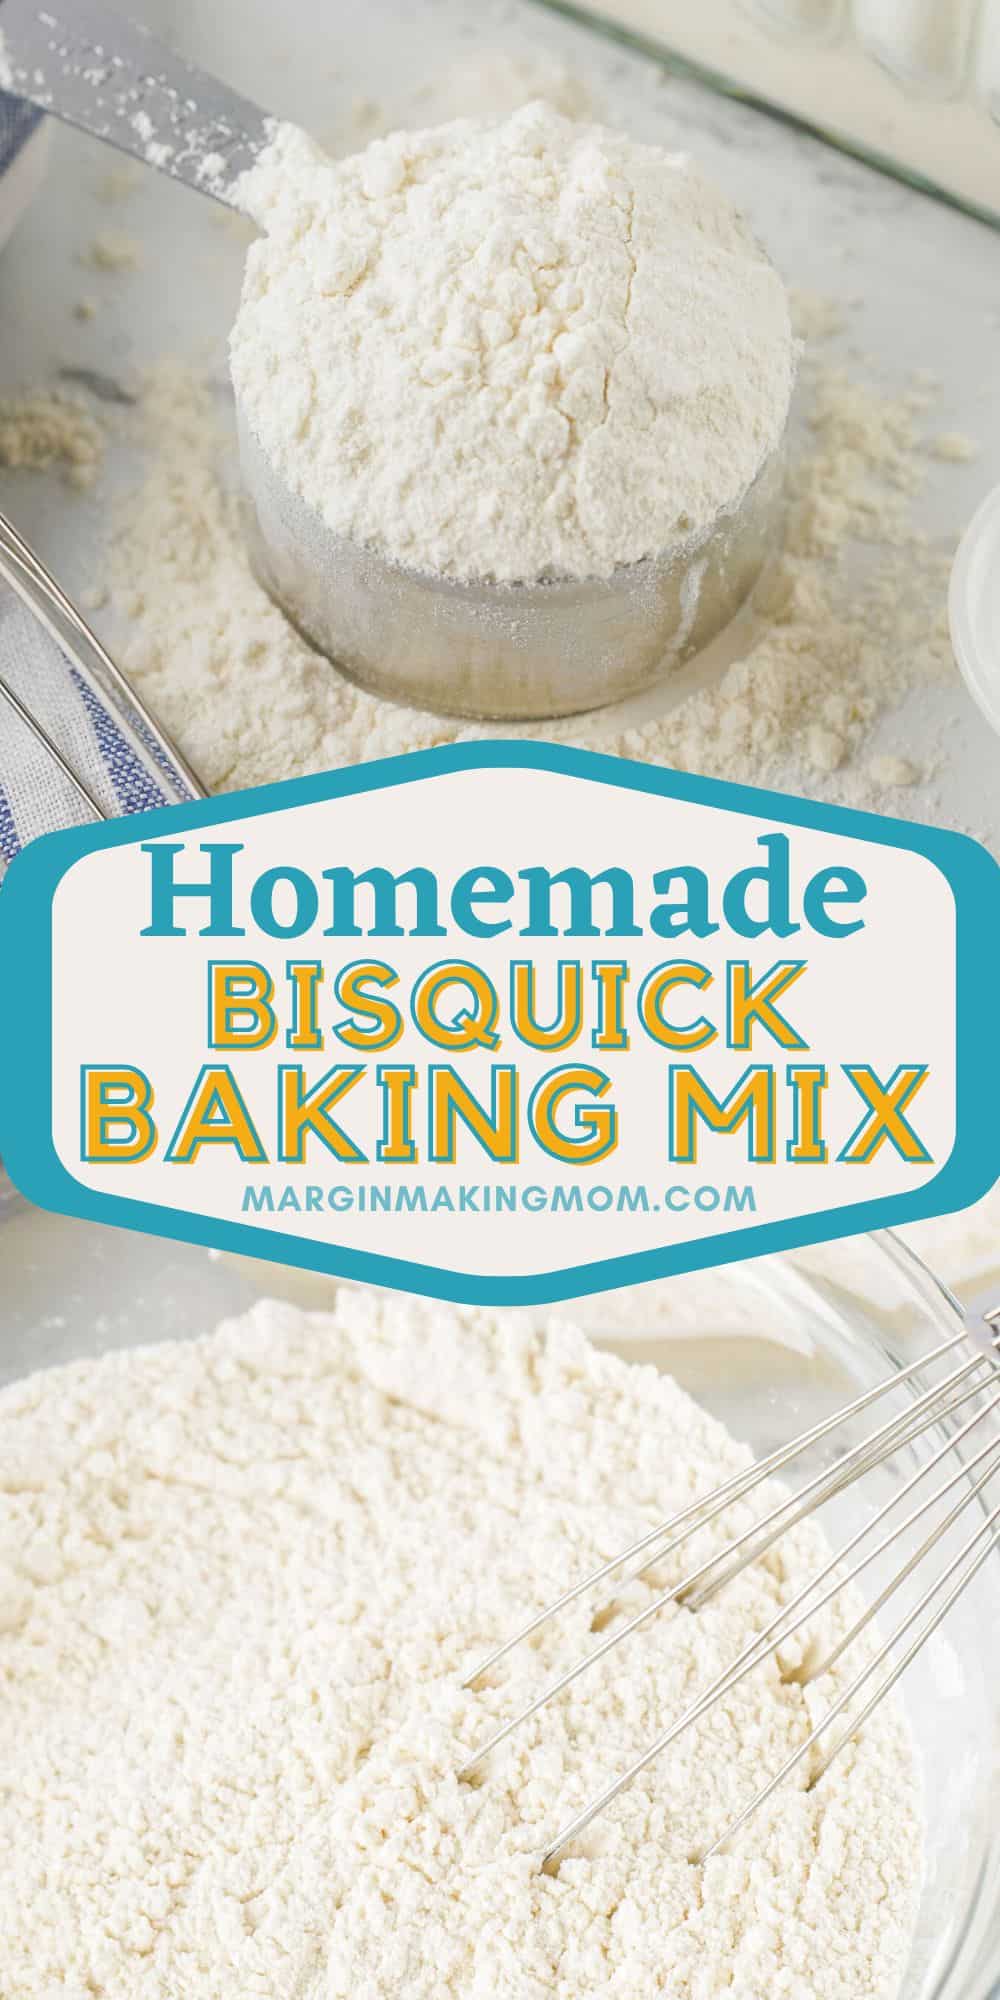
Quick and Easy Homemade Bisquick Baking Mix
Our step-by-step guide on how to make your own Bisquick is a game-changing recipe for kitchen convenience.
Discover the joy of hassle-free baking with our homemade Bisquick mix – the perfect kitchen shortcut for all your baking needs!
Note: This post may contain affiliate links for your convenience. If you make a purchase, this site may receive a small commission at no additional cost to you. You can read my full disclosure policy here.
I love Bisquick baking mix and I use it several times a month.
From Bisquick Apple Muffins to Bisquick Sugar Cookies to Easy Chicken and Bisquick Dumplings, this versatile baking mix is the star of some of my favorite recipes.
And since I use it so frequently, I’ve learned to make my own homemade baking mix for those times when the box from the store is running low.
This homemade Bisquick recipe is made with simple ingredients, a pinch of love, and a dash of convenience.
It’s a great alternative for store-bought Bisquick, and it’s saved me a time or two when the box in my pantry was empty!
This homemade Bisquick baking mix recipe is your ticket to pancake perfection, biscuit bliss, and so much more.
The best part? It’s a no-nonsense recipe, so you won’t find any added sugars, artificial sweeteners, or mystery preservatives in this mix.
The simple recipe yields a homemade mix that’s quite versatile–an easy substitute for original Bisquick.
More Bisquick Recipes:
- Sweet Potato Bisquick Muffins
- Easy Cinnamon Rolls Made with Bisquick
- Blueberry Bisquick Muffins
- Bisquick Banana Muffins
- Chocolate Chip Bisquick Muffins
- Bisquick Dumplings
- Bisquick Peanut Butter Cookies
- Bisquick Chocolate Chip Cookies
- Beef Stew with Bisquick Dumplings
- Southern Bisquick Biscuits
- Easy Bisquick Brownies
- 7-Up Biscuits with Bisquick
- Bisquick Chicken Pot Pie
- Cheesy Muffins Made with Bisquick
How To Store Homemade Bisquick
What I love most about this homemade Bisquick baking mix recipe is that I can mix up a batch and store it for later use.
The key to preserving its freshness lies in proper storage. If you don’t plan on using it immediately, it’s best to refrigerate the mix.
Yes, that’s a little bit different than the box of Bisquick you buy at the grocery store.
Despite being composed of shelf-stable ingredients, once blended, the homemade combination becomes more susceptible to spoilage.
To ensure the longevity of your homemade Bisquick, transfer it into an airtight container before placing it in the refrigerator.
In the fridge, the mixture will keep for up to three months!
If you’re looking to extend the lifespan of your homemade Bisquick even further, transfer the mix into airtight bags or containers and place it in the freezer.
How to Make Your Own Bisquick
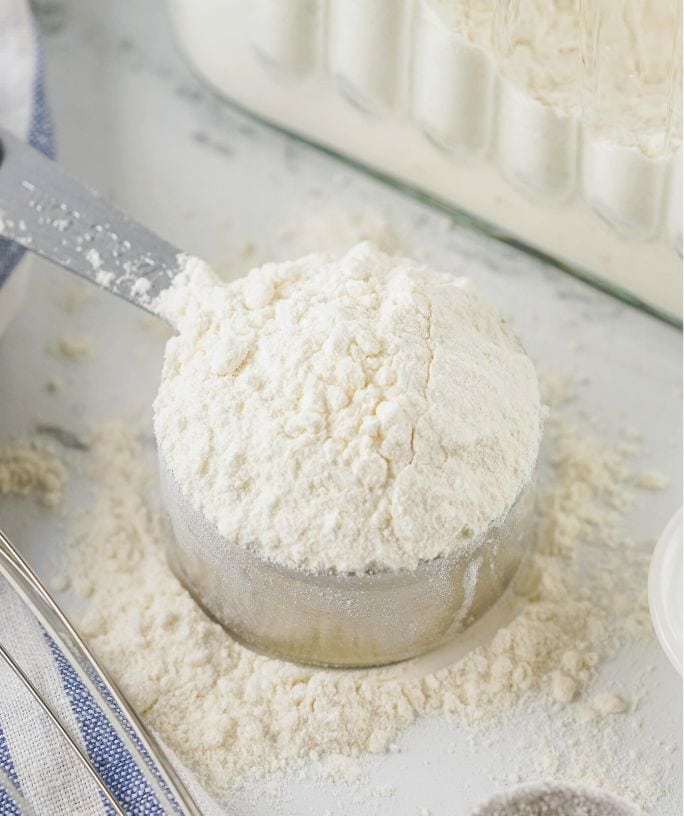
It’s really easy to whip up a batch of this baking mix at home using common pantry ingredients.
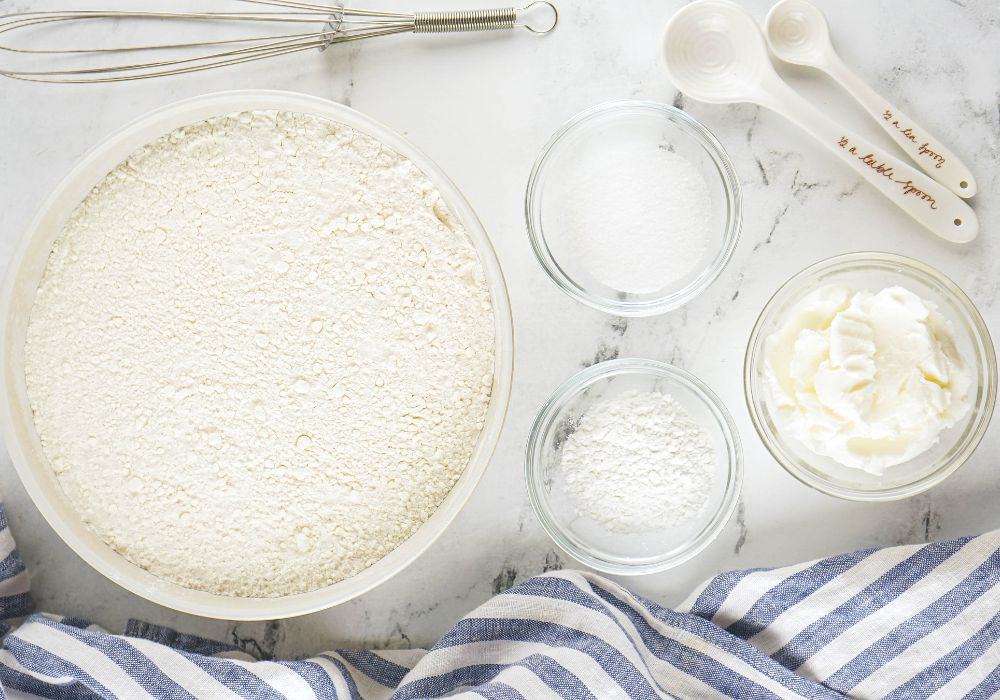
Ingredients You’ll Need:
- All-purpose Flour
- Baking Powder
- Salt
- Vegetable Shortening, such as Crisco
How to Make It:
(Full printable recipe card is available below)
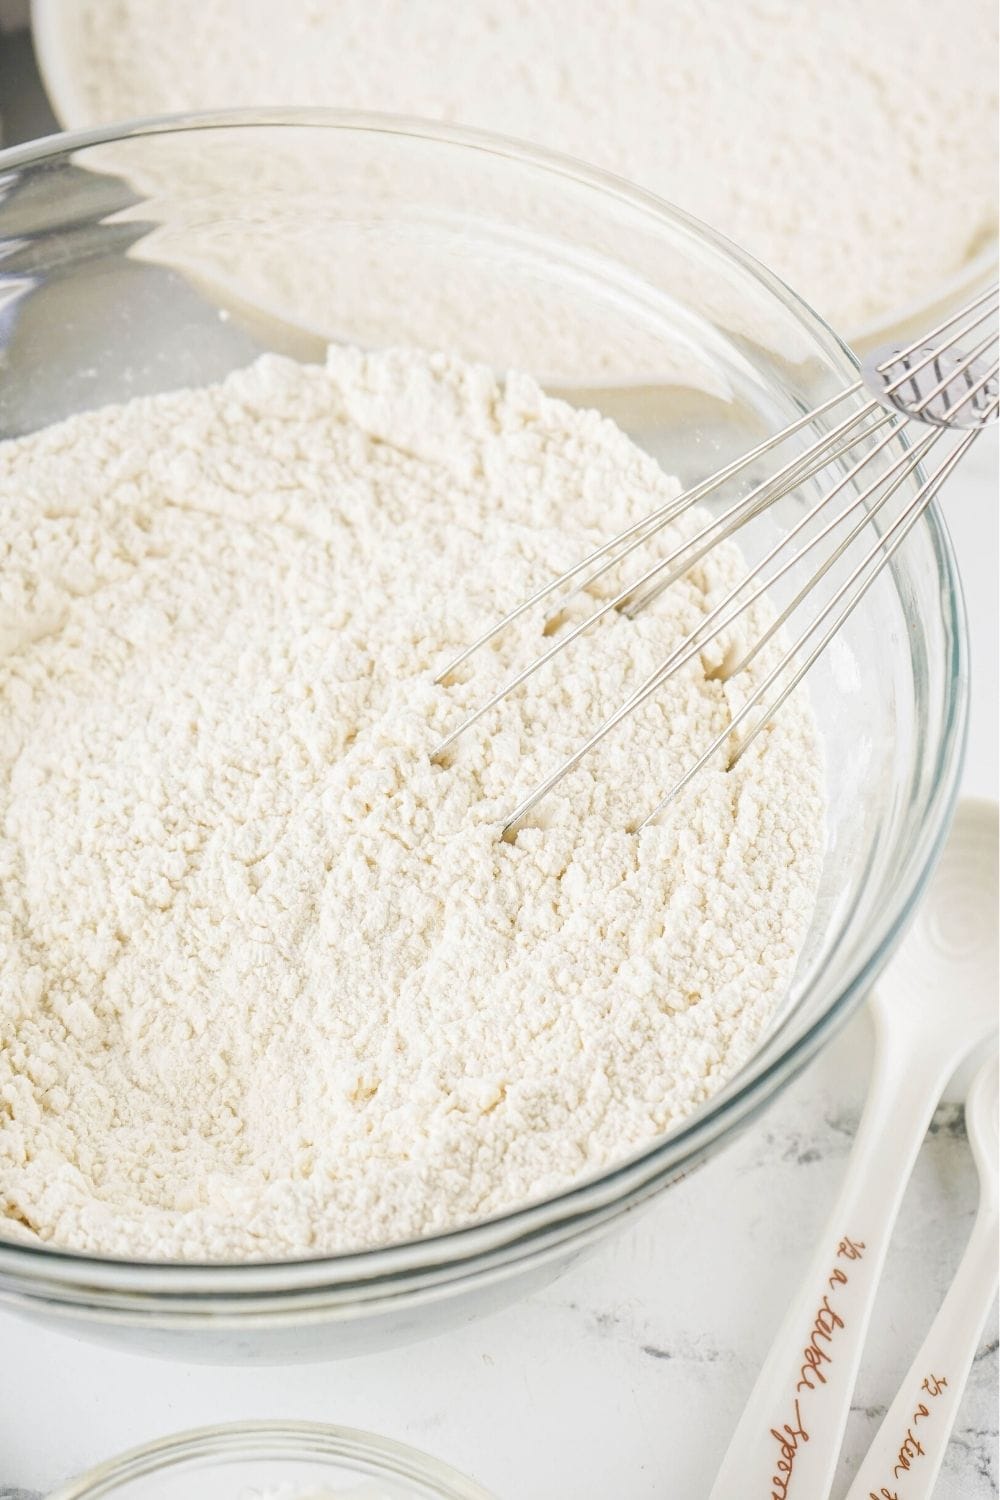
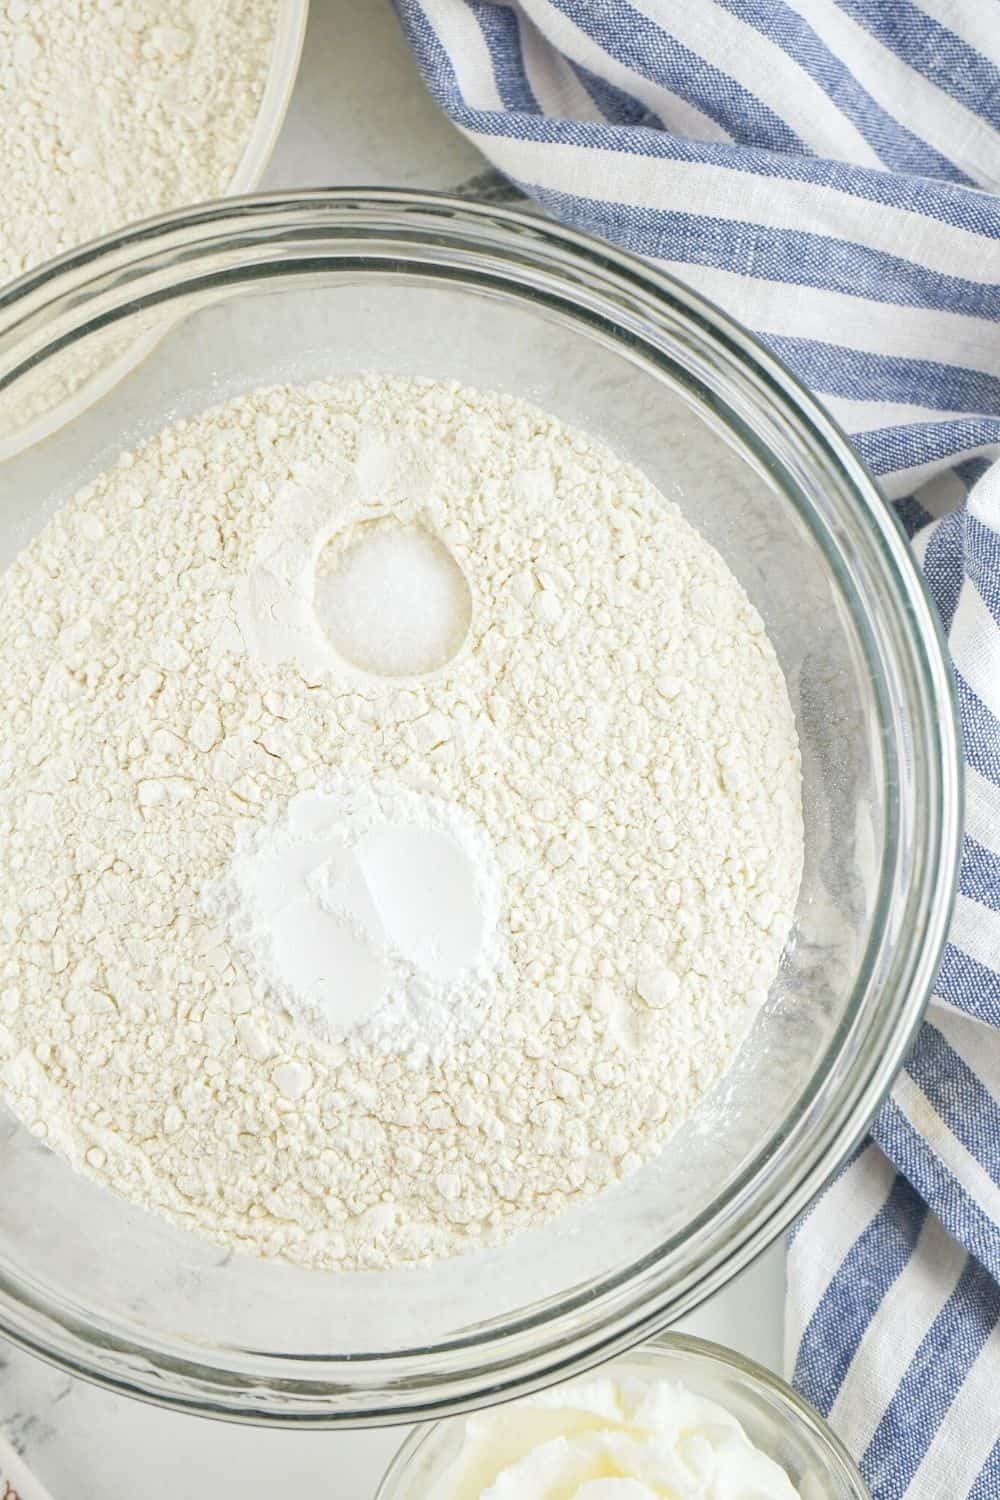
Combine the dry ingredients. First, to make your own homemade Bisquick, you’ll whisk together all-purpose flour, baking powder, and salt until combined.
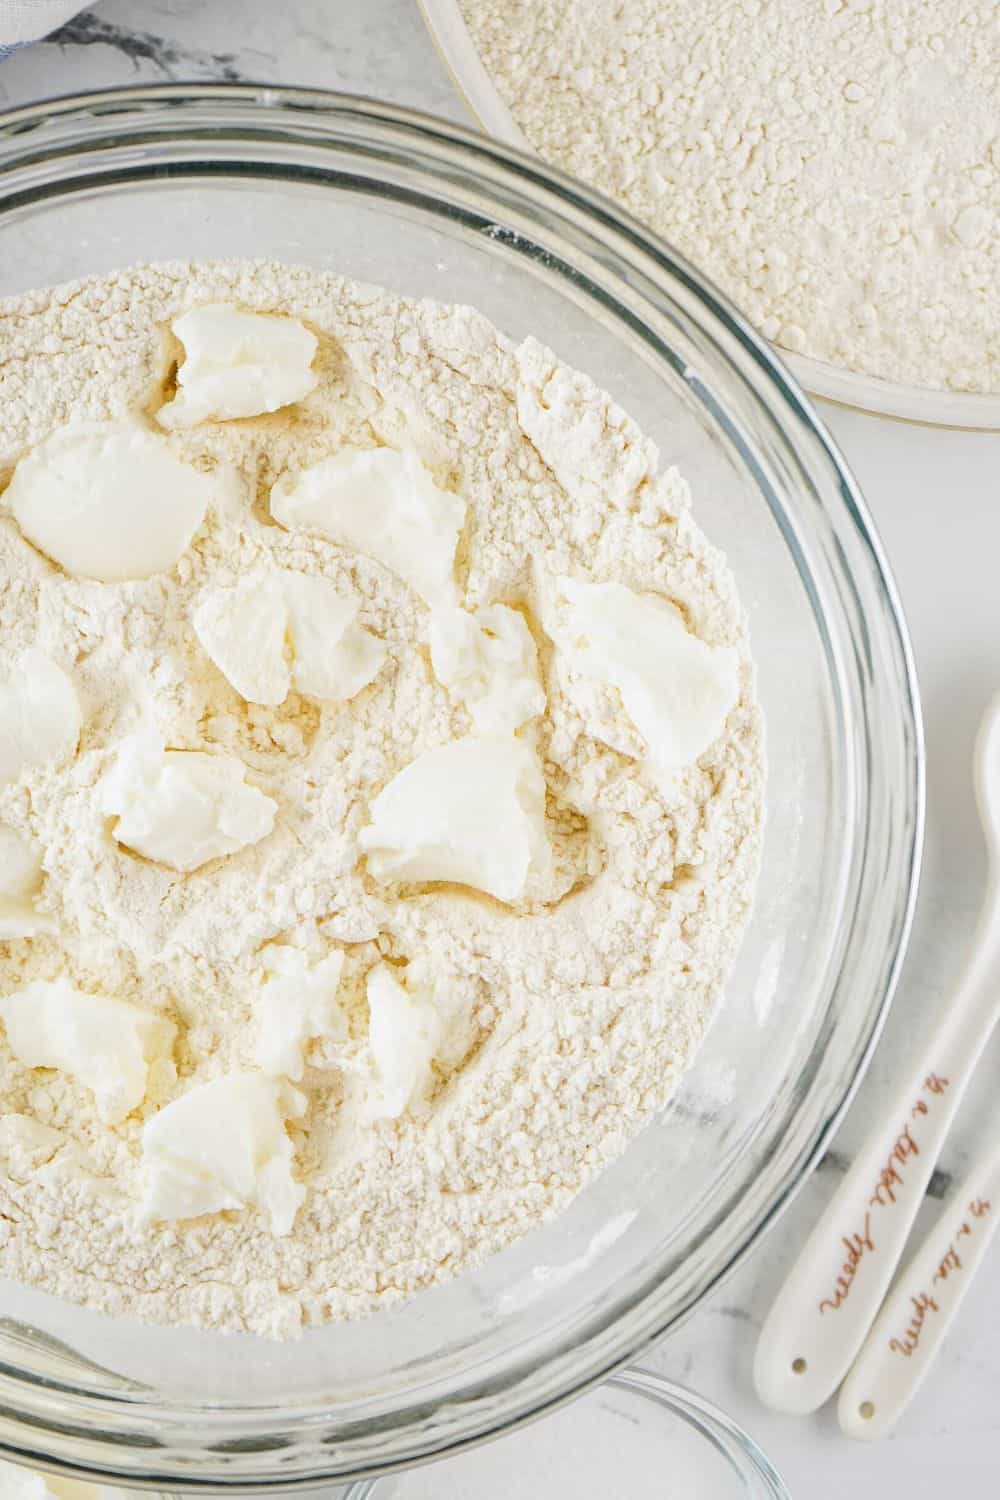
Add the shortening. Next, you’ll add small pieces of shortening to the flour mixture.
Use a pastry cutter or two forks to cut the shortening into the flour, until the mixture is the consistency of cornmeal.
No lumps of shortening should remain.
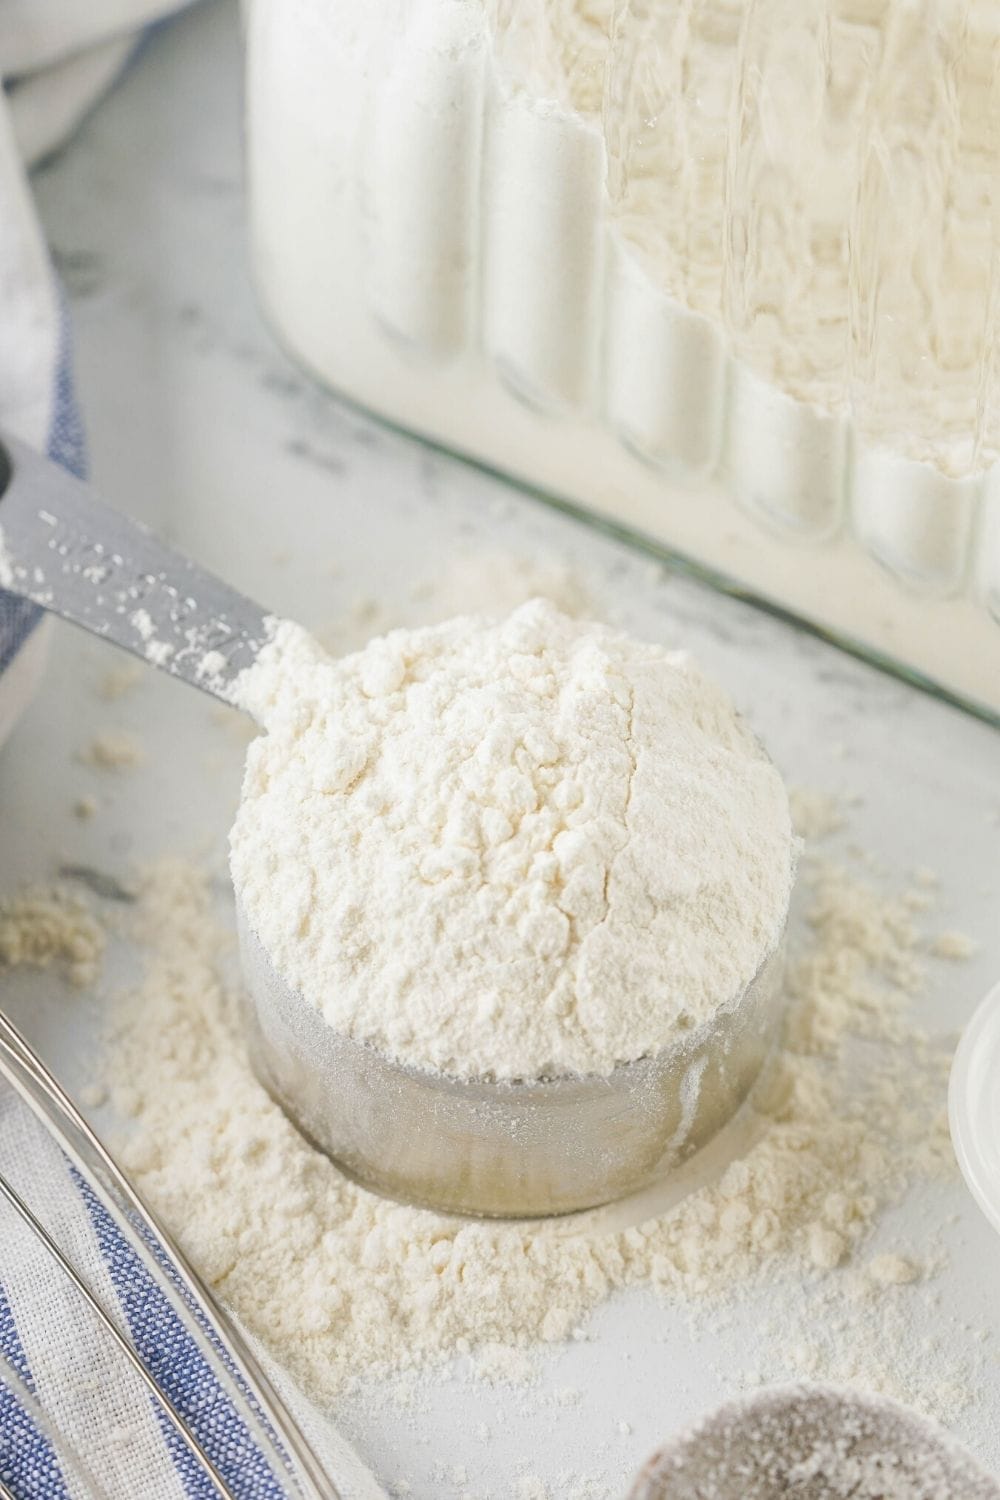
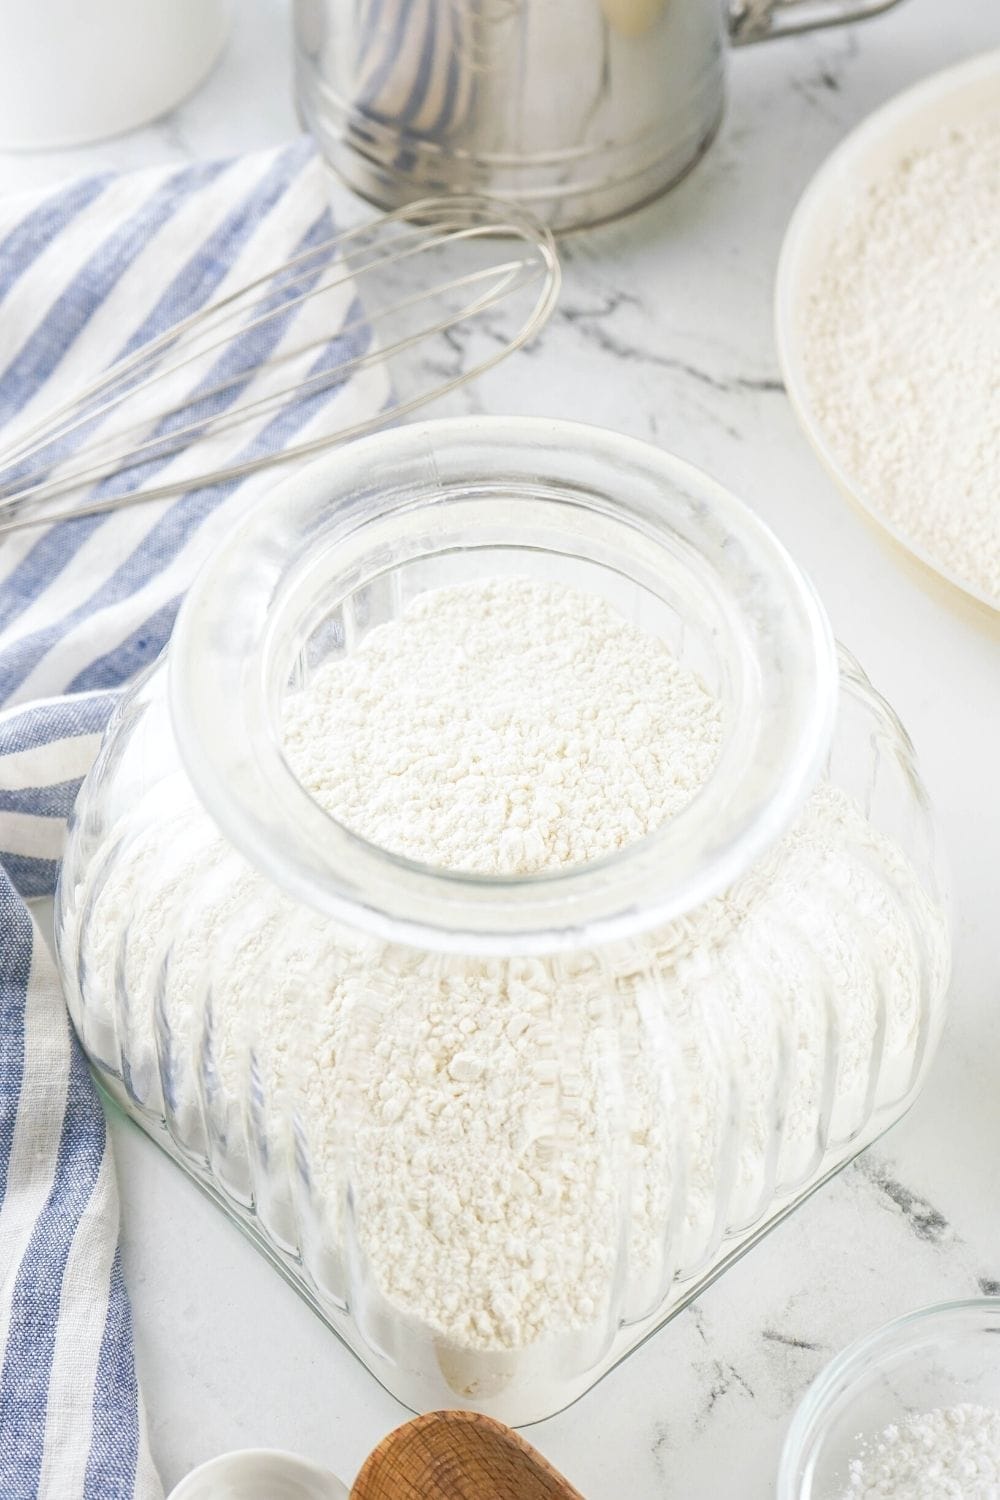
Use or store. Last, you’ll transfer any unused mix to an airtight container and store in the fridge.
That’s it! Now you have a premade baking mix you can use for making homemade biscuits, muffins, and more!
Notes and Adaptations:
- Instead of cutting the shortening in by hand, you can also use a food processor to incorporate it.
- This easy Bisquick substitute should be refrigerated if not being used immediately. Although it’s made with shelf-stable ingredients, they are more likely to spoil once they’re mixed together. Refrigerate in an airtight container for up to three months–then you’ll have it to use in place of Bisquick whenever needed.
- Although it’s not necessary, chilling the shortening can make it easier to cut it into the flour. But if you don’t have time for that, you can use room temperature shortening.
Recommended Equipment:
Easy Homemade Bisquick Baking Mix
You only need four ingredients to make homemade baking mix that you can use instead of store-bought Bisquick!
Ingredients
- 3 cups all-purpose flour
- 1 ½ tablespoons baking powder
- 1 teaspoon salt
- 1/2 cup vegetable shortening, such as Crisco
Instructions
- In a large mixing bowl, whisk together all-purpose flour, baking powder, and salt until combined.
- Add small pieces of shortening to the flour mixture. Use a pastry blender or two forks to cut the shortening into the flour, until the mixture is the consistency of cornmeal. No lumps of shortening should remain.
- The baking mix can be used immediately, or stored in an airtight container in the refrigerator.
Notes
- Instead of cutting the shortening in by hand, you can also use a food processor to incorporate it.
- The baking mix should be refrigerated if not being used immediately. Although it's made with shelf-stable ingredients, they are more likely to spoil once they're mixed together. Refrigerate in an airtight container for up to three months.
- Although it's not necessary, chilling the shortening can make it easier to cut it into the flour. But if you don't have time for that, you can use room temperature shortening.
Recipe adapted from AllRecipes
Nutrition Information:
Yield:
7Serving Size:
1Amount Per Serving: Calories: 328Total Fat: 15gSaturated Fat: 6gTrans Fat: 0gUnsaturated Fat: 8gCholesterol: 8mgSodium: 617mgCarbohydrates: 42gFiber: 1gSugar: 0gProtein: 6g
Nutrition information is automatically calculated and is not guaranteed for accuracy.
Be sure to save this recipe to your favorite board on Pinterest!


This sounds like a convenient substitute for Bisquick–thank you! Do you notice any difference now that Crisco is made with soybean oil?
Hi Sharon! I haven’t personally noticed a difference, but I honestly don’t bake with shortening a whole lot, aside from a handful of recipes that I use it in. So that might be why I can’t tell a difference!
OK, thanks for your reply. I first noticed it when making pie crust.