

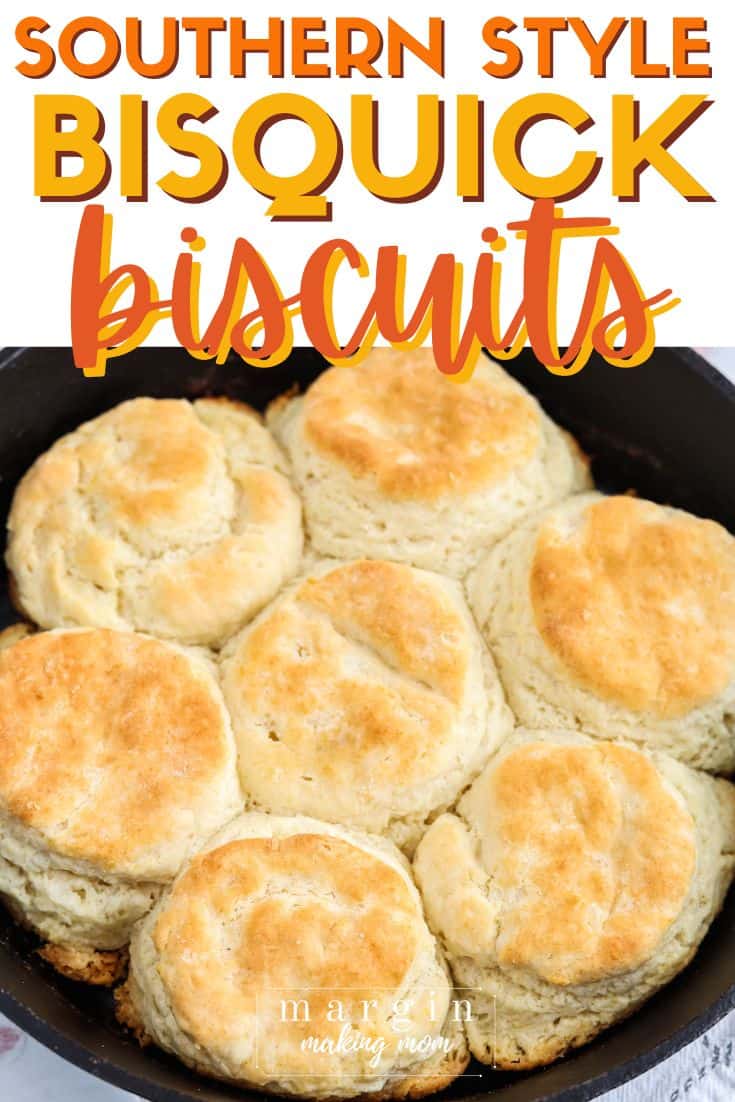
How to Make the Best Bisquick Biscuits
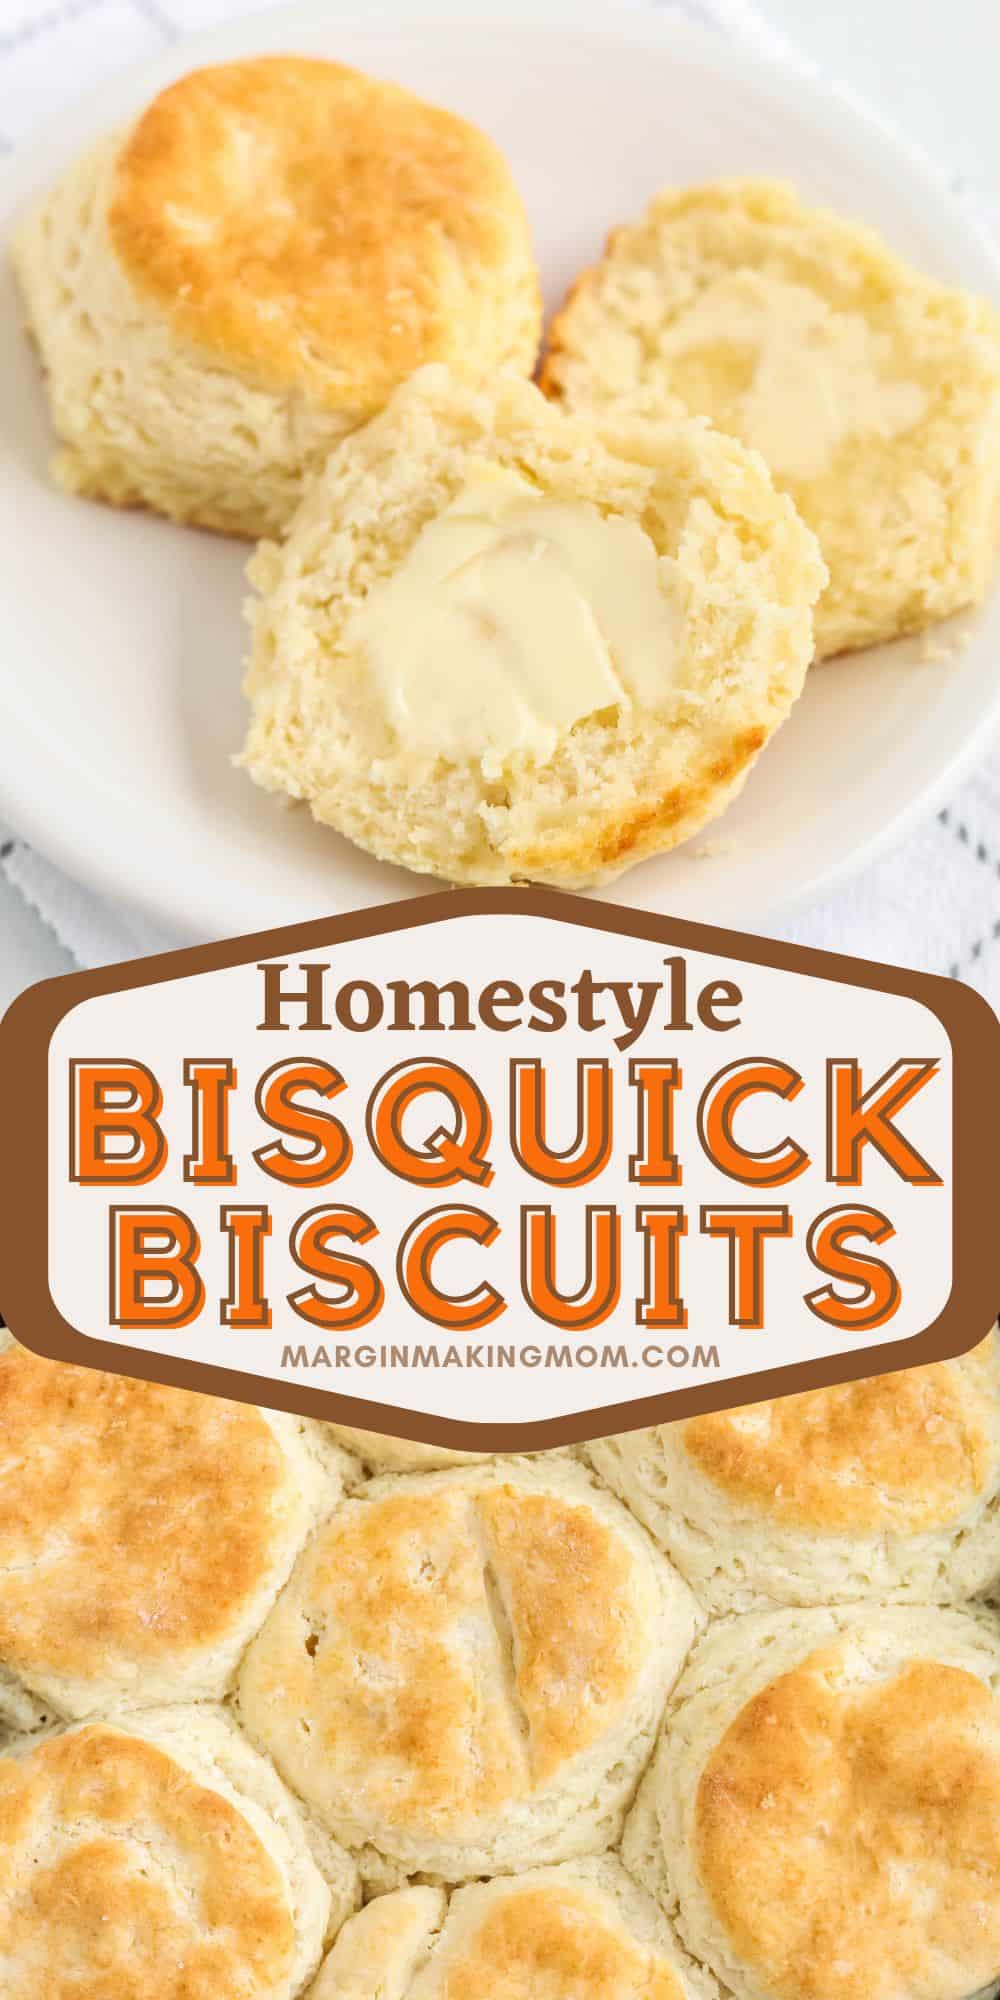
Looking for a quick and easy biscuit recipe made with Bisquick? These homestyle Bisquick biscuits are light, fluffy, and oh-so-delicious.
Indulge in warm, buttery bliss with these easy rolled Bisquick biscuits—perfectly fluffy, tender, and ready in just 25 minutes!
Note: This post may contain affiliate links for your convenience. If you make a purchase, this site may receive a small commission at no additional cost to you. You can read my full disclosure policy here.
Biscuits are quintessential Southern food. They’re versatile and can be served at any meal, whether it’s breakfast, lunch, or dinner.
And let’s not forget about dessert—warm, fluffy biscuits with a bit of jam, honey, or fresh fruit make a delightful way to end a meal.
One of the things I love most about making these Bisquick biscuits is how they fill the kitchen with the most amazing aroma as they bake.
Rolled and cut biscuits made with Bisquick are a staple in my kitchen, because I love a good shortcut recipe that tastes like it’s made from scratch.
They’re perfect for when I’m hosting brunch or need a crowd-pleasing side for dinner.
I love making my easy homemade biscuits, biscuit pone bread, and Appalachian cathead biscuits from scratch, but sometimes I don’t have self-rising flour on hand and need another option.
Using the store-bought baking mix really simplifies things, making this recipe a go-to for busy days or when I just want a delicious treat without the hassle.
They’re just so darn delicious—flaky, buttery, and oh-so-satisfying.
More Easy Bisquick Recipes:
- Bisquick Cinnamon Rolls (in just 30 minutes!)
- Bisquick Banana Muffins
- Easy Bisquick Blueberry Muffins
- Bisquick Dumplings
- Bisquick Chocolate Chip Cookies
- Easy Bisquick Brownies
- Bisquick Chicken Pot Pie
- Bisquick Cheesy Muffins
- Yeast Rolls Made with Bisquick
- Bisquick Molten Chocolate Cobbler
- Bisquick Cheesy Sausage & Egg Muffins
- Fluffy Bisquick Pancakes
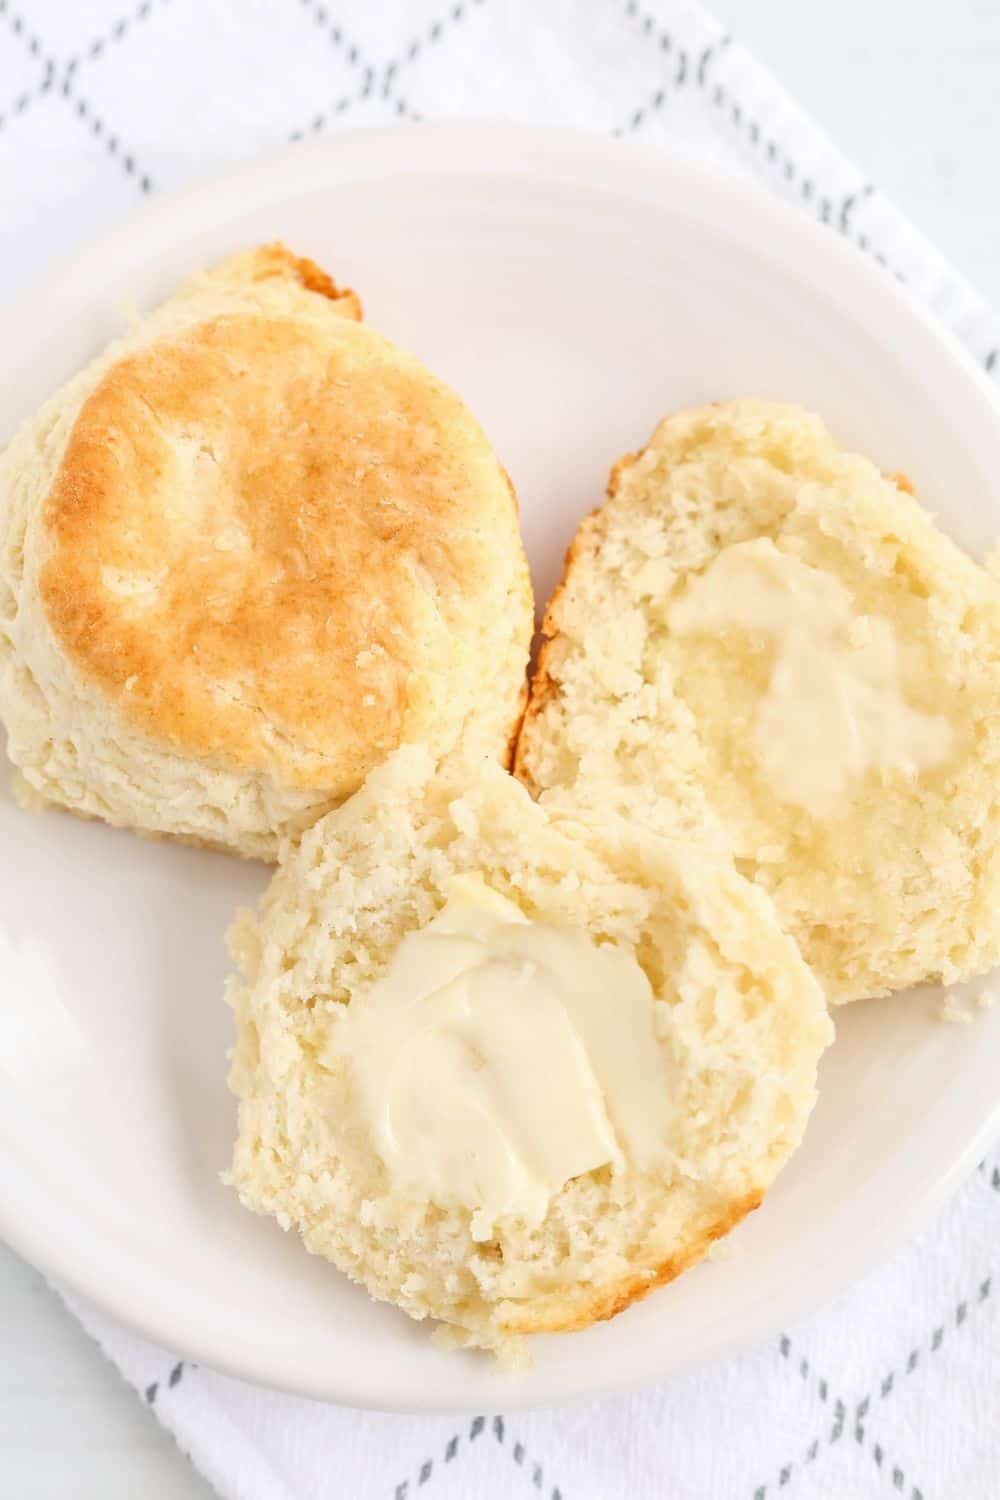
Cut and Rolled Bisquick Biscuits
Many people make Bisquick drop biscuits, which are easy to make. The original recipe is included on the Bisquick box.
But growing up in the South, we most often made rolled and cut biscuits, so that’s what makes me feel at home.
So that’s why I made these southern style biscuits with Bisquick! I “doctored up” the typical Bisquick biscuit recipe you can find on the box, and the result is so much better.
You can even make 7-Up biscuits or strawberry biscuits with Bisquick!
If you don’t want to use the boxed variety of Bisquick, you can mix up a batch of Homemade Bisquick Baking Mix to keep in your pantry.
It’s a great way to have a versatile baking mix on hand that can be used for so many different goodies!
And while we’re on the subject of shortcuts that taste homemade, be sure to check out my tips for how to make Jiffy cornbread taste better!
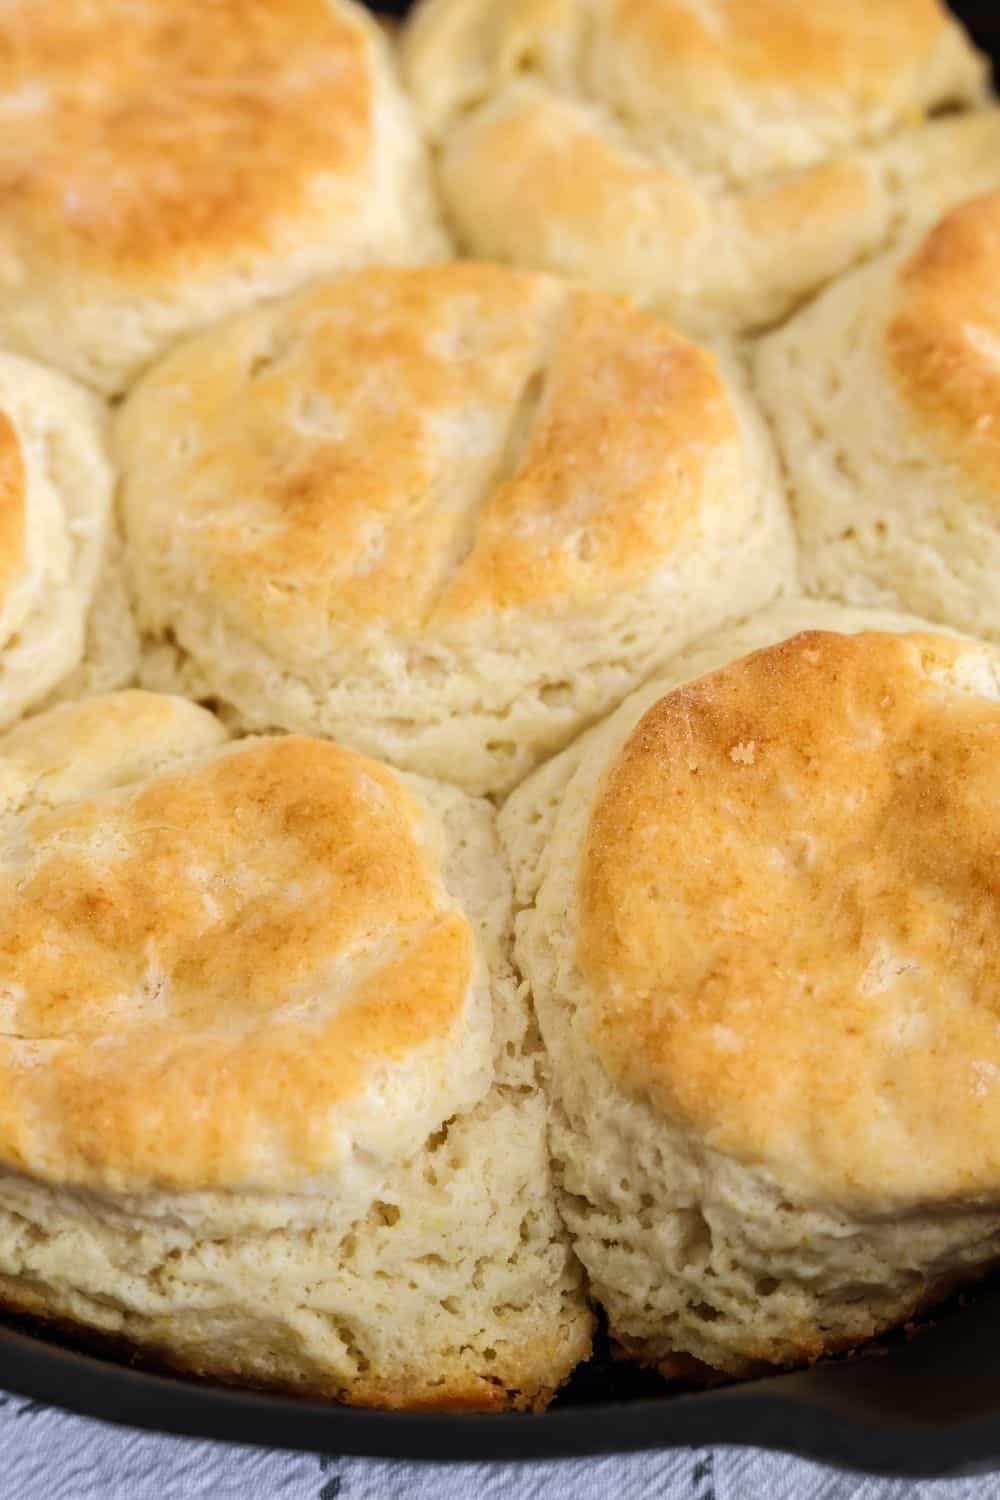
How to Make Easy, Fluffy Bisquick Biscuits
It’s really super simple to make this Bisquick biscuit recipe. It’s on our list of the best biscuit recipes, and once you try it out, you’ll see why!
Ingredients You’ll Need:
- Bisquick Baking Mix
- Baking Powder
- Unsalted Butter
- Milk
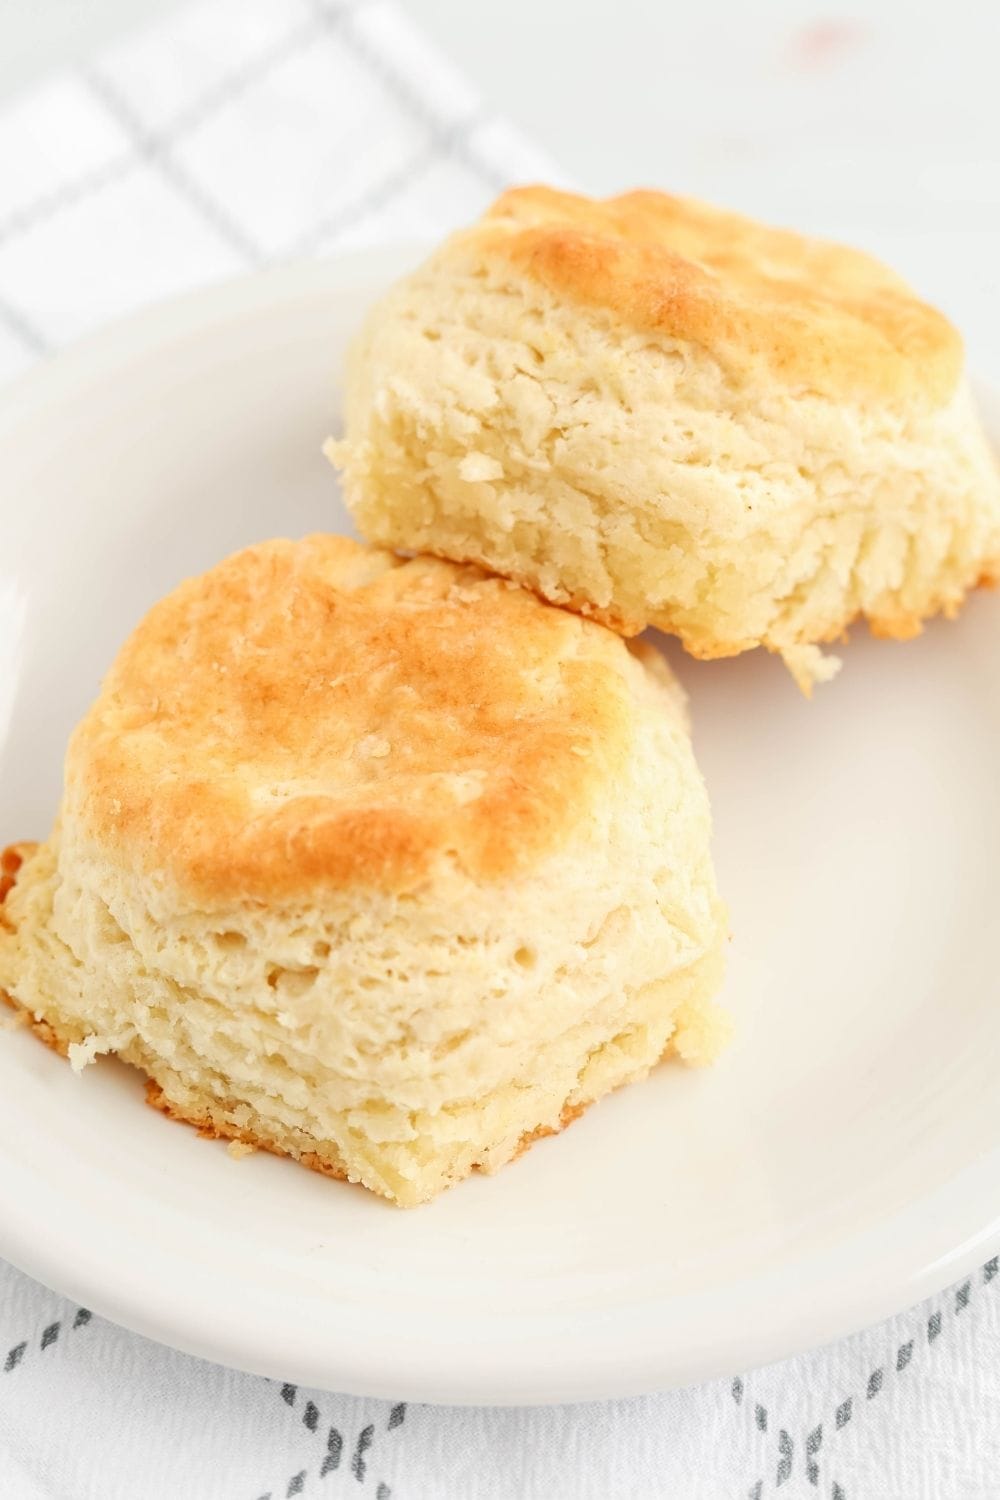
How to Make It:
(Full printable recipe is available below)
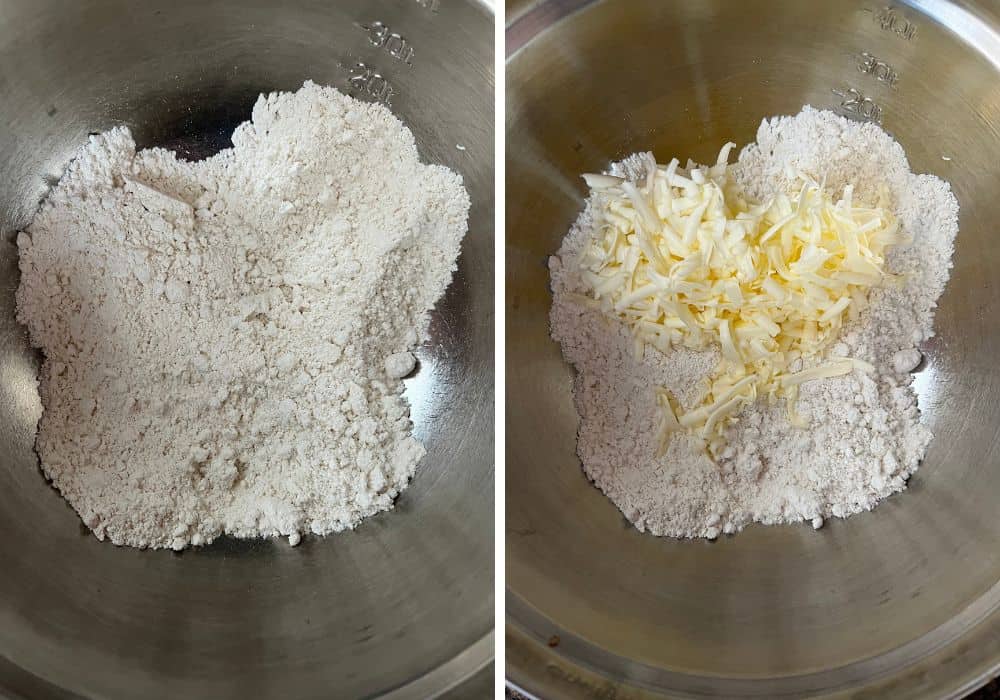
Combine the dry ingredients. First, you’ll whisk together Bisquick baking mix and baking powder.
Next, you’ll grate 4 Tablespoons of cold butter into shreds and add to the Bisquick mixture.
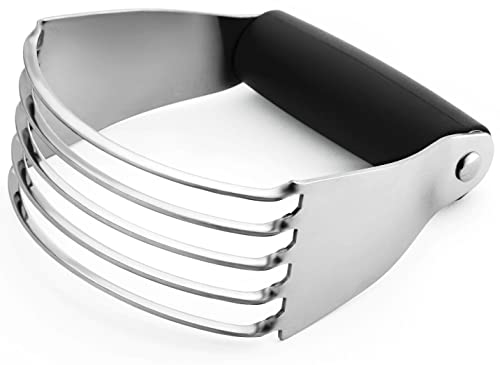
Use a pastry blender or two forks to cut the butter pieces into the dry ingredients, until the pieces are about the size of small peas.
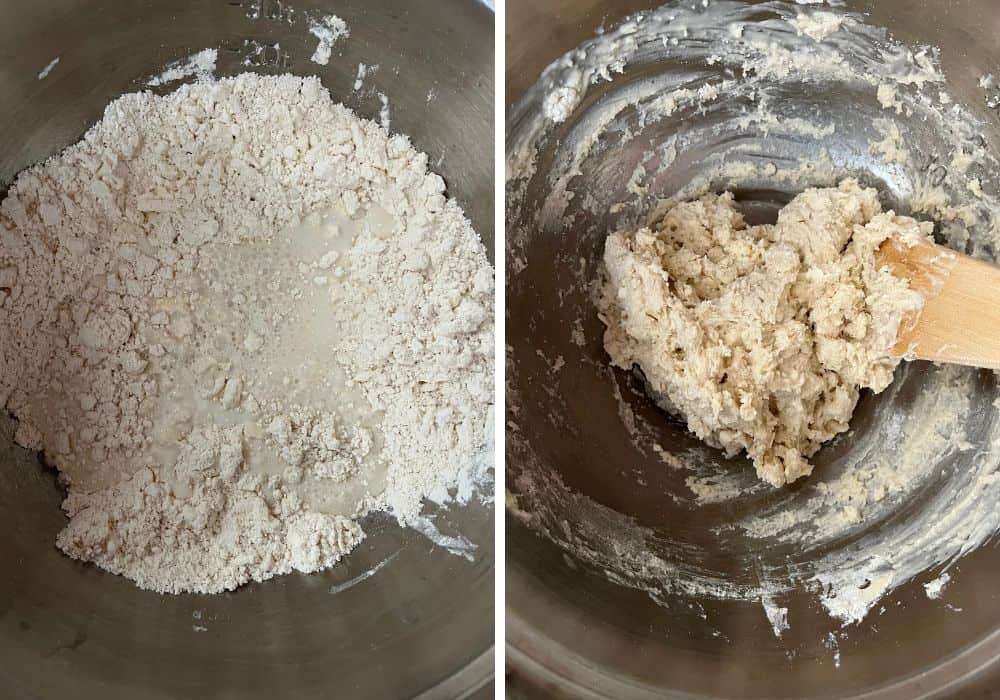
Prepare the dough. Next, you’ll add milk to the mixture, stirring with a wooden spoon just until a soft dough forms and no dry patches remain.
For best results, don’t overwork the biscuit dough or your biscuits will be tough!
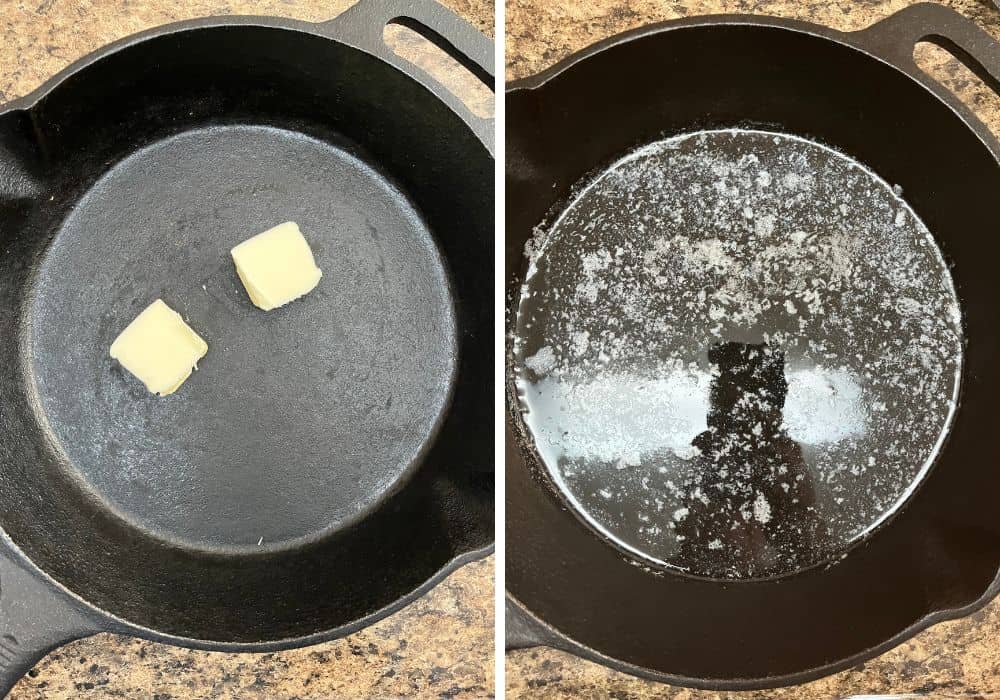
Prepare the skillet. Next, you’ll place remaining 2 tablespoons of butter into a cast iron skillet.
Place skillet in oven allow butter to melt while you cut the biscuits.
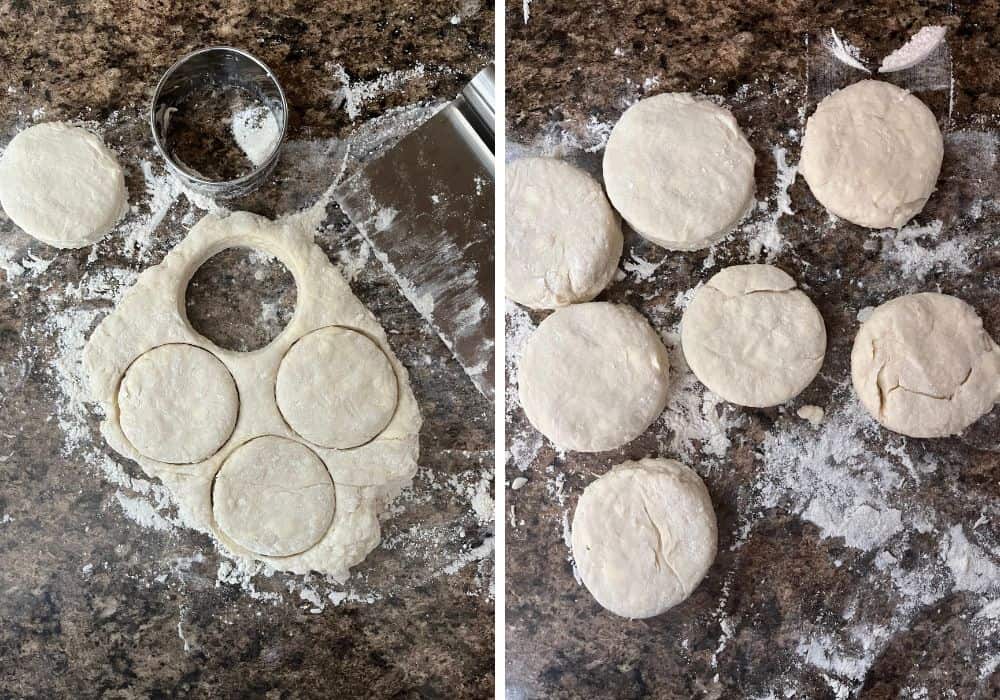
Roll the biscuits. Next, sprinkle a work surface with flour or additional Bisquick mix.
Turn dough out onto prepared surface and gently fold it onto itself 3 times, then press down to about 1 inch thickness.
I like to use a bench scraper for this.
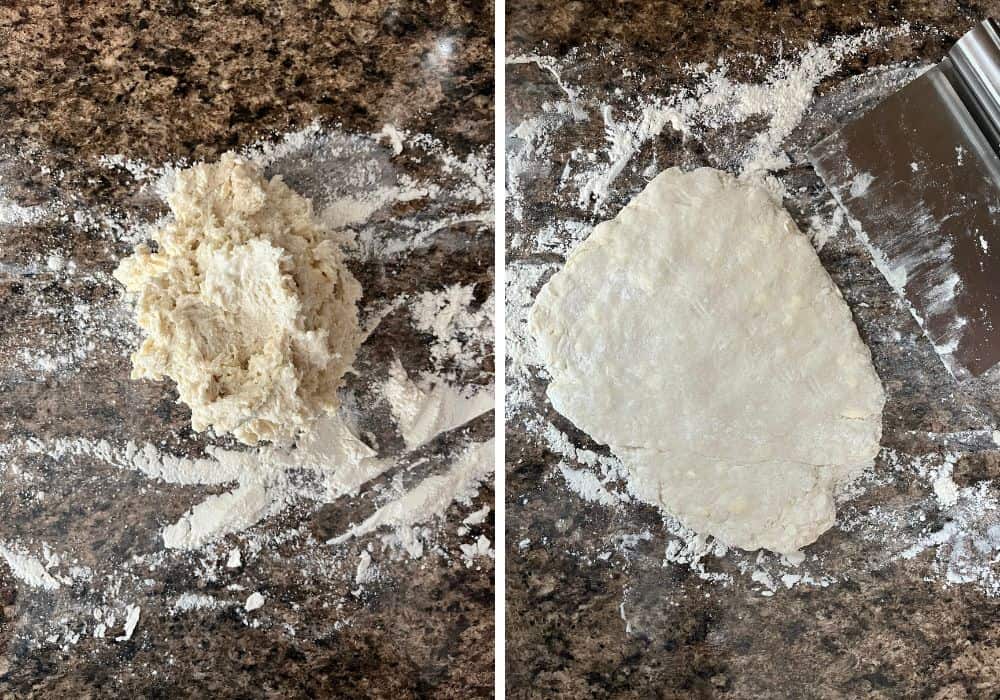
Use a round biscuit cutter to cut the dough into rounds (I use a 2-inch cutter) making 6-8 biscuits.
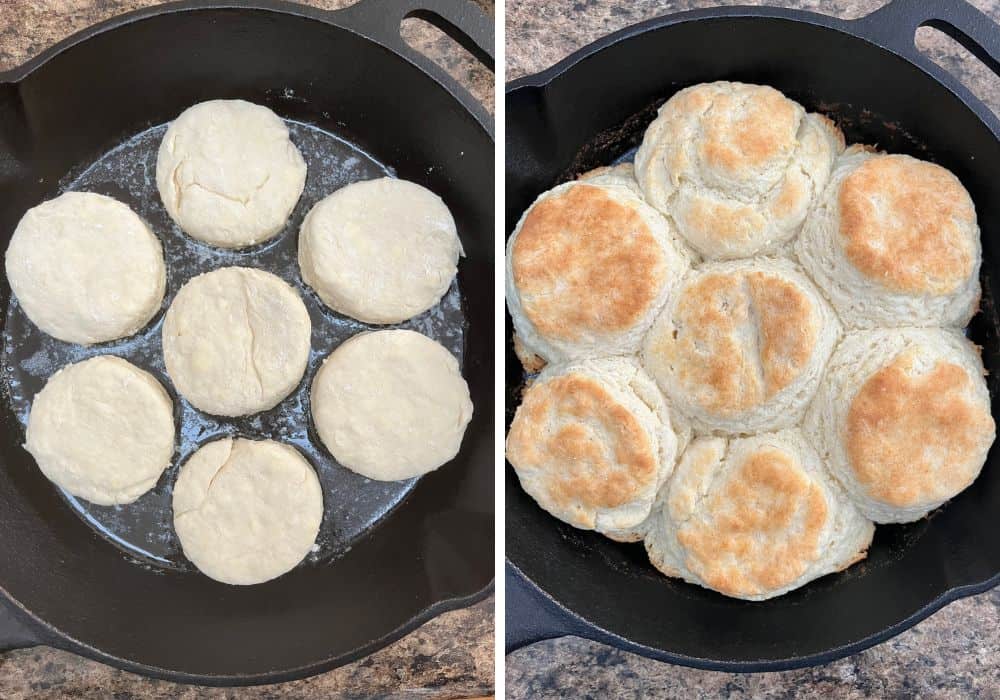
Bake the biscuits. Last, you’ll remove pan from oven and swirl to allow the melted butter to coat the bottom of the pan.
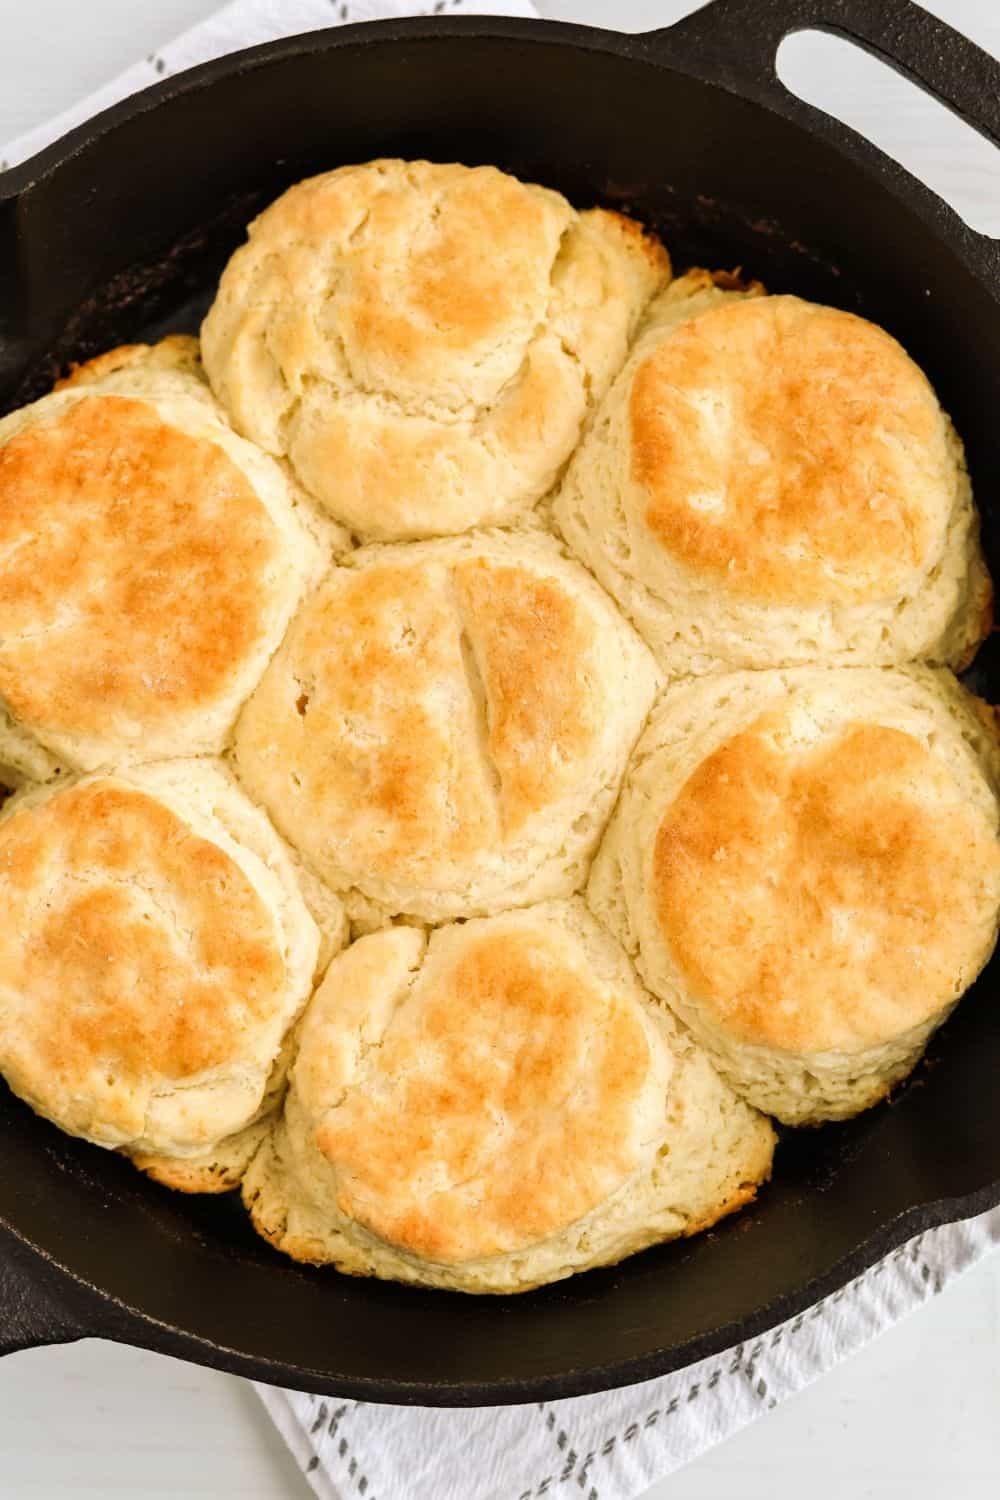
Arrange biscuit pieces in the pan and return to oven. Bake for 14-16 minutes, or until biscuits are golden brown on top and baked through.
Notes and Adaptations:
- I’ve only baked these in an iron skillet (I love the crusty bottoms that form when they’re baked in butter). If you don’t have an iron skillet, I’d suggest using an 8×8″ baking dish or a round 8″ cake pan with melted butter in it. If you bake them on a baking sheet, they may spread more during baking.
- Grating the butter just makes it easier to mix into the Bisquick. You can always cut it into small pieces instead.
- Leftover biscuits can be stored at room temperature in an airtight container for a couple of days.
Recommended Equipment:
Bisquick Biscuits
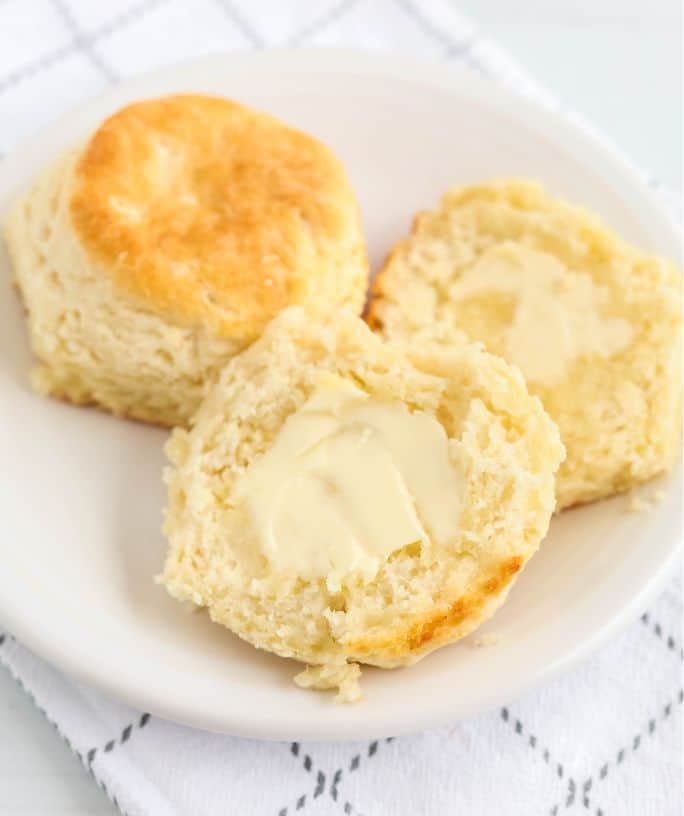
For a shortcut recipe that tastes homemade, try these easy rolled Bisquick biscuits! They're fluffy, tender, buttery biscuits everyone loves!
Ingredients
- 2 cups Bisquick baking mix
- 1 1/2 teaspoons baking powder
- 6 Tablespoons cold unsalted butter, divided
- 2/3 cup milk
Instructions
- Preheat oven to 450F.
- In a medium mixing bowl, whisk together Bisquick baking mix and baking powder.
- Grate 4 Tablespoons of butter into shreds. Add the shreds to the Bisquick mixture, using a pastry blender or two forks to cut the butter pieces into the dry ingredients, until the pieces are about the size of small peas.
- Add milk to the mixture, stirring with a wooden spoon just until no dry patches remain (don't overwork the dough!).
- Place remaining 2 tablespoons of butter into a cast iron skillet. Place skillet in oven allow butter to melt while you cut the biscuits.
- Sprinkle a work surface with flour or additional Bisquick mix. Turn dough out onto prepared surface and gently fold it onto itself 3 times, then press down to about 1 inch thickness (I use a floured bench scraper for this part, since the dough is somewhat sticky).
- Use a biscuit cutter to cut the dough into rounds (I use a 2-inch cutter). Gather scraps of dough and press together to 1-inch thickness, cutting additional biscuits. Depending on the size of your cutter, you'll likely get between 6-8 biscuits.
- Remove pan from oven and swirl to allow the melted butter to coat the bottom of the pan. Arrange biscuit pieces in the pan and return to oven. Bake for 14-16 minutes, or until biscuits are golden-brown on top and baked through.
- Serve warm.
Notes
- I've only baked these in an iron skillet (I love the crusty bottoms that form when they're baked in butter). If you don't have an iron skillet, I'd suggest using an 8x8" baking dish or a round 8" cake pan with melted butter in it. If you bake them on a baking sheet, they may spread more during baking.
- Grating the butter just makes it easier to mix into the Bisquick. You can always cut it into small pieces instead.
- Leftover biscuits can be stored at room temperature in an airtight container for a couple of days.
Recommended Products
As an Amazon Associate and member of other affiliate programs, I earn from qualifying purchases.



Nutrition Information:
Yield:
7Serving Size:
1Amount Per Serving: Calories: 247Total Fat: 16gSaturated Fat: 8gTrans Fat: 0gUnsaturated Fat: 7gCholesterol: 29mgSodium: 557mgCarbohydrates: 23gFiber: 1gSugar: 5gProtein: 4g
Nutrition information is automatically calculated and is not guaranteed for accuracy.
Be sure to save this to your bread or breakfast recipe board on Pinterest!






These sound delicious but isn’t the whole point of Bisquick that you don’t need baking powder or butter? If you’re going to use baking powder and butter why not just use flour?
Hi Mary! You can omit the baking powder, but they won’t rise quite as high. I like adding the butter because it gives them better flavor (Bisquick has vegetable oil in it, but no butter, so the flavor is a little different).I hope that helps! 🙂
Where is the measurement for the Bisquick and Baking Soda?
Hi Matthew! It’s down at the bottom of the article, where the printable recipe card is. You can view it here: https://marginmakingmom.com/how-to-make-the-best-bisquick-biscuits/#mv-creation-514-jtr
Enjoy! 🙂
These turned out fantastic. I am not a fan of the bisquick biscuits as made from the box, but I also look for easy alternatives. This is the best of both worlds. Easy and delicious. Thanks for a great recipe
Thank you so much, Bernadette! I’m so glad you enjoyed them. 🙂
I made these biscuits exactly like your recipe and I will tell you first time making homemade biscuits and they were out of this world everyone needs to try this took a little more time but well worth the effort thank you for this recipe have a good day.
Thank you so much, Gracie! This is the best compliment. I love hearing that you enjoyed the biscuits as much as we do! 🙂
Have been using frozen store bought. Wow these are the only ones I will ever make. Everyone loved them. Wanted to know where I got them. Told them I made them from scratch. lol. Thank you. Actually I did tell them and everyone wanted the recipe. Loved the crunchy bottom.
Thank you so much, Wanda! I love hearing that these biscuits were a hit and that everyone wanted the recipe! I agree, the crunchy bottom is perfection. 🙂
Wow!!! Best biscuits ever. I usually don’t make biscuits because mine always turn out terrible. Made these and not only did they turn out great but best I ever tasted besides my moms of coursethank you
Thank you so much, Wanda! I love hearing success stories like this! 🙂
Your recipe ingredients need to say that the butter should be cold. People shouldn’t have to search for whether the butter should be cold or warm.
Thanks for pointing that out–I’ve updated the recipe for clarity! 🙂
Two questions
1: I dont have a cast iron skillet BUT I do have an oven proof stainless steel skillet, will that work?
And
2: can I use buttermilk instead of regular milk for flavor? I LOVE buttermilk biscuits.
Thanks
Hi Kim! I think both of those options would work fine. Enjoy! 🙂
I just made these and was somewhat sceptical. They came out wonderfully! They reminded me of a little place in Nashville that is famous for its biscuits! They are that good. Next time I will double this recipe as I only got six out of this recipe and my spouse could eat four all on his own! Fabulous!
I’m so glad you enjoyed them! I live in Nashville and definitely love a good biscuit! 🙂 Good call on making more next time–they never last long!
I forgot to add that I always use a cast iron skillet but, I did not use butter for melting in the bottom. I used bacon grease. Got the crispy bottoms that way.
Fantastic biscuits and super easy!
Thank you so much, JF! I’m glad to hear you enjoyed them! 🙂
I tried your recipe and the biscuits were impressive! Very light, lovely crumb, browned on the bottom. So good with homemade soup, or with preserves. My cocker spaniel and I both loved them.
Thank you so much, Terry! I love hearing that you and your pup both enjoyed them! 🙂
Hi! Just attempted to make these but my dough was outrageously sticky and soft. I could barely cut them into biscuits. They just kind of sunk into blobs. I followed directions exactly, and I added a little flour but was afraid to over work the dough. I scooped the bisquick into the measuring cup and leveled it. Any ideas what went wrong? Your dough in the photos looks so lovely! I still cooked them. Waiting to see how they come out.
Hi Lauren! I’m sorry to hear that! If the dough was too sticky, it probably did just need some extra Bisquick (or flour) to make it more workable. I scoop and level my Bisquick, too, so I don’t think your measuring method is a problem. Sometimes refrigerating the dough can help it firm up enough to handle, especially if the butter or milk weren’t very cold to begin with. Humidity can also be a factor, but I think it most likely just needed a little more Bisquick. Hope they still turned out tasty! 🙂
Thank you for responding! They didn’t rise too much (they were like little domes) but were still delicious. I had to stop my daughter from eating every single one of them! We’re going to try the recipe again soon and hopefully we’ll nail it this time. Thank you!
I’m glad they still tasted good and that your daughter enjoyed them! Hopefully the second time will be the charm! 🙂
Can I use buttermilk
Yes, that should work fine, Tina. Enjoy! 🙂
I use buttermilk every time. It works wonderfully!
Thank you for sharing, Ruth! I’m glad to hear that works well as a substitute! 🙂
These were purely awful. Gummy – tooo much butter… not enough good biscuit flavor. I’m a baker at heart, and should have not gotten lazy.
I guess it is scratch biscuit from now on… but it never hurts (too much) to try. I tossed the whole batch. Even the dogs didn’t like em.
PS did the recipe *exactly* as written.
Hi Carolyn! I’m sorry to hear you didn’t enjoy them. If they were gummy, it sounds like they probably needed to bake longer. They normally bake up nice and fluffy. You can omit the butter if you don’t prefer the buttery flavor, since Bisquick contains some fat already, but I find the butter gives them more of a “from scratch” flavor.
Hi, would these freeze well? if so, would it be better to freeze right after cutting the biscuit dough, or after baking them? thank you
Hi Amanda! I haven’t tried freezing them, so I can’t say for sure, but I think it should work fine. My guess is it would work best to freeze the cut biscuit dough prior to baking. It will take longer for them to bake from frozen (probably 5-7 minutes more), so keep an eye on them. If you give it a try, I’d love to hear how it goes for you! 🙂
These were the best biscuits I’ve ever made & I will Always be using this method in the future. So buttery & soft & they cooked perfectly.
Thanks so much, Marcus! I’m happy to hear they were a hit! 🙂
These were absolutely perfect. I used the two forks method for mixing in the butter, 2% milk, cold grated butter, baked at 14 mins 450… followed the recipe exactly as is and wouldn’t change a thing. I think the way to avoid gumminess is to not over-mix the ingredients before cutting. The dough mix needs to look messy and craggy. You aren’t trying to create smoothness or gluten. The rise comes from the baking pow.
Hi CB! I’m so glad to hear you enjoyed them! I agree that one of the keys to fluffy biscuits is to not overwork the dough so it doesn’t develop the gluten. Thanks for sharing! 🙂
Maybe a good rule of thumb for someone new to making this kind of thing is to think about keeping your butter pieces in-tact. You don’t want the butter to smooth out into the dough. The pea size pieces in the first mix is a key to keeping these light and fluffy.
Just made these and they look just like the picture and are delicious! This is my new go-to biscuit recipe! Much easier than the traditional biscuit recipe I have been using. Thank you!
I’m so happy to hear this, Sonya! It’s such a great go-to recipe to keep on hand. 🙂
I have made these numerous times now. I use bacon grease in the bottom of a cast iron skillet. These are very similar to the biscuits made by the Loveless Cafe in Nashville. They are famous for those biscuits and now I can make them at home. This recipe is a keeper!
Thank you so much, Ruth! Great idea to use some bacon grease in the skillet. I live in Nashville and am very familiar with the Loveless Cafe biscuits–they’re so good! I’m glad you’re enjoying these. 🙂