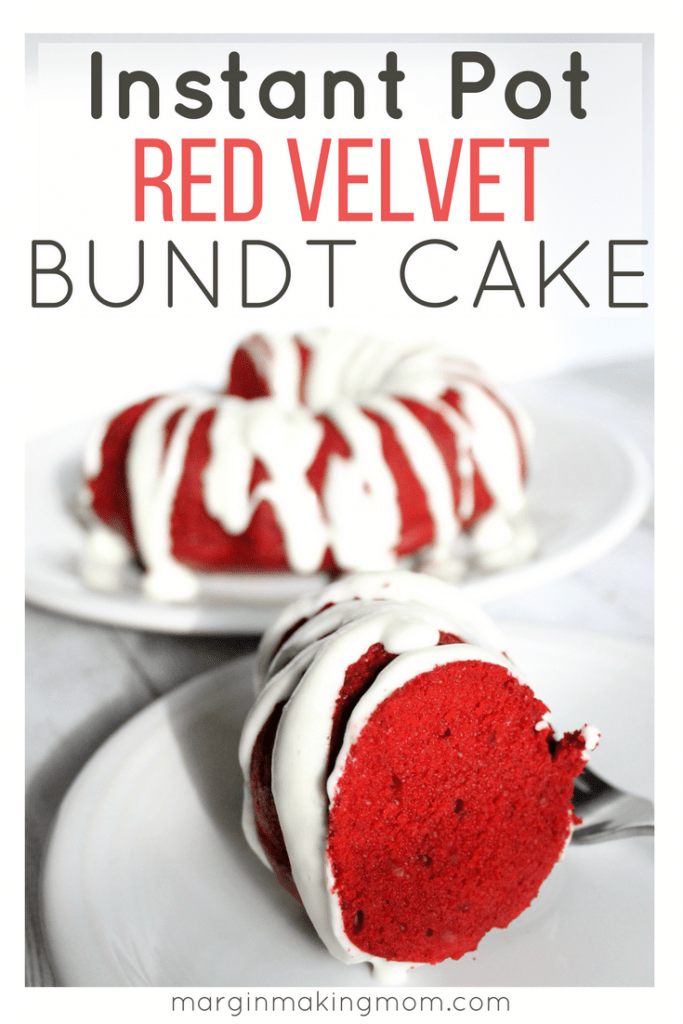
Making a red velvet bundt cake in the Instant Pot is incredibly easy, not to mention delicious!
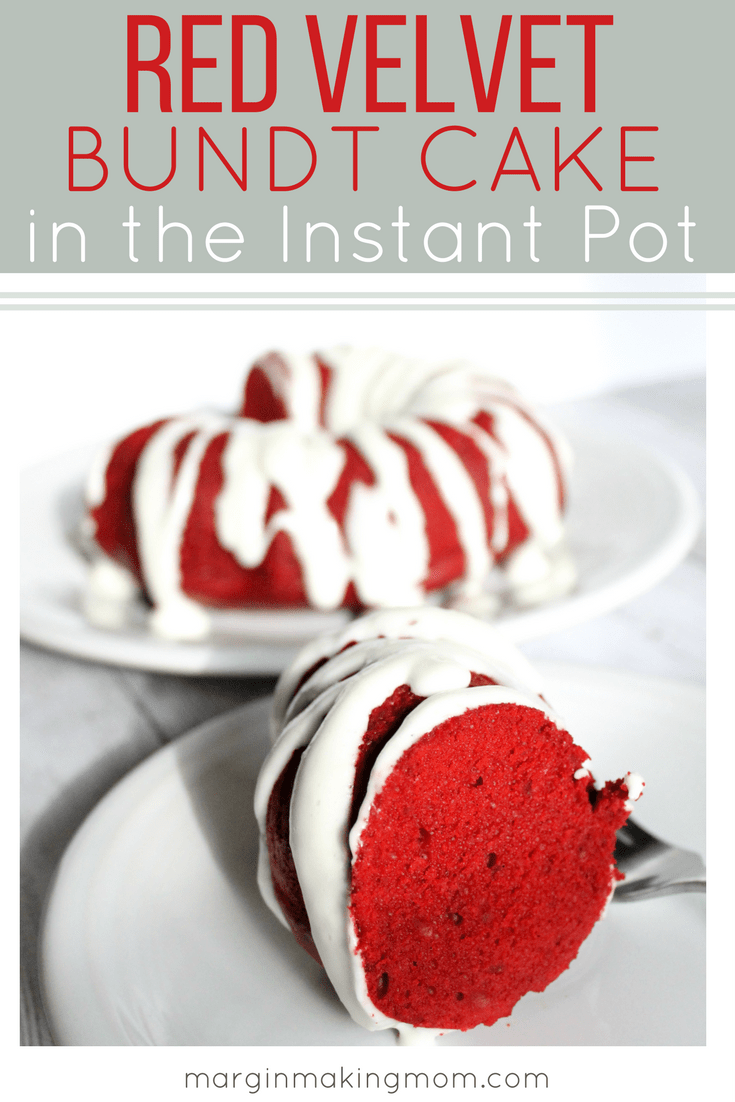
This Instant Pot red velvet bundt cake is moist, tender, and perfect for your next celebration!
Note: This post may contain affiliate links for your convenience. You can read my full disclosure policy here.
By now, it should come as no surprise to any of you that I love my Instant Pot. I make so many things with it. Beyond the standard rice and beans uses, I make oatmeal, yogurt, soups, bread pudding, and more in this bad boy. It is my most-used appliance, followed closely by my beloved KitchenAid stand mixer.
For the last few days, we’ve been snowed in here in Nashville. Around here, it only takes a couple of inches of snow to shut down the city. When I’m cooped up in the cold weather, one of my favorite things to do is bake!
So I decided to try “baking” a cake in my Instant Pot! Having successfully made a handful of other desserts in the Instant Pot, including cheesecake and bread pudding, I figured it was time to give a cake a try.
Honestly, I wasn’t sure exactly what to expect. Would it rise well? Would it stick to the pan? More importantly, would it be any good?
Well, friend, I’m happy to report that making a cake in the pressure cooker is, in fact, a great idea. It turned out wonderfully!
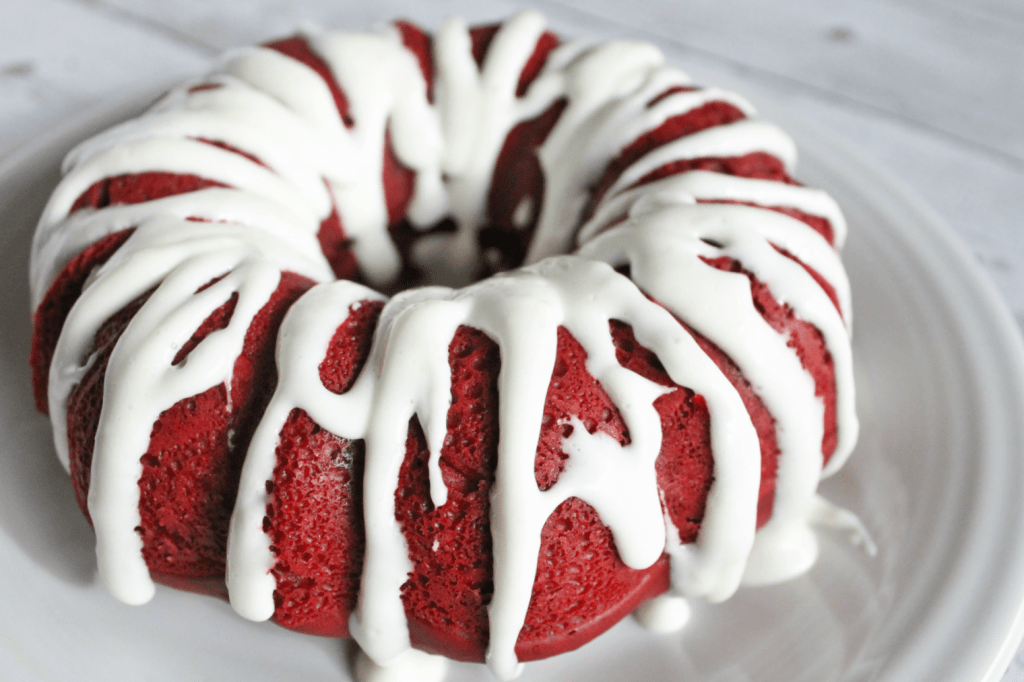
Making a Red Velvet Bundt Cake in the Instant Pot
When my husband came home and saw the cake cooling on the counter, he said, “Whatcha got there?” I said, “Just the most adorable little red velvet bundt cake made in the Instant Pot!” To which he replied, “Is there anything that thing can’t do?”
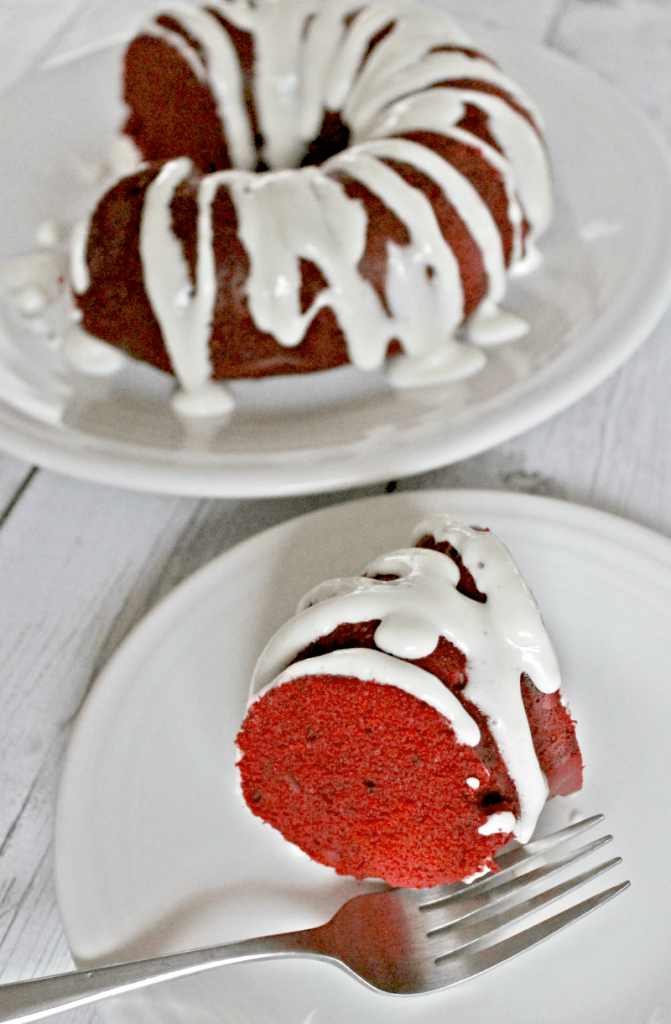
Making a cake in the Instant Pot will always be a little different than baking one in the oven (because ovens are “dry” environments). But I was very pleasantly surprised by the texture of the cake. It was moist and tender, and it rose just fine!
The biggest difference that I noticed is that you don’t get any slightly crispy edges on a pressure cooker cake. But that puppy popped right out of the bundt pan like a dream, so I don’t mind at all (who else has had their cake dreams shattered when a traditionally-baked bundt cake doesn’t come out of the pan easily? *ugh*).
To keep things simple, I started with a red velvet cake mix. The batter is mixed as usual and transferred to a greased bundt pan for “baking” in the Instant Pot.
What Kind of Bundt Pan to Use in the Instant Pot
To make the cake, I used a cute little 6-cup bundt pan that fits into my Instant Pot (you can also find it on my list of must-have affordable gifts for the Instant Pot lover–check it out to see what your next accessory should be!).
Icing for a Red Velvet Bundt Cake
In my opinion, any red velvet cake would be incomplete without some cream cheese frosting.
Now, I know some red velvet purists will scoff and say that traditional red velvet cakes are NOT topped with cream cheese frosting. But I happen to love cream cheese frosting, so that’s what I went with. Feel free to change it up if you want.
I thinned the glaze just to the point that it was easy to drizzle but thick enough to stay on the cake. You can add more or less milk depending on your preference.
And just look how pretty it is! Not only that, but it was delicious! It would make a lovely dessert for Valentine’s Day or Christmas, thanks to its lovely red hue. But really, any day is a good day for red velvet cake, amiright?
Benefits of Instant Pot Bundt Cakes
As I already mentioned, these cakes release from the pans beautifully and their texture is perfect!
I will say, you don’t necessarily save a lot of time by making a cake in the Instant Pot. But, Instant Pot cake recipes are perfect for those situations when you don’t want to heat up your kitchen by using your oven, or for those instances when your oven is already in use (such as holidays).
Also, I know a lot of people travel with their Instant Pots, using them in vacation rentals and RVs. How convenient to be able to make a cake when there is no oven available!
Plus, it’s just kind of fun to make a cake in a pressure cooker. 🙂
Enjoy, friend!
More Instant Pot Bundt Cake Recipes:
- Instant Pot Pumpkin Spice Bundt Cake
- Instant Pot Eggnog Bundt Cake
- Instant Pot Rainbow Bundt Cake
- Instant Pot Chocolate Bundt Cake
- Instant Pot Mint Chocolate Cake
- Instant Pot Lemon Poppy Seed Bundt Cake
- Instant Pot Peanut Butter Chocolate Bundt Cake
- Instant Pot Carrot Cake
- Instant Pot Apple Butter Bundt Cake
You can learn more about making easy pressure cooker recipes here!
Recommended Equipment:
- Instant Pot (I have the DUO60 model and I love it!)
- 6-cup bundt cake pan that will fit in your Instant Pot model
Red Velvet Bundt Cake in the Instant Pot
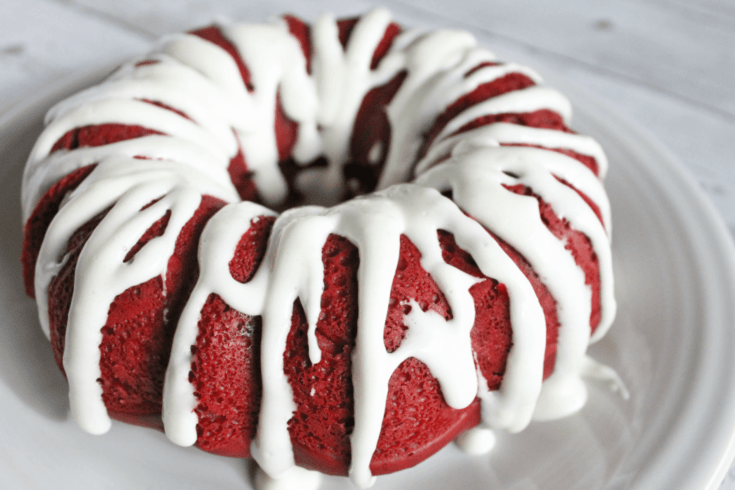
Instant Pot red velvet cake is a super easy but lovely and delicious dessert that "bakes" in your pressure cooker!
Ingredients
- For the Cake:
- 1/2 of a red velvet cake mix (about 1 3/4 cups of dry mix)
- 1/4 cup water
- 1/4 cup vegetable oil
- 2 eggs
- 3 Tbs sour cream
- For the Cream Cheese Glaze:
- 2 oz cream cheese, softened to room temperature
- 1 Tbs butter, softened to room temperature
- 1/2 cup powdered sugar
- 3 Tbs milk (or more for desired consistency)
Instructions
To Prepare Cake:
- Use cooking spray to grease a 6-cup bundt pan well.
- Combine all ingredients for the cake in a mixing bowl. Using an electric mixer, beat on low speed for 30 seconds. Increase speed to medium and beat for 2 more minutes.
- Pour batter into prepared pan.
- Cover pan with a paper towel and then cover tightly with aluminum foil.
- Pour 1 1/2 cups of water into the insert pot of an Instant Pot. Place the trivet in the insert pot.
- Use a foil sling to lower the bundt pan into the insert pot.
- Lock lid in place and set the vent to the sealed position.
- Using the Manual/Pressure Cook button, select a 25 minute cook time at high pressure.
- When cook time is complete, allow a 10 minute natural release, followed by a quick release.
- When valve has dropped, carefully remove lid. Use foil sling to raise pan out of the insert pot carefully.
- Remove foil and paper towel. Allow cake to cool in pan for about 5 minutes before inverting onto a serving plate.
- Once cake is cool, drizzle with cream cheese glaze.
To Prepare Glaze:
- In a small mixing bowl, use an electric mixer to combine cream cheese, butter, and powdered sugar.
- Drizzle in milk, continuing to mix until glaze is smooth.
- (This should result in a glaze that is thin enough to drizzle but thick enough to stay on the cake. You can use more or less milk to adjust consistency, if desired)
Nutrition Information:
Yield:
8Serving Size:
1Amount Per Serving: Calories: 191Total Fat: 16gSaturated Fat: 5gTrans Fat: 0gUnsaturated Fat: 9gCholesterol: 70mgSodium: 88mgCarbohydrates: 10gFiber: 0gSugar: 9gProtein: 3g
Nutrition information is automatically calculated and is not guaranteed for accuracy.



How would you adjust the cooking time for 4 individual sized bundt pans? I just bought a set and would like to use them for this recipe. Please advise 🙂
Hi Karina, I haven’t tried the individual sized bundt pans, so I can’t say with certainty, but I would suggest keeping the cook time the same at 25 minutes. Most Instant Pot cupcake recipes use a 25 minute cook time, so I’d imagine it would work well for the individual bundt size as well. I bet they’ll be so cute! Enjoy! 🙂
How would I make this from scratch? I’m gluten free and I’d love to make this red velvet bundt cake! I’ll looks for a red velvet gluten free mix. Do you think it’ll work if I use a gluten free red velvet cake mix?
Hi Jacqueline! If you wanted to make it from scratch, it should work if you just cut a full cake recipe in half. While I haven’t tried a gluten-free mix, I don’t see why it wouldn’t work! I found some gluten-free red velvet mixes on Amazon that should work! If you have a hard time finding a gluten-free red velvet mix, try finding a gluten-free devil’s food cake mix and add 1 tablespoon of gluten-free red food coloring. It won’t be as bright red as this one (it will be darker reddish brown), but it should still be super tasty! Hope that helps! 🙂
My red velvet cake came out perfect! Thank you so much for sharing this recipe!
Hi Cathy! I’m so glad to hear that your cake turned out well–I hope you enjoyed it! 🙂
What did you do with the other half of the cake mix? Thanks.
Hi David–I just put it in a zip-top bag and save it for the next time I get a hankering for cake. 🙂
Hi, I was wondering if you’ve tried it in a spring pan, and if so would the measurements and time be the same?
Thanks.
Hi Michelle! I haven’t tried it in the springform pan myself, but I think it should work fine. I would keep the measurements the same, but I would increase the cook time to make sure the center cooks through–I’d try a cook time of 35 minutes at high pressure. If you try it, I’d love to know how it works out! Enjoy! 🙂
Can I substitute the sour cream for greek yogurt? And can I substitute the milk for oat or almond milk?
Hi Liz! Yes, you could definitely use Greek yogurt instead of the sour cream. I haven’t tried a different milk in the glaze, so I can’t say for sure, and it’s possible it might affect the taste a bit, but I think it would work fine (especially if you are used to the taste of oat milk or almond milk)! Enjoy! 🙂
Thank you so much. I have made two of these bundt cakes for two seperate people and they all raved about how good the cake is and how moist it is. Nobody wants to believe I made them in my IP. ❤
This makes me so happy to hear, Daphne! Thank you for taking time out of your day to share this with me. I love hearing that you and your lucky beneficiaries enjoyed the cakes so much! 🙂
I tried this cake tonight for the family and it was an absolute hit! My only thing is I would have loved it if it was a bit higher as it looked small on the plate. Do you have any suggestions on how to do that? I’m thinking add more of the ingredients but not sure of the measurements to do that. Thanks for a beautiful recipe.
Hi Anna! Thank you for your kind words–I’m so glad you enjoyed the cake! You’re right, it is a bit small, especially when you’re used to a regular-size bundt cake! I do know some people who make Instant Pot cake recipes with a full box of cake mix, but their bundt pans have higher sides than mine. So if you have one of the deeper bundt pans, you could definitely try doubling the ingredients and see if it would work in the pan. Otherwise, you could try making 1.5 of a batch instead of double. This would be round out to roughly 2 2/3 cups cake mix, 1 cup of water, 1 cup oil, 3 eggs, and 4.5 TBSP sour cream. You may need to add a few minutes to the cook time in that instance. If you give it a try, I’d love to hear how it goes! 🙂
I followed the recipe and instructions exactly as written, and I was very disappointed with the end results. The cake smelled and tasted very “egg-y” and the texture was extremely dense, even more dense than a heavy pound cake or a gluten free bread. I doubt if I’ll ever make this recipe again, but if I were to repeat I’d only use 1 egg. Not sure how I’d remedy the dense texture.
Hi Mary! I’m so sorry it didn’t turn out well for you–I know how disappointing that is. The dense texture makes me wonder if the cake mix was expired? Cake mixes are designed to be practically foolproof, so when they don’t rise properly, it’s very often an issue with the mix (such as the leavening not activating). Over-mixing the batter can cause dense cakes as well. Also, make sure the pressure isn’t accidentally set to “low,” as that would affect results. I hope that helps! 🙂