

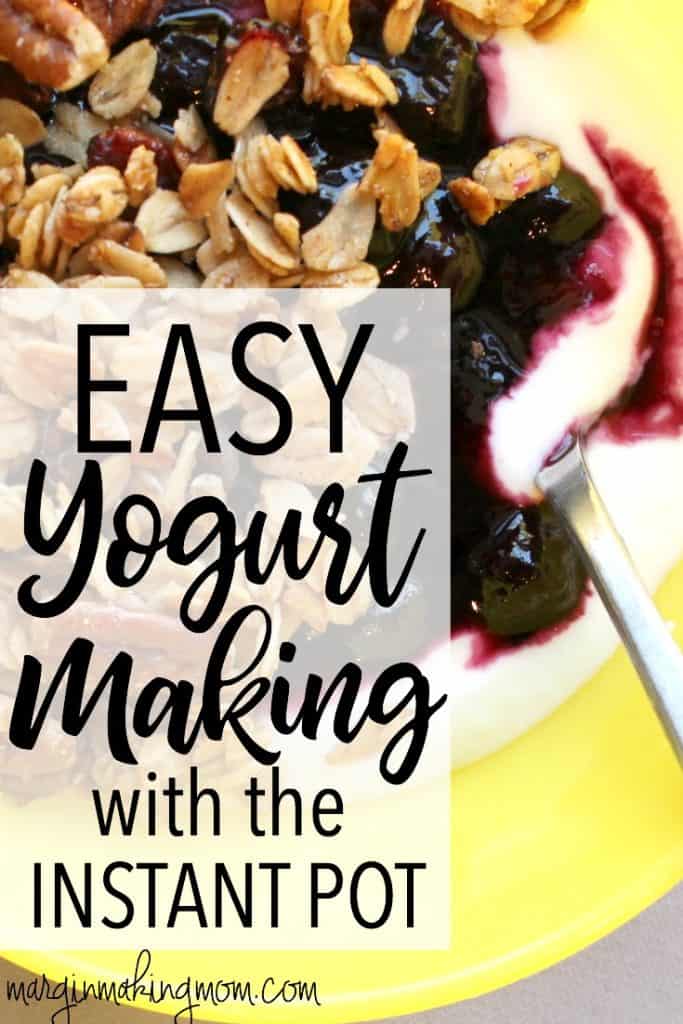
How to Easily Make Yogurt in the Instant Pot Pressure Cooker
Instant Pot yogurt making is a simple way to enjoy homemade yogurt easily. This method uses the Instant Pot as an incubator instead of a pressure cooker!
Disclaimer: This post may contain affiliate links for your convenience. You can read my full disclosure policy here.
I’ve been making homemade yogurt for years now. It really is SO easy and WAY cheaper than buying yogurt. Which is a good thing, because we eat a lot of yogurt around here.
The basic process is that you heat milk, let it cool, mix in your starter culture, then incubate it. You can read about my basic yogurt-making method here. It took some trial and error for me to find a method of yogurt making that worked well, but once I did, I haven’t looked back. Cultures for Health was a great resource for helping my yogurt-making to be a success!
Methods of Yogurt Making in the Instant Pot Pressure Cooker
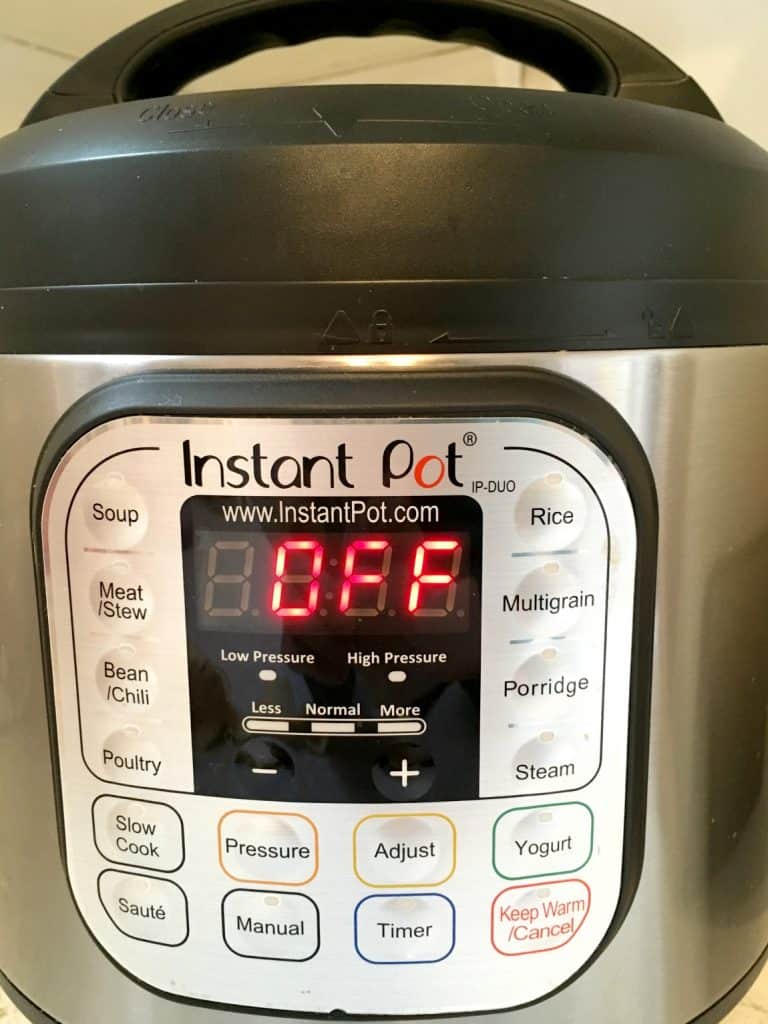
When I bought my Instant Pot pressure cooker, I noticed that there was an option for making Yogurt. The Instant Pot instruction manual discussed a couple of different methods for how to heat the milk in the Instant Pot, then let it cool, then incubate it all in the Instant Pot.
Heating and Incubating Directly in the Insert Pot
One method involves pouring the milk into the insert pot and heating, cooling, adding starter culture to the insert pot, and incubating it right there. That sounds like a reasonable process, and while I haven’t tried it, I assume it would work just fine. I’m just not crazy about having to divide the yogurt into containers after it’s been incubated.
I’ve also read that many people who use this method complain that the milk scorches on the bottom of their insert pot, which sounds like a pain to clean.
Steaming the Milk in Jars in the Insert Pot
The second method discussed in the manual involves pouring the milk into jars, putting the jars into the insert pot and using the Steam function for 1 minute to heat the milk, then allowing a natural pressure release. You then allow the milk to cool before adding the starter culture to the jars. After adding the starter culture, the jars are incubated in the Instant Pot. I decided to give this option a try.
I will say that it did in fact work! However, I didn’t love the process. Using the Steam function to heat the milk was fast, but it heated the milk far above the recommended temperature of 160 degrees. I don’t know how hot it actually got, but I steamed my milk for 1 minute and allowed a natural pressure release. About 20 minutes after the steam time was complete, I came back to check the temperature of the milk and it was about 220 degrees.
Because it was so hot, it took a loooong time for the milk to cool to the recommended temperature of about 110 degrees. Once cool, I added the starter culture and incubated for 12 hours. I’ve only used this method once, and it seemed to work fine, but it is not my preferred method.
The Cold Start Method (No Boil Method or Fairlife Method)
I also tried the cold start method, which uses Fairlife ultra-filtered milk that doesn’t need to be heated up prior to incubating. You simply add your yogurt starter to the cold milk, then incubate it either directly in the insert pot or in jars.
I incubated in jars, and while the yogurt did set up, it had a grainier texture. My husband and I both agreed that we didn’t like it as much as our normal preparation method.
My Preferred Easy Method of Instant Pot Yogurt Making
I decided instead to use the Instant Pot just for the incubation phase of my yogurt making. I like having more precise control over the temperature of the milk during the heating and cooling phase, which I personally think is easier on the stove top with the use of a candy thermometer.
But, if you don’t have access to a stove top, feel free to try heating the milk in the Instant Pot using one of the above methods instead!
I heat four cups of whole milk over medium heat in a stainless steel saucepan. Stirring occasionally, I heat the milk to 160 degrees F, then remove it from the heat to cool to 110 degrees F. Once cool, I add the starter culture.
I use the Bulgarian Yogurt heirloom starter culture from Cultures for Health. Once you make a batch with your original starter culture, all you have to do is save a couple of tablespoons of yogurt from each subsequent batch to use as a starter for your next batch. You don’t have to repeatedly purchase a starter culture for each batch of yogurt. It keeps proliferating if you take care of it properly!
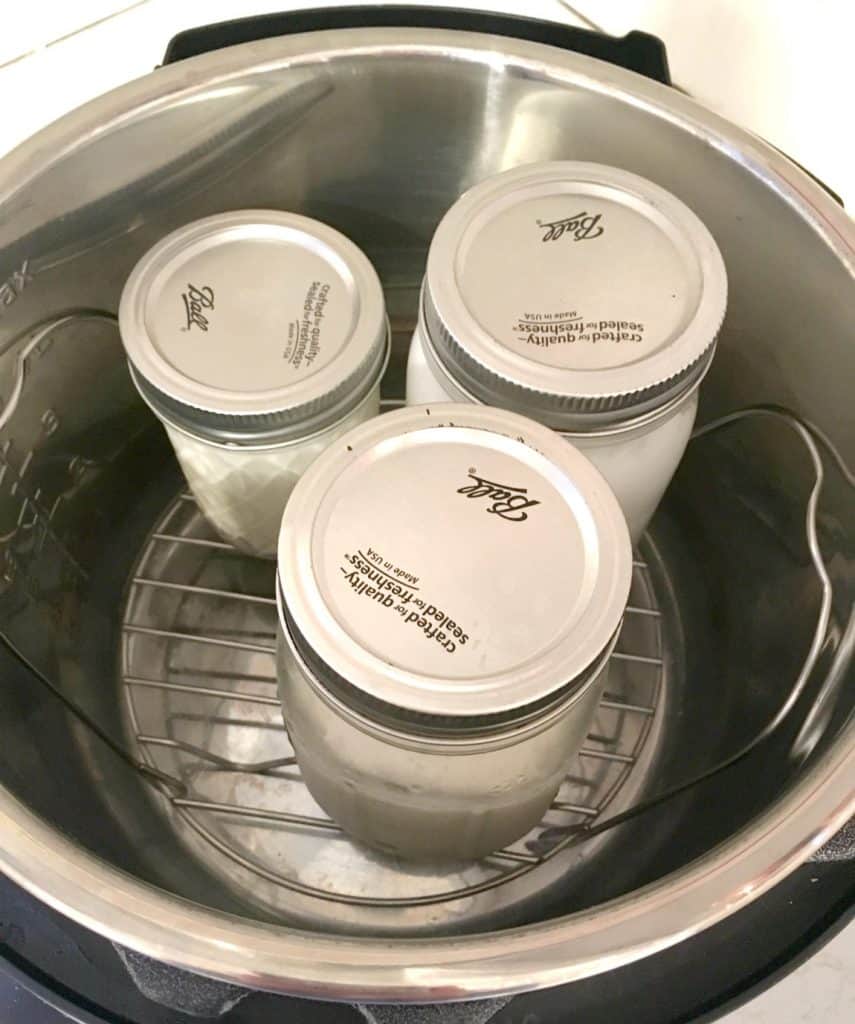
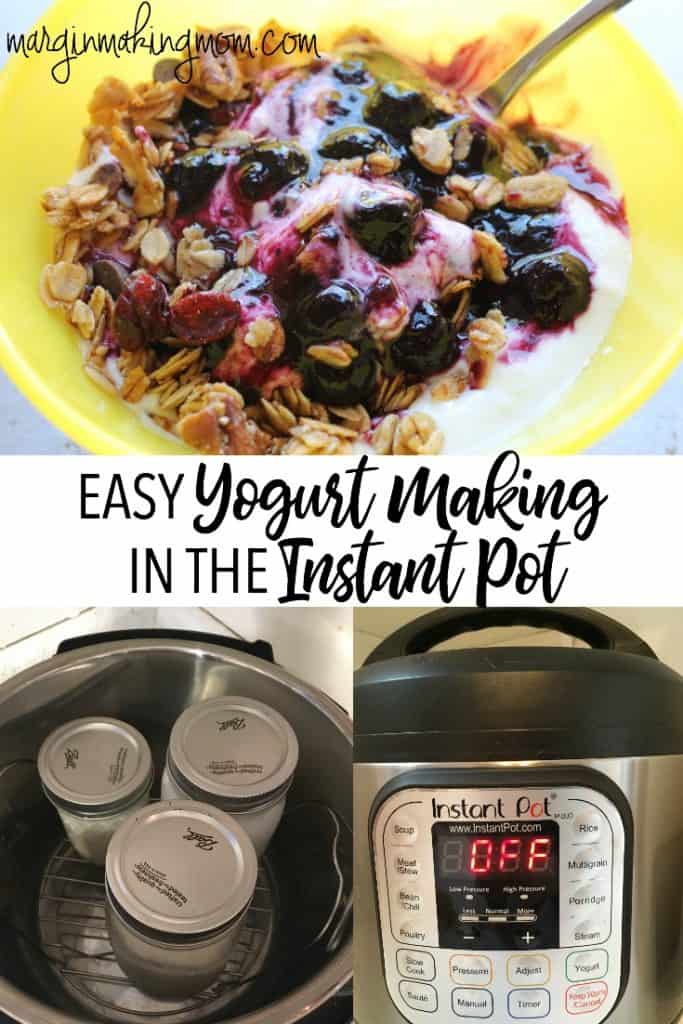
After the starter culture is stirred in, divide the mixture into your desired containers. I use two pint-sized mason jars. I typically also pour some into a smaller half-pint jar, which I set aside after incubation to be the starter for my next batch. Having some already set aside in a small jar helps me to not forget that important step of saving some! 🙂
Put lids on the jars, but only tighten them to fingertip tightness.
Place the jars onto the trivet inside the insert pot of the Instant Pot. Close the lid and use the Yogurt setting for a time of 12 hours. After 12 hours, I place the jars into the refrigerator to cool, which helps the yogurt to thicken and set a bit more.
Easy peasy! As you can see, Instant Pot yogurt making is a very simple process.
Now, I certainly wouldn’t recommend buying an Instant Pot solely for the purpose of making yogurt. Because it’s totally possible to make homemade yogurt without an Instant Pot.
But if you already have one, why not make use of the many functions it can perform? I think that’s one of the best things about the Instant Pot–it can replace a lot of other appliances because of its functionality!
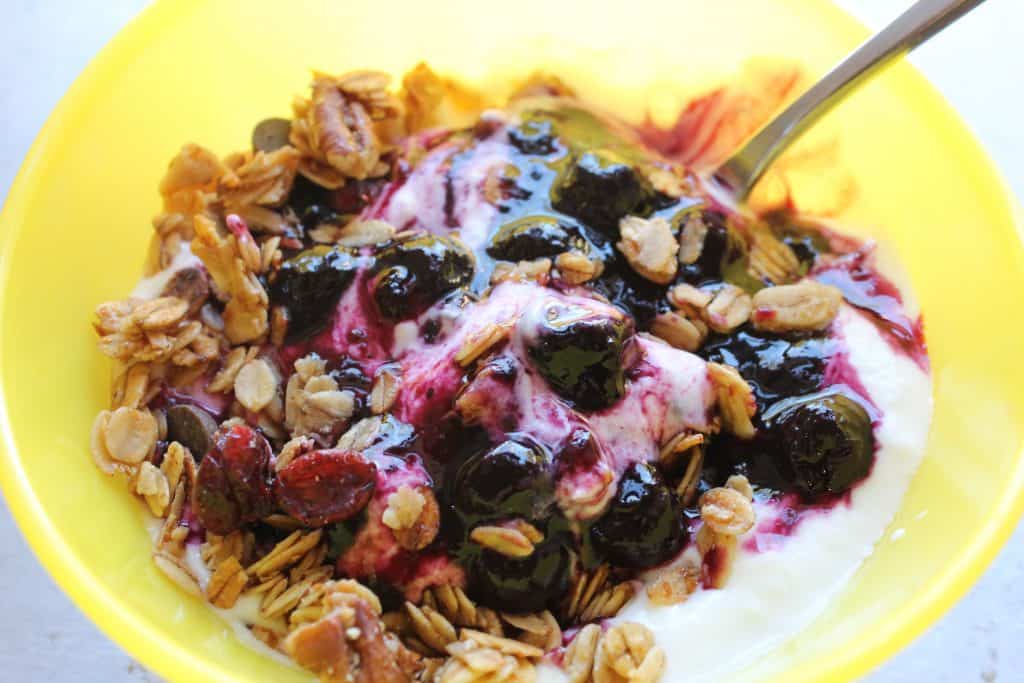
My favorite way to enjoy this yogurt is topped with a fruit mix-in and some granola!
Recommended Equipment
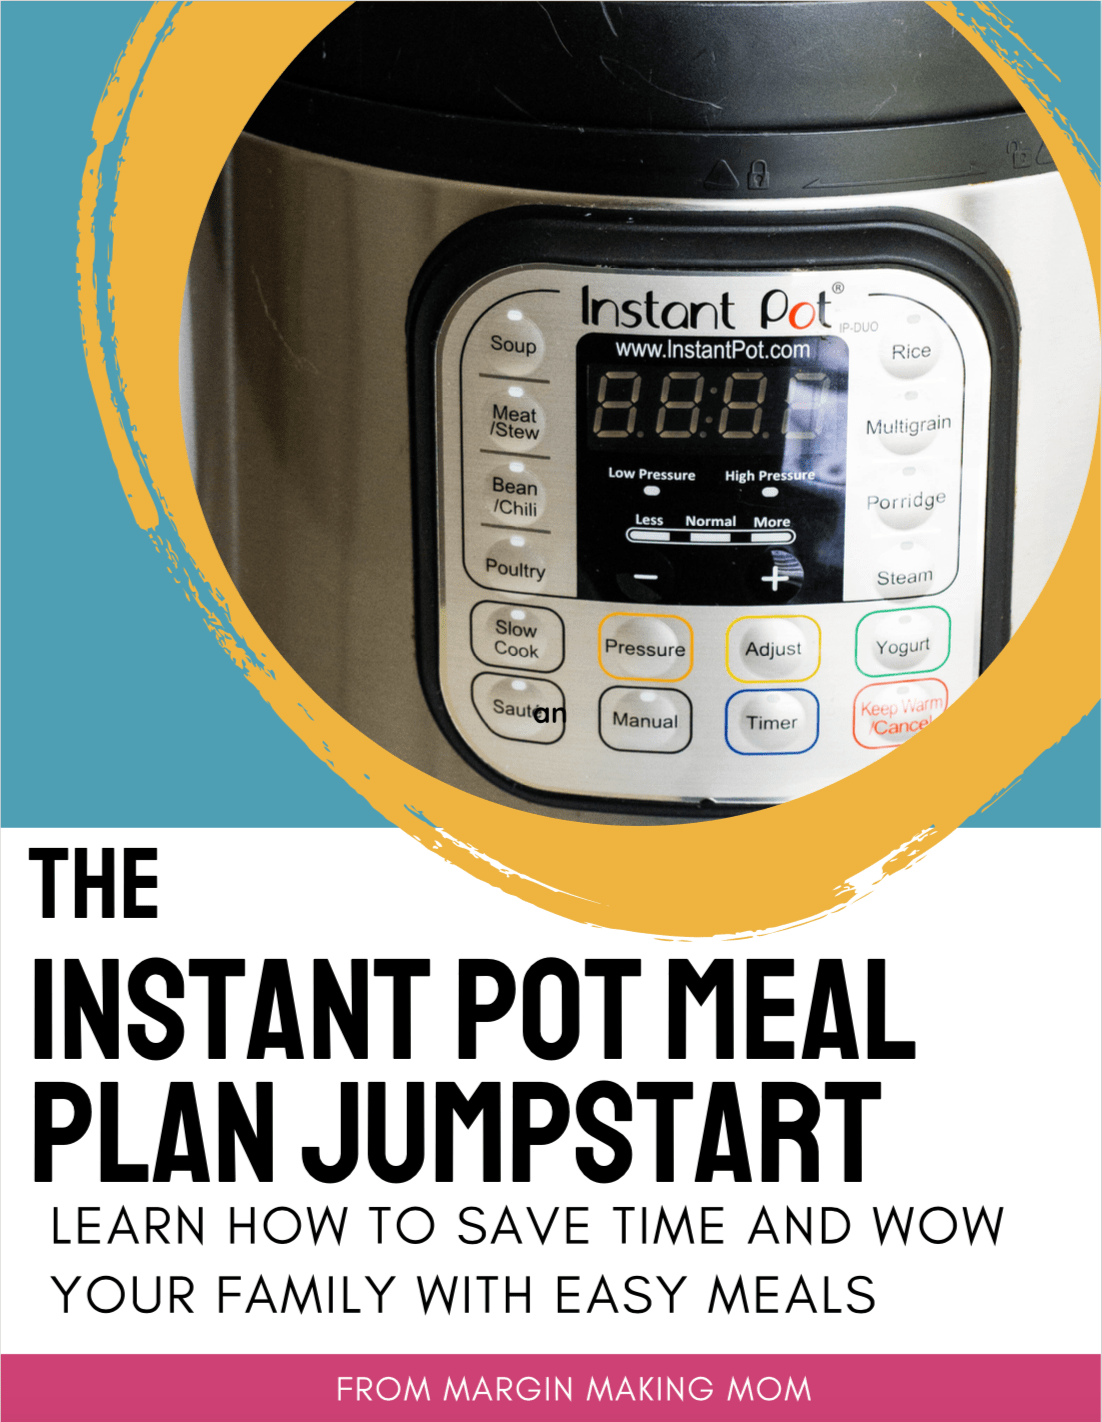
- Instant Pot (I have the DUO60, which is a model with the Yogurt function. Not all Instant Pot models have this function, so be sure to check!)
- Glass jars
- Stainless steel saucepan
- Candy thermometer
- Funnel (not required, but it does make pouring into the jars much easier)
Easy Instant Pot Yogurt

Making yogurt in the Instant Pot is easier than you think! Follow these basic tips and tricks to make your own creamy yogurt!
Ingredients
- 4 cups whole milk (homogenized and pasteurized, but NOT ultrapasteurized)
- 2 Tbs of yogurt for starter culture, or 1 packet powdered starter culture from Cultures for Health
Instructions
- Pour four cups of whole milk into a nonreactive pot (I use a stainless steel pot).
- Clip a candy thermometer to the side of the pot and place it on the stovetop, heating it over medium heat. Stir occasionally and warm the milk until the temperature reaches 160 degrees, then remove from heat.
- Allow the milk to cool to 110 degrees.
- Stir in your starter culture (either the powdered culture from Cultures for Health or 2 tablespoons of yogurt from a previous batch you made), combining well.
- Pour into mason jars (I use two pint-size jars) and twist the lids on just until they are fingertip tight.
- Place the jars onto the trivet in the insert pot of your Instant Pot. Place the lid on the pot, sealing the vent. Select the Yogurt function and a time of 12 hours.
- Allow the culture to incubate for 12 hours. After that time has passed, place the jars into the refrigerator to cool.
- At this point, you can drain off some of the additional whey if you prefer a much thicker consistency of yogurt, but we do not do this. We like the creamy consistency and find it to be thick enough for our preferences. You can also add in any flavorings if desired, such as a dash of vanilla extract to make the yogurt vanilla flavored.
- Serve! We love this topped with homemade fruit topping and homemade granola! Just remember to save a couple tablespoons of this batch so you will have a starter for your next batch!
Notes
From Cultures for Health
Recommended Products
As an Amazon Associate and member of other affiliate programs, I earn from qualifying purchases.
-
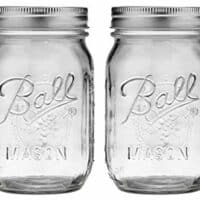 Ball Jar, Set of 2 389579 Pint Regular Mouth Mason, Pack Of 2, Clear
 -
 Cuisinart MCP193-18N MultiClad Pro Stainless Steel 3-Quart Saucepan with Cover
 -
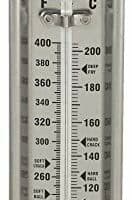 Winco Deep Fry/Candy Thermometer with Hanging Ring, 2-Inch by 11-3/4-Inch
 -
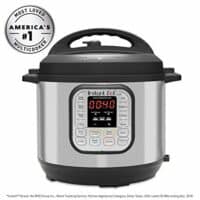 Instant Pot DUO60 6 Qt 7-in-1 Multi-Use Programmable Pressure Cooker, Slow Cooker, Rice Cooker, Steamer, Sauté, Yogurt Maker and Warmer
Nutrition Information:
Yield:
8Serving Size:
1Amount Per Serving: Calories: 77Total Fat: 4gSaturated Fat: 2gTrans Fat: 0gUnsaturated Fat: 1gCholesterol: 12mgSodium: 55mgCarbohydrates: 6gFiber: 0gSugar: 6gProtein: 4g
Nutrition information is automatically calculated and is not guaranteed for accuracy.
See everything you need to know about getting started with easy pressure cooker recipes!
Categories:
Appetizers & Sides, Breakfast, Easy Recipes, Gluten Free, Pressure Cooker {Instant Pot}, Side Dishes,


I have glass yogurt jars from my Euro Yogurt machine. The lids are plastic so I’m thinking I should not use them but rather use foil to cover the glass jar. Also, because they are smaller can I stack them all in the cooker for incubation.
Thank you
Great question–you can still use the lids from the Euro Yogurt machine! Even though they are plastic, they should be fine because with the yogurt function of the Instant Pot, it doesn’t get hot enough to melt the plastic. I wouldn’t screw them on super tight though, just fingertip tight. And yes, you can definitely stack them as long as they fit!
Fabulous recipe. Thanks so much for sharing. I would like to make this in individual size servings. Will it work in 8oz mason jars? Will I still incubate at the same time you referenced? Thanks again!
Hi Cassy! Yes, 8-oz mason jars are fine! You can stack as many as will fit into the pot, and the incubation time is the same. Enjoy! 🙂
Thanks so much! Am goinv to give it a whirl this week.
Sorry to bother you again but I have a question about incubation time. Will 12 hours make it too tart? My son likes the milder tasting yogurts. Thanks again!
I don’t personally find it too tart after 12 hours (I used to incubate for 24 hours before I started using my instant pot for yogurt!), but you could try a shorter time if you want. You could check it at 8 hours to see if it’s set (it should be pulling away from the sides of the jar if the proteins have coagulated well). If it’s not set at 8 hours, you could check it periodically until it’s at the right consistency. Enjoy!
I just noticed that you don’t add water to your Pot. Is this correct or did I miss something? Thank you.
Nope, you didn’t miss anything! No water is necessary since it’s not actually cooking at high pressure. The Instant Pot just stays warm enough to incubate the yogurt.
Do you have to put lids on the jars during incubation? Can the jars be completely open? Thanks very much.
Hi Irene! Great question–I’ve never tried it, but as far as I know, you could leave the jars open without the lids. Enjoy! 🙂
I have two Instant Pots and only one has a yogurt setting. I’ve found I can use the sous vide setting which allows me to set the temperature at 105 degrees and time to twelve hours to make the yogurt using the Fairlife milk directly in the pot and it turned out exactly the same as the yogurt setting.
That’s a great point, Leigh! The sous vide settings weren’t a thing when Instant Pots first came out, but I too have one with that option now. Thank you–I need to update the article with that option! 🙂