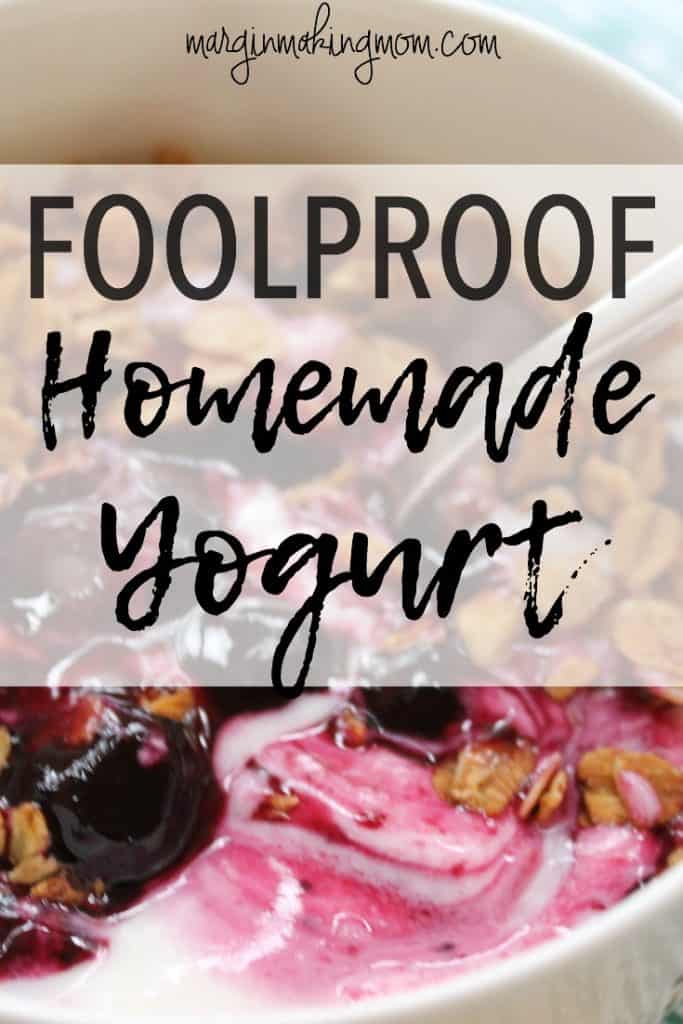
I love this easy, foolproof homemade yogurt! It is also a great money saver and tastes yummy! After many failed attempts, I’ve landed on this great method!
Disclaimer: This post may contain affiliate links for your convenience. You can read my full disclosure policy here.
My family loves yogurt. I’m glad, too, because it is a nutritious option for snacks, breakfast, or lunch! It’s a great way to add some protein to your diet, and a great way to replenish or maintain healthy bacteria in your gut. A couple of years ago, I read some blog posts about making your own yogurt. It sounded so simple and I decided to give it a whirl.
My first attempt at homemade yogurt involved using the Crockpot. I used commercial yogurt from the grocery store as my starter (the starter is the culture of bacteria that multiply to convert milk to yogurt), but at the end of the incubation period, all I had was a Crockpot full of warm milk.
I didn’t know what had gone wrong, but clearly, my culture did not multiply enough to produce thick, creamy yogurt. I was so bummed. I had wasted money on milk and yogurt, and the experiment was a complete failure.
Not one to give up easily, I decided to try again. But this time, I purchased a proper yogurt maker, thinking that maybe my Crockpot had not maintained an appropriate temperature for the culture.
Again, I used yogurt from the grocery store as my starter. I dutifully waited the allotted length of time, then eagerly opened the jars within the yogurt maker, only to once again discover that my attempt at homemade yogurt was another flop. The milk was slightly thicker, but not even close to yogurt consistency.
What a bummer!! I ended up returning the yogurt maker to the store and giving up on my efforts for a while.
Then one day, I read about Cultures for Health. Their website has so many awesome products if you are interested in culturing, cheesemaking, fermentation, and more! I also love all of the educational services they provide. They have free eBooks to help get you started and they are great about helping to troubleshoot if necessary.
I decided to try my hand at making homemade yogurt one more time, this time using one of their yogurt starter cultures. They have several varieties, but I eventually landed on the Bulgarian yogurt starter. I decided to use a heating pad for incubation, since my Crockpot method failed and I no longer had the yogurt maker. I followed the directions on the package and guess what? It worked!!
My first batch turned out beautifully, and I have been making my own yogurt now for about two years. It is just the right consistency–creamy, not too runny, and with just the right amount of tang.
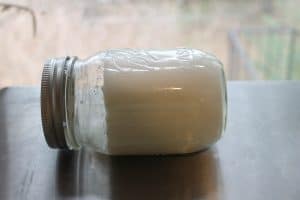
I know some people like to drain off any excess whey for an even thicker yogurt (like more of a Greek style yogurt), but we skip that step because we find it to be just right. You can see from this picture below how thick it is–it keeps its shape when I lay the jar on its side.
Recommended Equipment:
- Heating pad– just a basic model will do
- Glass jars– I use two pint-size jars for one batch of yogurt
- Candy thermometer– I like the kind that attaches to the side of your pot
- Stainless steel pot– I use a 2-qt size, because that’s large enough to hold 1-qt of milk but small enough so that the thermometer is submerged in the milk.
- Funnel– This is not necessary, but it does make it easier to pour the milk from the pot into the jars.
I typically make two quarts of yogurt every week, and every single batch has turned out great. This is a great money saver, too! Because let’s be honest, those little cups of yogurt in the store are not cheap, especially for a large family.
After your initial purchase of the starter culture, the only cost is that of the milk. So for the cost of a quart of milk, you get a quart of yogurt. And–bonus–there is no waste created in the form of little plastic yogurt cups with this method!
You can also read about how I make yogurt in my Instant Pot pressure cooker!
We love to top this with some fruit topping and granola. SO yummy!
Here’s my tried and true method. This would make a great addition to your weekly meal plan. Enjoy!
Foolproof Homemade Yogurt
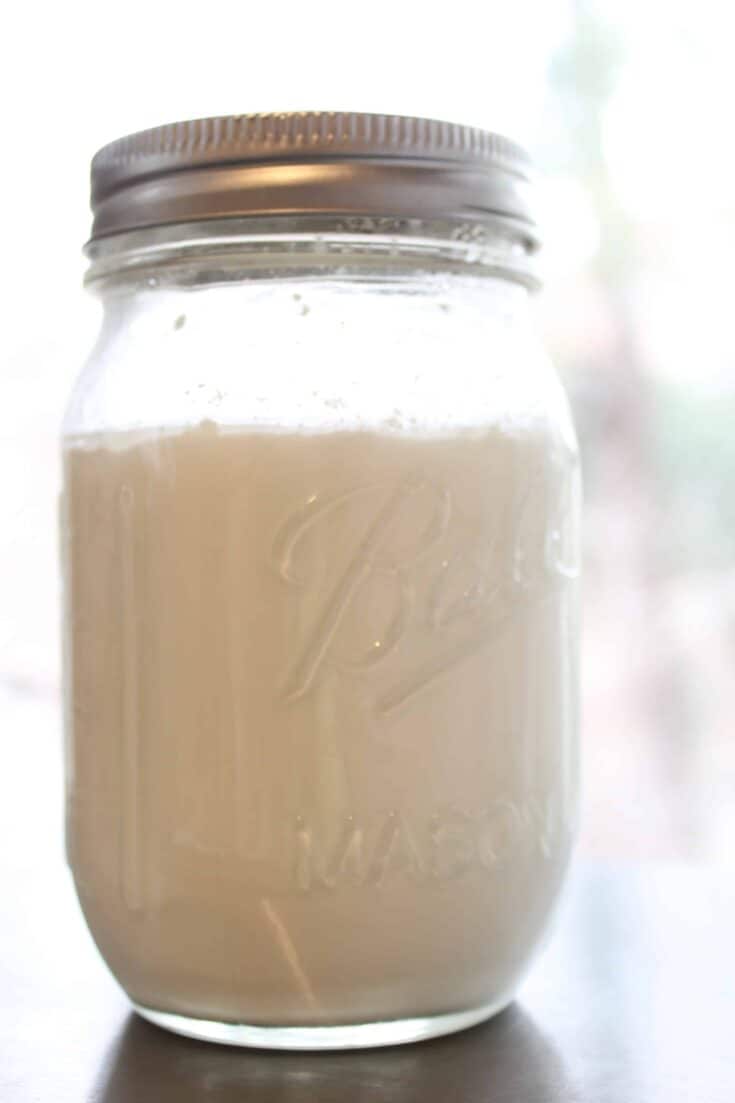
This is an easy, foolproof way to make homemade yogurt!
Ingredients
- 4 cups of whole milk (homogenized and pasteurized, but NOT ultra-pasteurized)
- 2 Tbs. of yogurt or 1 packet of yogurt starter powder from Cultures For Health
Instructions
- Pour four cups of whole milk into a nonreactive pot (I use a stainless steel pot). Clip a candy thermometer to the side of the pot and place it on the stovetop, heating it over medium heat. Stir occasionally and warm the milk until the temperature reaches 160 degrees, then remove from heat.
- Allow the milk to cool to between 110 degrees. Stir in your starter culture (either the powdered culture from Cultures for Health or 2 tablespoons of yogurt from a previous batch you made), combining well.
- Pour into mason jars (I use two pint-size jars) and twist the lids on just until they are fingertip tight.
- Place the jars on top of a heating pad set to the low setting. Wrap the heating pad up around the sides of the jars if possible, and cover with 1-2 kitchen towels.
- Allow the culture to incubate for 12 hours. After that time has passed, place the jars into the refrigerator to cool.
- At this point, you can drain off some of the additional whey if you prefer a much thicker consistency of yogurt, but we do not do this. We like the creamy consistency and find it to be thick enough for our preferences. You can also add in any flavorings if desired, such as a dash of vanilla extract to make the yogurt vanilla flavored.
- Serve! We love this topped with homemade fruit topping and homemade granola! Just remember to save a couple tablespoons of this batch so you will have a starter for your next batch!
Notes
From Cultures for Health
Nutrition Information:
Yield:
8 servingsServing Size:
1Amount Per Serving: Calories: 90Total Fat: 4gSaturated Fat: 3gTrans Fat: 0gUnsaturated Fat: 1gCholesterol: 14mgSodium: 70mgCarbohydrates: 8gFiber: 0gSugar: 8gProtein: 5g
Nutrition information is automatically calculated and is not guaranteed for accuracy.




Leave a Reply