

Easy Red Velvet Cookie Cups
All you need is four ingredients to make this beautiful and delicious red velvet dessert that’s perfect for holidays and special occasions.
Red velvet cookie cups are made with cake mix and canned frosting, but they look and taste like something you’d get from a bakery!

Note: This post may contain affiliate links for your convenience. If you make a purchase, this site may receive a small commission at no additional cost to you. You can read my full disclosure policy here.
When I need something that feels a little fancy, but I don’t have a lot of time on my hands, I like to make some type of red velvet dessert.
The vibrant color is effortlessly beautiful, the flavor is always a hit, and there are so many possible variations that it’s never the same ol’, same ol’.
Plus, I always use a cake mix for my favorite red velvet treats, which helps keep things simple.
And it doesn’t get much more simple than these red velvet cookie cups! They’re perfect for serving during the Christmas holidays, for Valentine’s Day, or as a sweet birthday dessert.
The process for making them is similar to the way I make my Christmas sugar cookie cups, using a doctored-up mix and an easy technique that’s sure to make this one of your new favorite recipes.
More Red Velvet Recipes You’ll Love:
- Easy Red Velvet Trifle
- Red Velvet Pound Cake
- Easy Red Velvet Loaf Cake
- Red Velvet Ooey Gooey Butter Cake
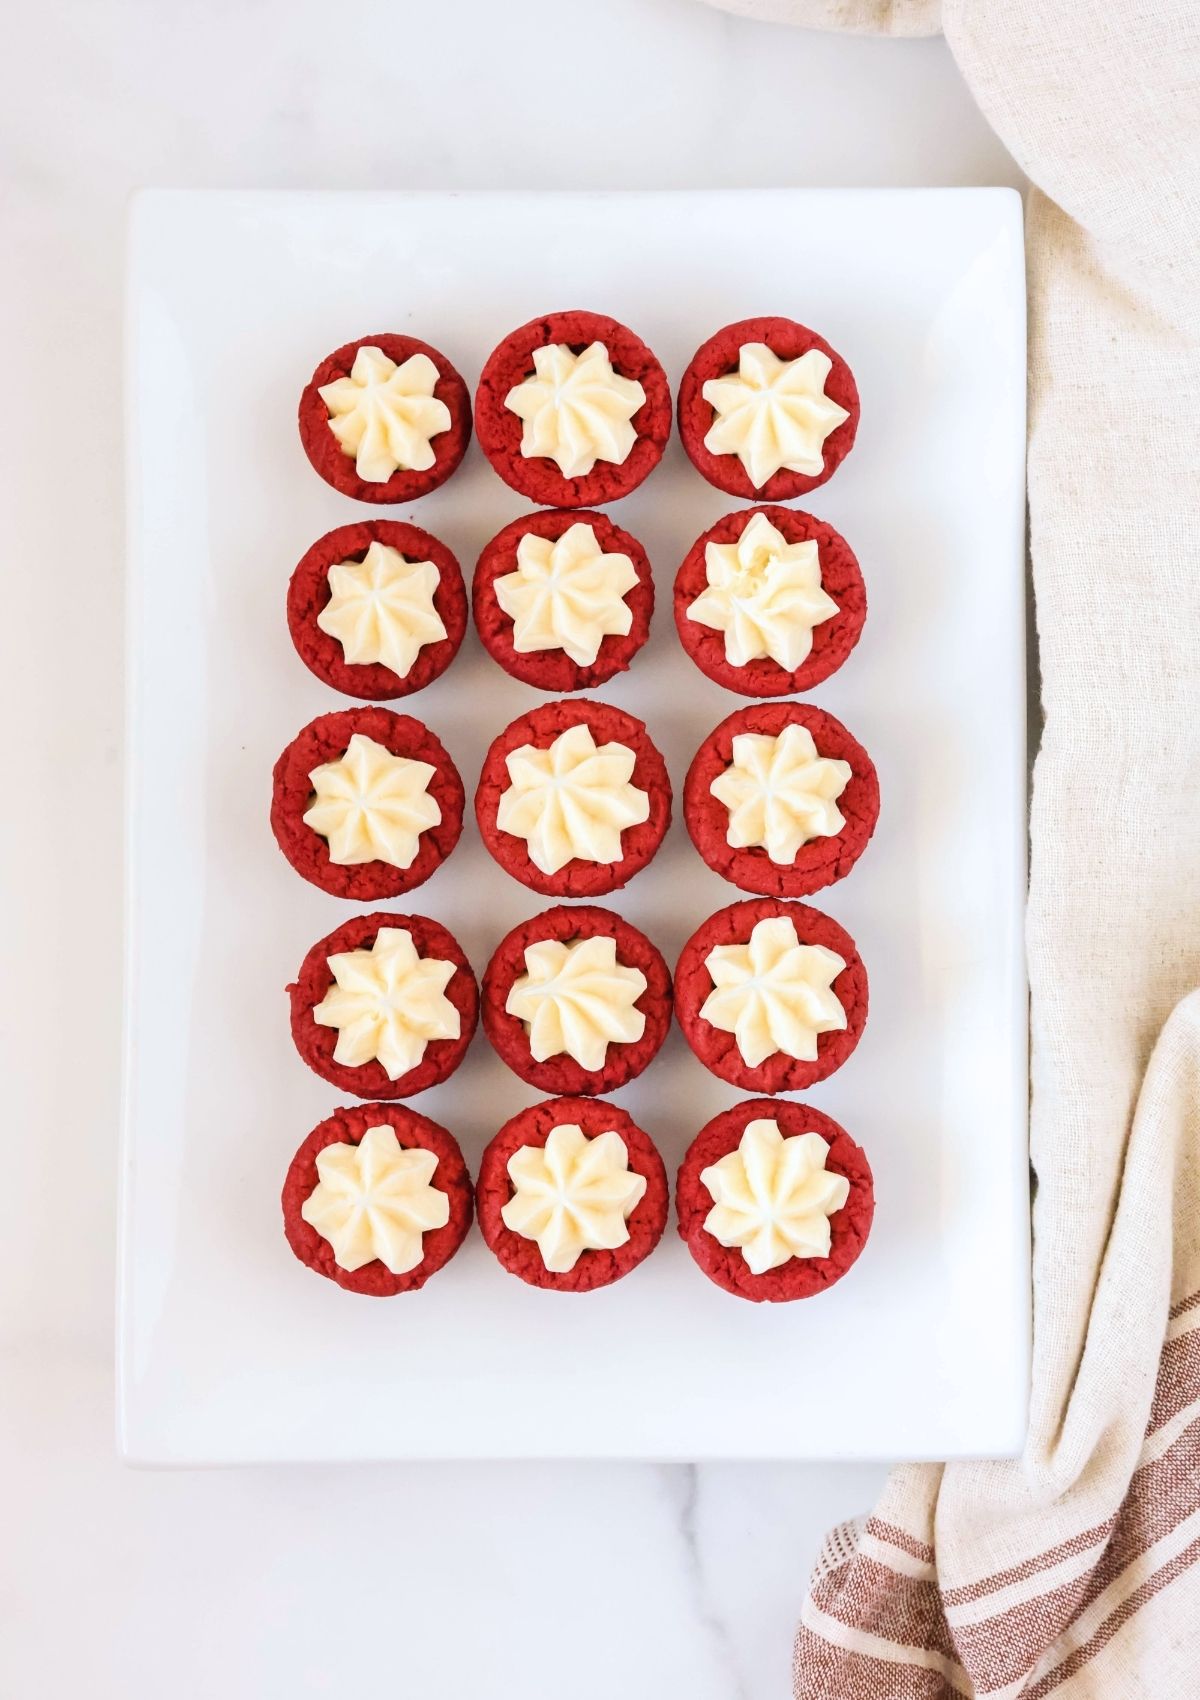
How to Make Cake Mix Cookie Cups
It’s really easy to make these bite-size dessert cups. It’s one of my favorite cake mix recipes, and once you give it a try, you’ll see why!
Ingredients You’ll Need
- Red velvet cake mix
- Butter
- Egg
- Frosting
How to Make It:
Find the full printable recipe available below
Make the cookie dough. First, you’ll combine the cake mix, a stick of soft butter, and an egg in a mixing bowl.
Using an electric mixer on low speed, mix everything together until a soft dough forms. It may take a minute for everything to come together, but it will.
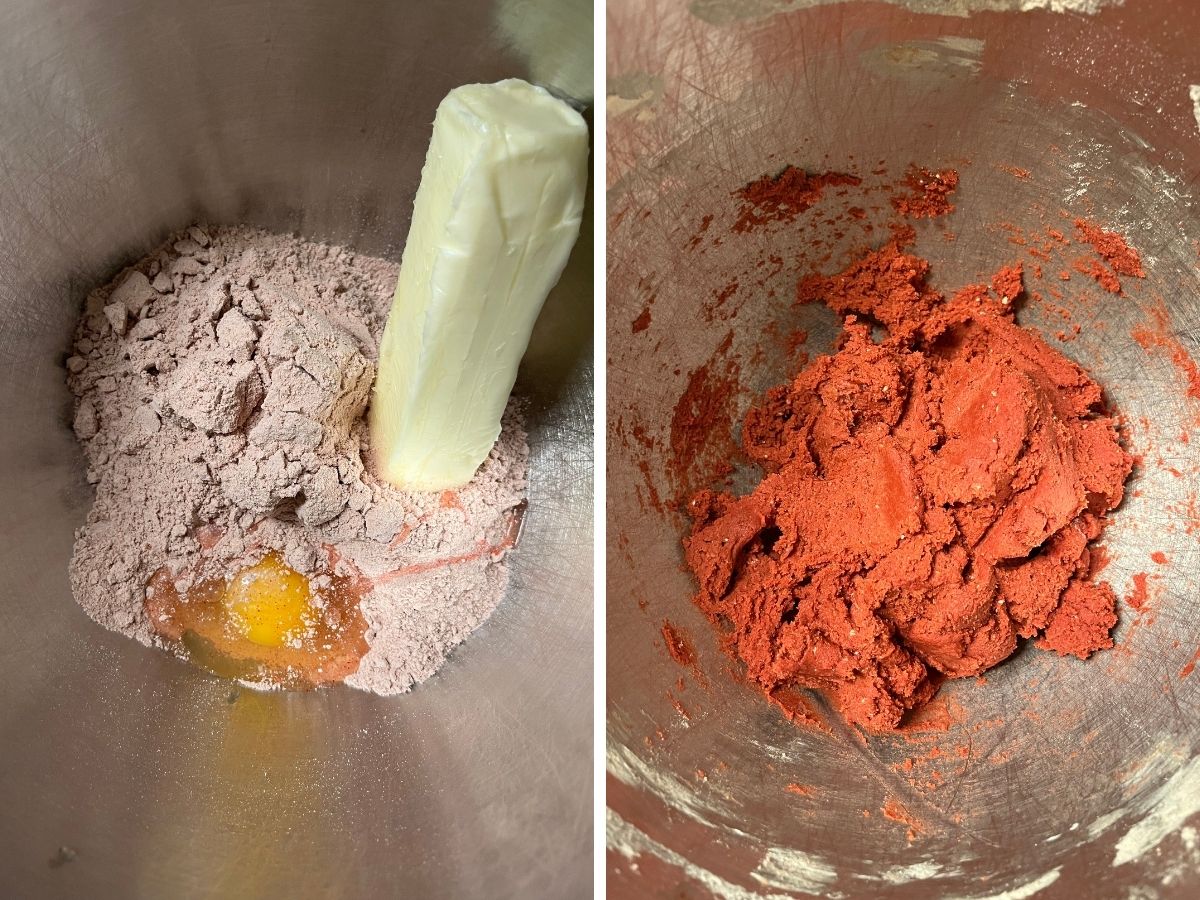
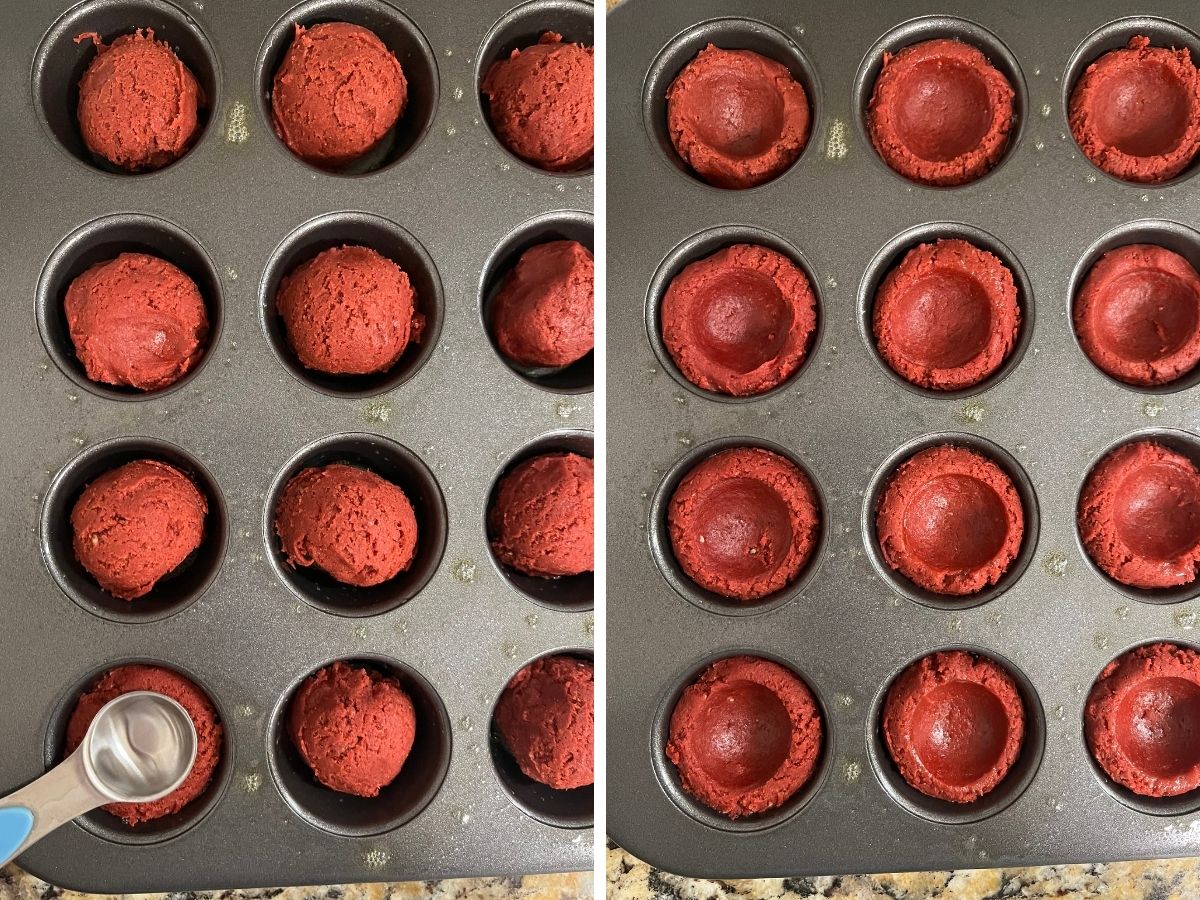
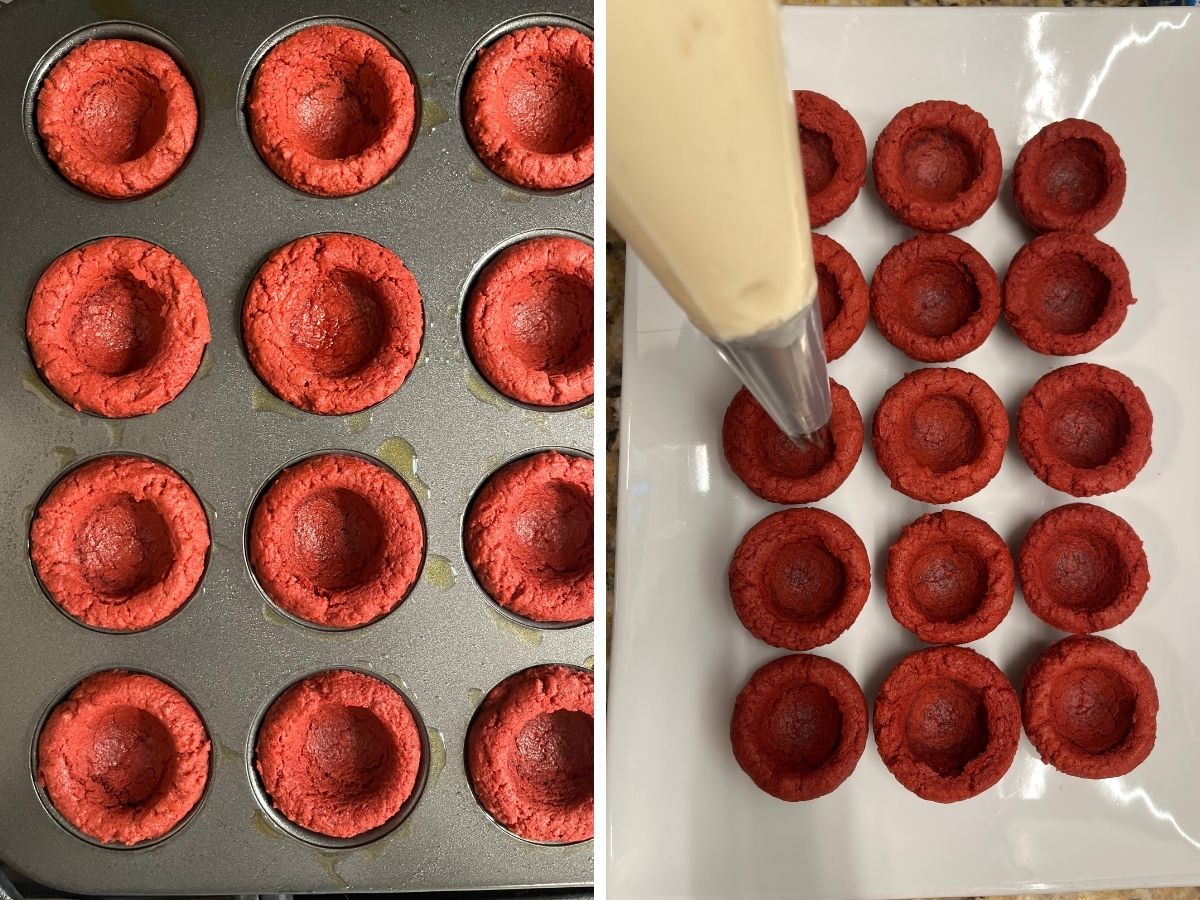
Shape the dough. Then, you’ll use a cookie scoop to scoop out rounds of cookie dough. Place each round in a greased well of a mini muffin pan.
Use the back of a rounded teaspoon to press an indentation in each dough ball. If you find the spoon sticks to the dough, just give the spoon a spritz with nonstick spray and you’ll be all set.
I use the teaspoon from this set, but if you don’t have a rounded spoon, you can just use your fingers to shape them into little cups.
Bake. Then, you’ll bake the cookie cups for about 12-14 minutes, until the edges are set but the centers are still a little soft and puffed up.
While they’re warm, go ahead and take the same spoon (just wash it first) and press the puffed centers down, so you have a nice cup shape.
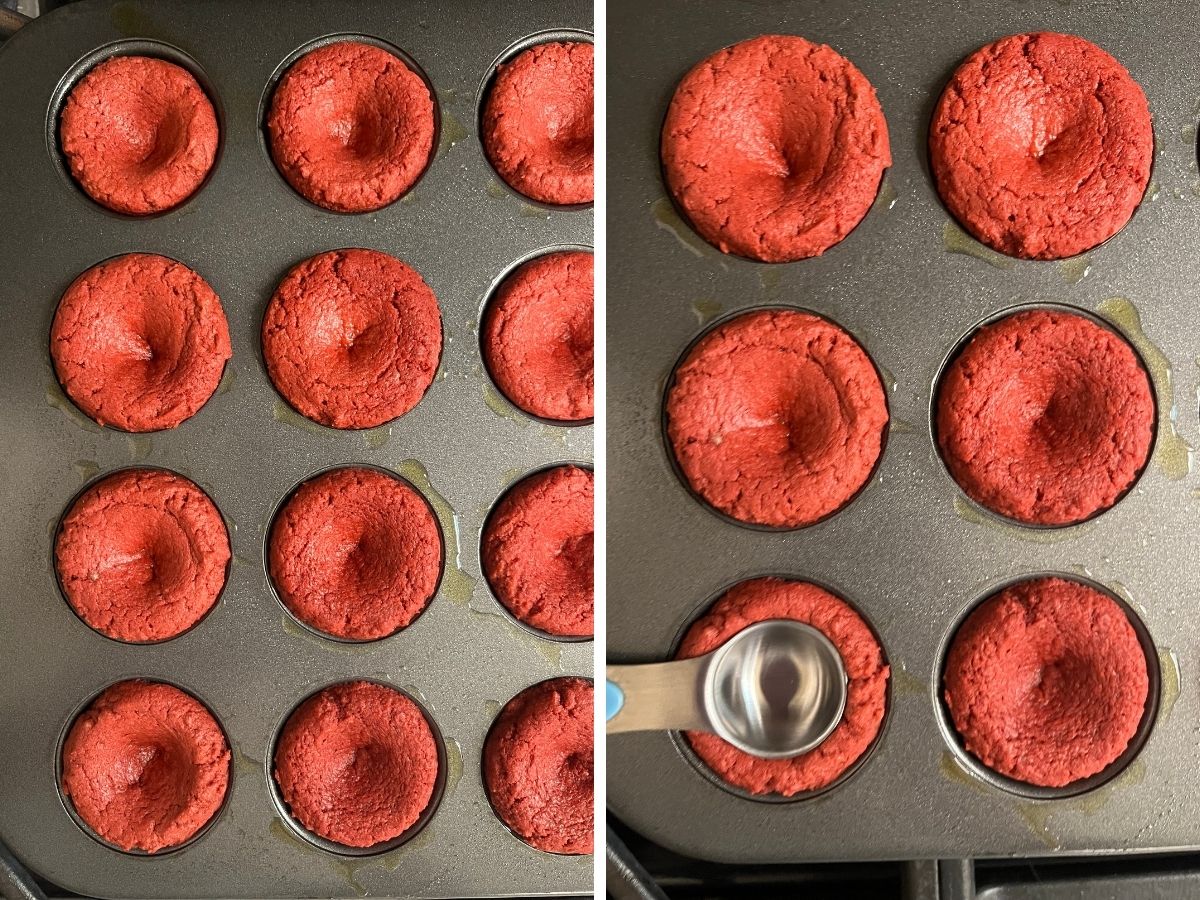
Cool and fill the cookie cups. Let the cookie cups cool in the pan for about 15 minutes. This will help them firm up a little so they don’t fall apart.
Then gently remove them to a plate or wire rack and let them cool completely before adding the frosting.
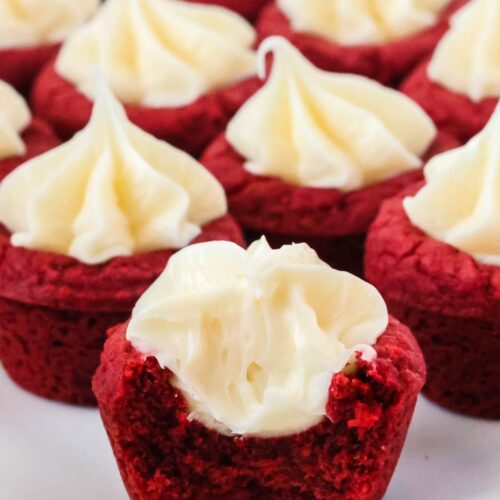
Once they’re cooled, take your can of frosting and scoop it into a piping bag fitted with a piping tip. Squeeze some frosting into each cookie cup, then serve and enjoy!
Notes and Adaptations:
- A piping bag and tip make it easy to add decorative frosting to the cookie cups, but if you don’t have those, you can add the frosting to a heavy-duty zip-top bag and snip the corner of the bag, then squeeze it through the opening.
- I use vanilla frosting, but you can also use cream cheese frosting or other white frosting.
- These do freeze well–you’ll just want to freeze them in a single layer so the frosting doesn’t get messed up. I freeze mine in a freezer-safe container with a lid, then thaw at room temperature.

Recommended Equipment:
Red Velvet Cookie Cups
Ingredients
- 13.25 ounce red velvet cake mix
- 1/2 cup unsalted butter (softened to room temperature)
- 1 egg
- 16 ounce can vanilla frosting (or cream cheese frosting)
Instructions
- Preheat oven to 350F. Spray a 24-well mini muffin pan with nonstick spray and set aside.
- In the bowl of a stand mixer fitted with the paddle attachment (or in a large mixing bowl with an electric hand mixer), combine cake mix, butter, and egg. Mix on low speed until combined into a soft dough.
- Using a small cookie scoop, scoop out rounds of dough into each well of the prepared mini muffin pan.
- Using the back of a round teaspoon, press an indentation into the center of each round of dough, forming a cup-like shape (If necessary, spray the back of the spoon with nonstick spray to keep it from sticking to the dough). Wash the teaspoon and set aside for later use.
- Bake in preheated oven for about 12-14 minutes, until the edges are set. The centers will puff up a bit and still be a little soft.
- Remove from oven and use the back of the round teaspoon to gently press down the puffed-up centers. Let the cookie cups cool in the pan for about 15 minutes, then carefully remove them to a plate or wire rack to cool completely.
- Once cookie cups are completely cooled, scoop frosting from can into a piping bag fitted with a piping tip (I use a large open star Ateco 825 tip). Squeeze a dollop of frosting into the center of each cookie cup, then serve and enjoy!
Notes
- A piping bag and tip make it easy to add decorative frosting to the cookie cups, but if you don’t have those, you can add the frosting to a heavy-duty zip-top bag and snip the corner of the bag, then squeeze it through the opening.
- I use vanilla frosting, but you can also use cream cheese frosting or other white frosting.
Equipment
Nutrition
Did you try this recipe?
Don’t forget to leave a rating below and make sure to follow on Instagram and Pinterest for more easy recipes!
Don’t forget to save this recipe to your _____ board on Pinterest!











Easy family-friendly recipes in your inbox!