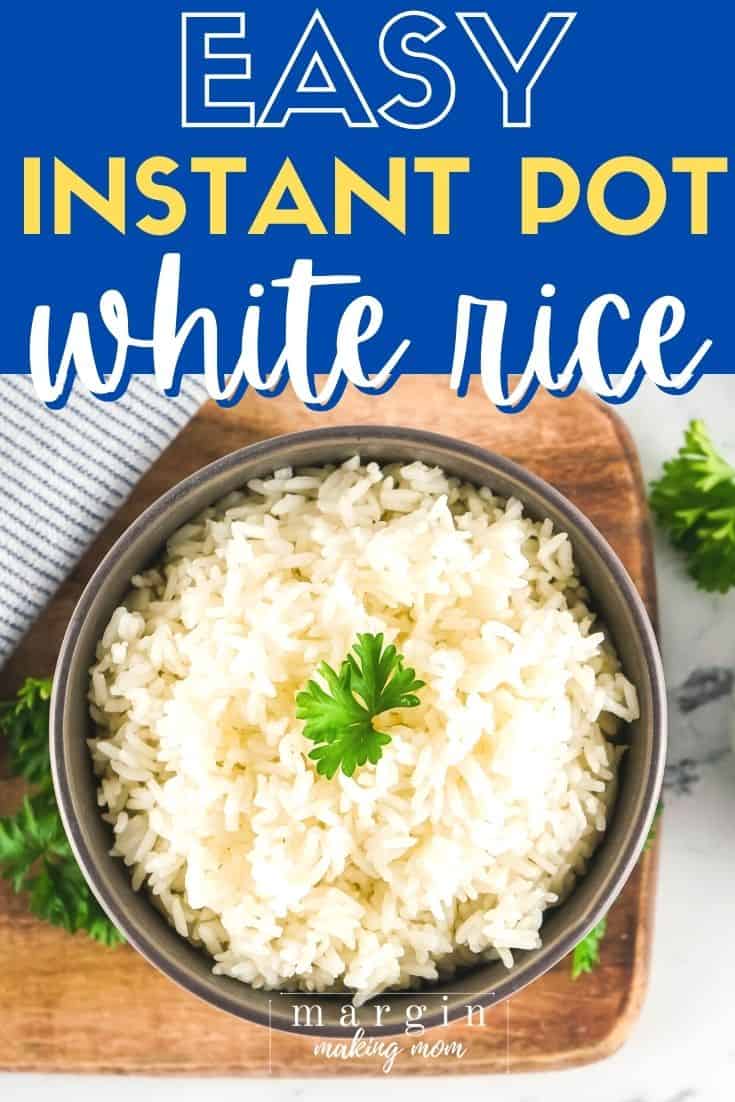
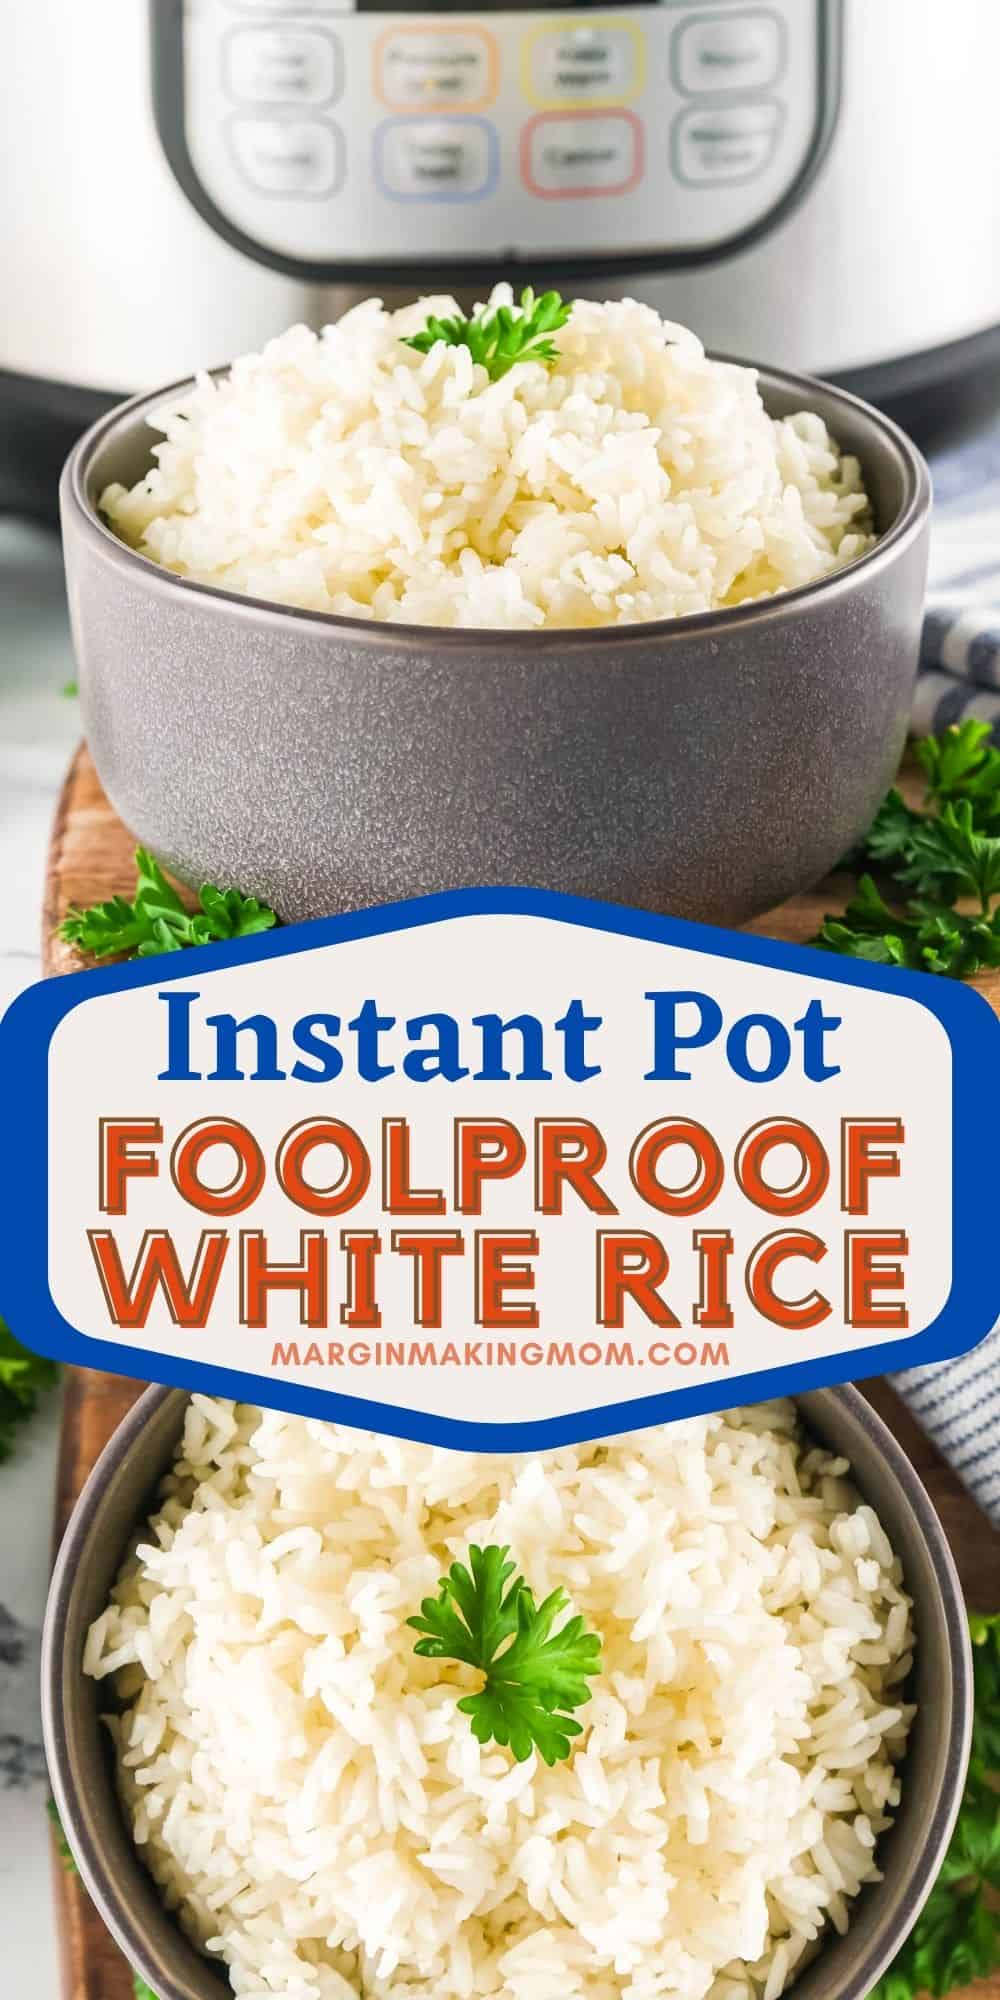
This Easy Instant Pot White Rice recipe is the most reliable way to make tender rice every single time.
This foolproof cooking method yields the fluffiest pressure cooker white rice in just 15 minutes. No more mushy, gummy or crunchy rice!
Note: This post may contain affiliate links for your convenience. If you make a purchase, this site may receive a small commission at no additional cost to you. You can read my full disclosure policy here.
Rice seems like it should be so simple, but I struggled to cook it right for years.
I followed the recipe on the package to a T, but it never came out the same. Sometimes the rice was gummy and other times it was crunchy.
I got to the point where I avoided meals with rice because it was a gamble every time I made it.
Learning to cook Instant Pot white rice was a game-changer. Not only did it open up a whole new world of meal options, but rice is also so economical.
I could easily make proteins and veggies stretch more by serving white rice to bulk up a meal.
If you’re like me and have struggled to make perfect rice in the past, you’ll love this easy recipe!
This pressure cooker white rice is so fluffy and it cooks perfectly. Every. Single. Time.
Not only that, but if you have leftovers, you can reheat rice in the Instant Pot!
More Instant Pot Rice Recipes You Need:
- Instant Pot Brown Rice
- Instant Pot Rice a Roni
- Instant Pot Basmati Rice
- Instant Pot Jasmine Rice
- Instant Pot Yellow Rice
- Instant Pot Wild Rice
What is the Instant Pot White Rice to Water Ratio?
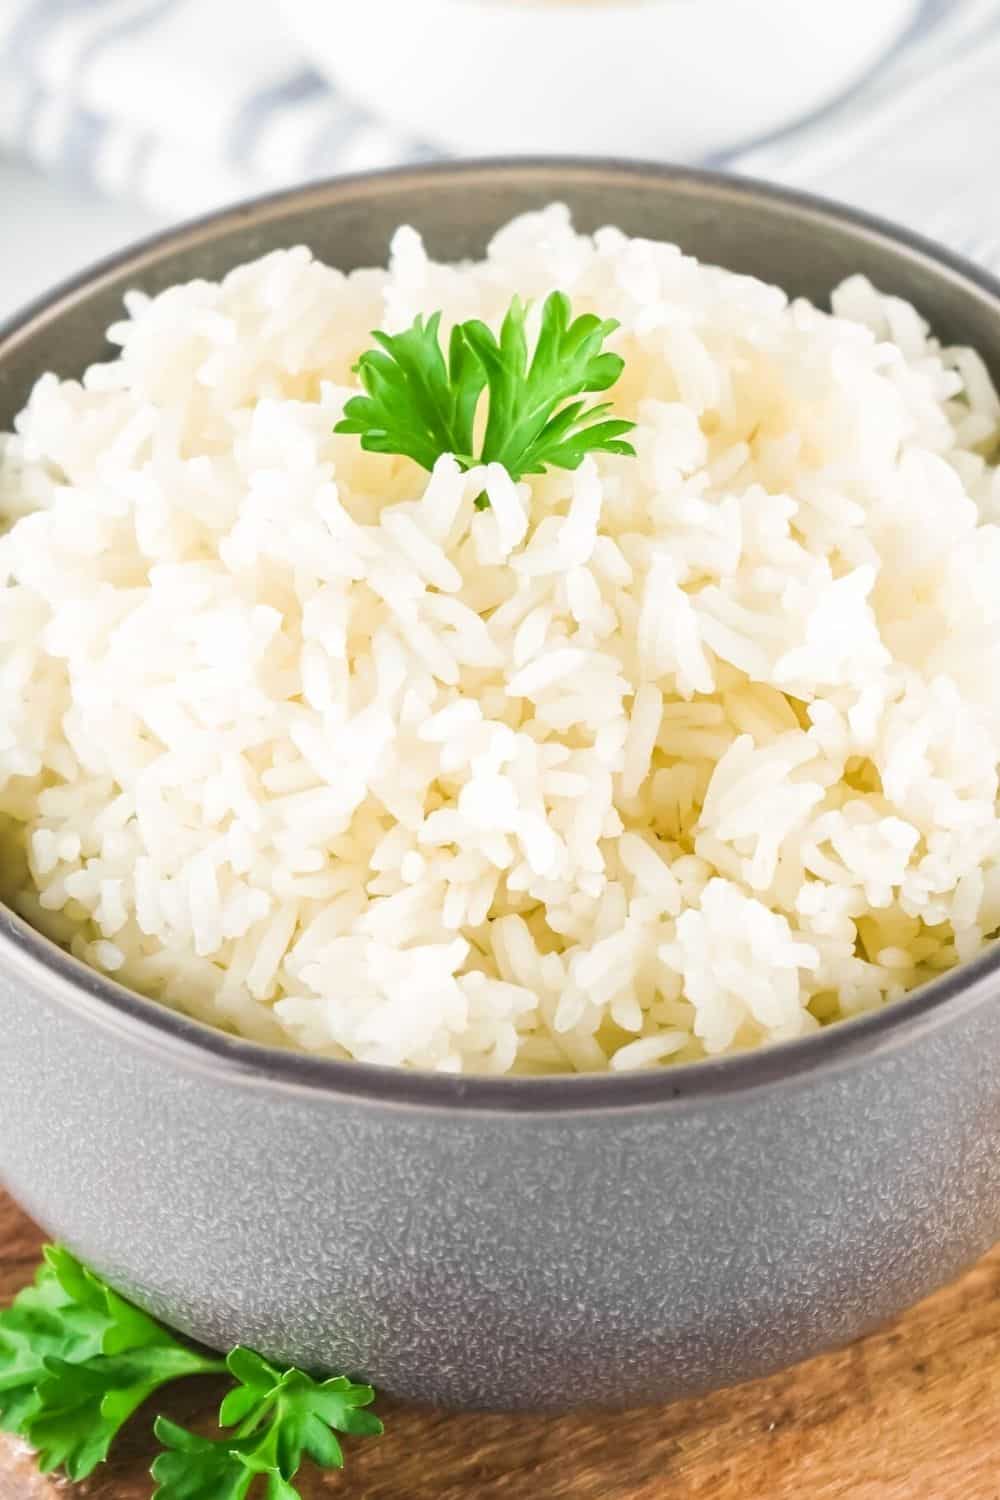
When making white rice in a pressure cooker, the water to rice ratio I use is 1:1.
That means for every 1 cup of rice, you will need 1 cup of liquid (you can use water, or you can try using chicken stock instead of water for super flavorful rice).
You can easily double or triple this recipe following the 1:1 ratio. When cooking extra rice, the cooking times remain the same.
If you’re trying to decide whether or not to double or triple the recipe, keep in mind that one cup of dry white rice will roughly triple in amount, yielding approximately three cups of cooked rice.
This is the same as the ratios for my Instant Pot quinoa, so it’s easy to remember!
How To Use the Pot-in-Pot Method for White Rice
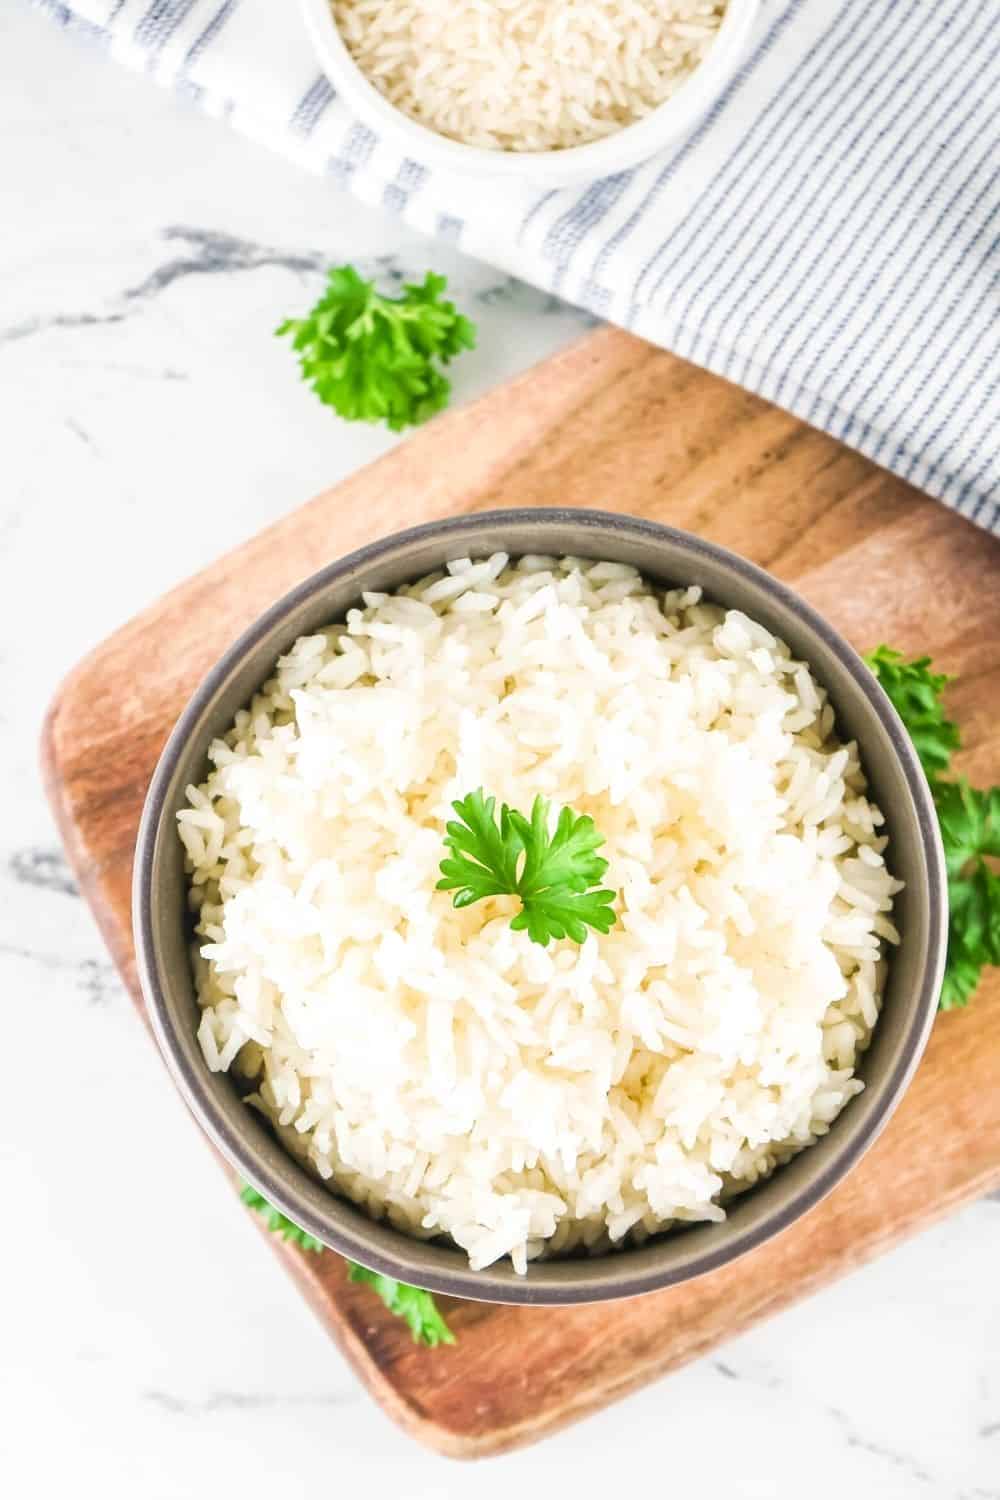
The pot-in-pot method is really convenient if you want to cook the rice in a separate dish within the insert pot of the Instant Pot. For instance, if you want to use the Instant Pot for both rice and your main dish (such as with this Instant Pot Kung Pao chickpeas recipe), you can use the pot-in-pot method.
This is nice for a couple of reasons. For starters, it’s less messy, because you can often serve the rice from the dish it’s cooked in (hooray for less dishes to wash!).
For this method, you’ll need to combine rice and water in a heat-proof dish that fits in your Instant Pot.
Add 1 cup of water to the insert pot of your Instant Pot and set the trivet in place. Lower the pan of rice and water onto the trivet and proceed with cooking.
Depending on the heat conductivity of your dish, you may need to increase the cooking time by a couple of minutes (I use 4 minutes with my aluminum bundt pan, but glass or ceramic dishes may need longer–you may need to do some trial and error for your specific dish).
I have a list of pot in pot cooking accessories you can check out, but this pan is what I use for rice.
Not only that, but the pot-in-pot method is also ideal if you want to prepare a smaller amount of rice.
For instance, my recipe calls for 1 cup of rice, which expands to about 3 cups of cooked rice. Because you need a minimum amount of water in the Instant Pot, you can’t just cut the Instant Pot recipe in half (doing so would result in too little water).
However, you can use the pot in pot method to cook a smaller amount of rice, say 1/2 cup of rice, which will expand to about 1 1/2 cups of cooked rice. This is possible because the water used to achieve pressure is under the pot containing the rice and water.
So you can still build enough pressure without making more rice than you want.
How to Make White Rice in Instant Pot
It’s really easy to make pressure cooker white rice.
Ingredients You’ll Need:
- Long-grain white rice
- Water (or broth)
- Salt (omit if using broth)
How to Make It:
(Full printable recipe is available below)
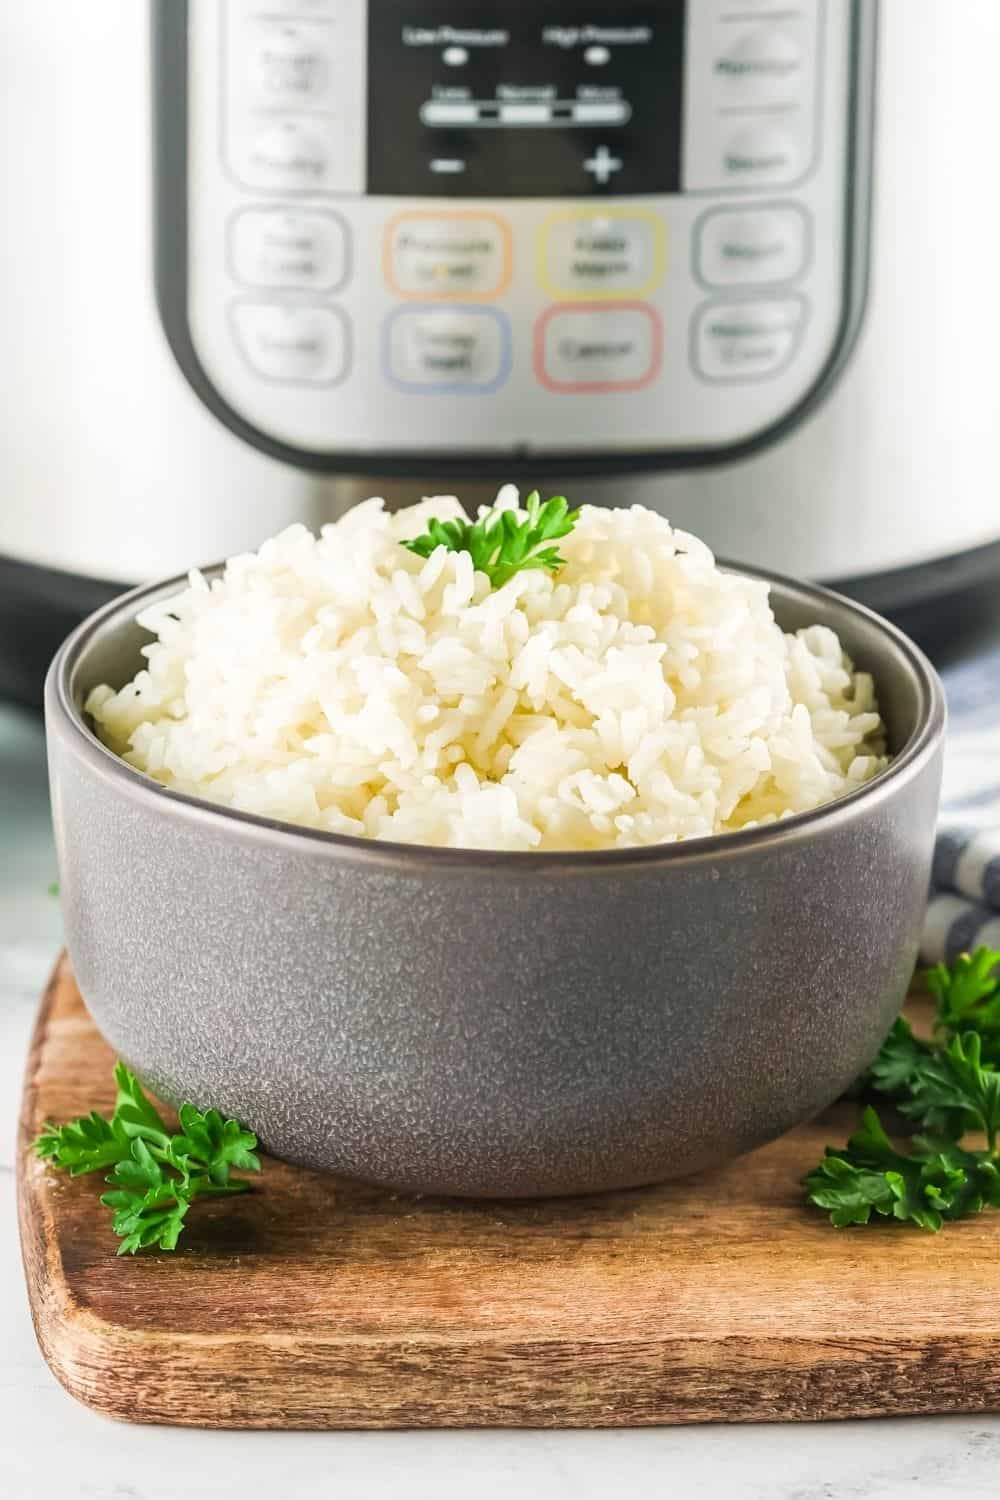
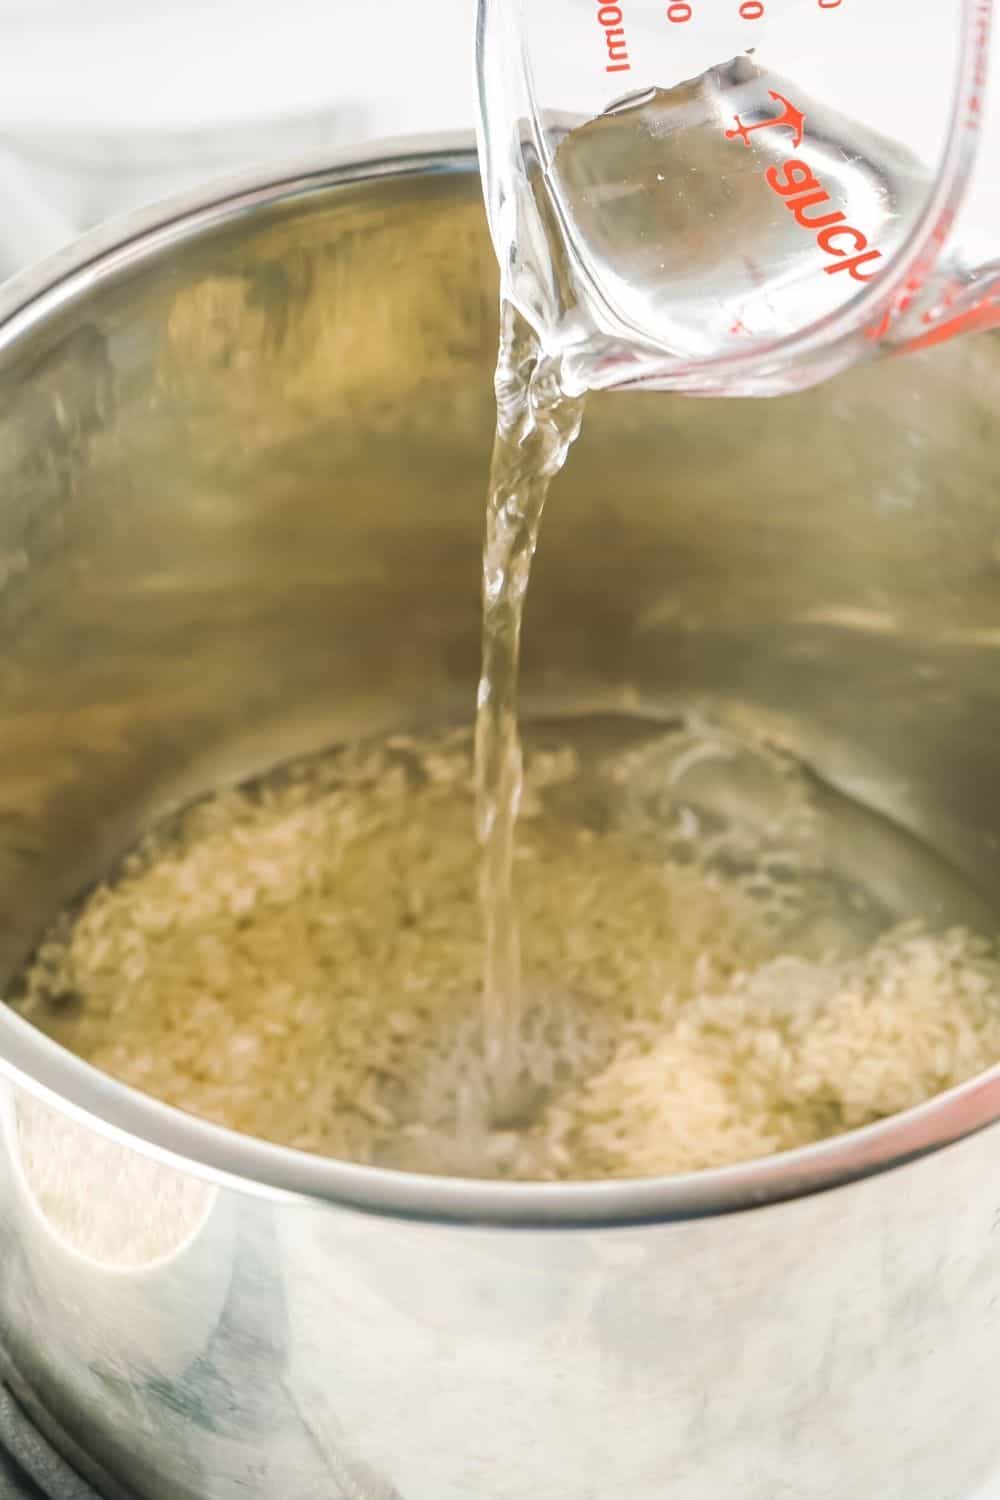
Combine the ingredients. First, you’ll combine the rice, water, and salt in the Instant Pot, mixing to combine. Close the lid and set the vent to the sealed position.
Pressure cook. Next, you’ll cook at high pressure for 4 minutes, followed by a 10-minute natural release of pressure.
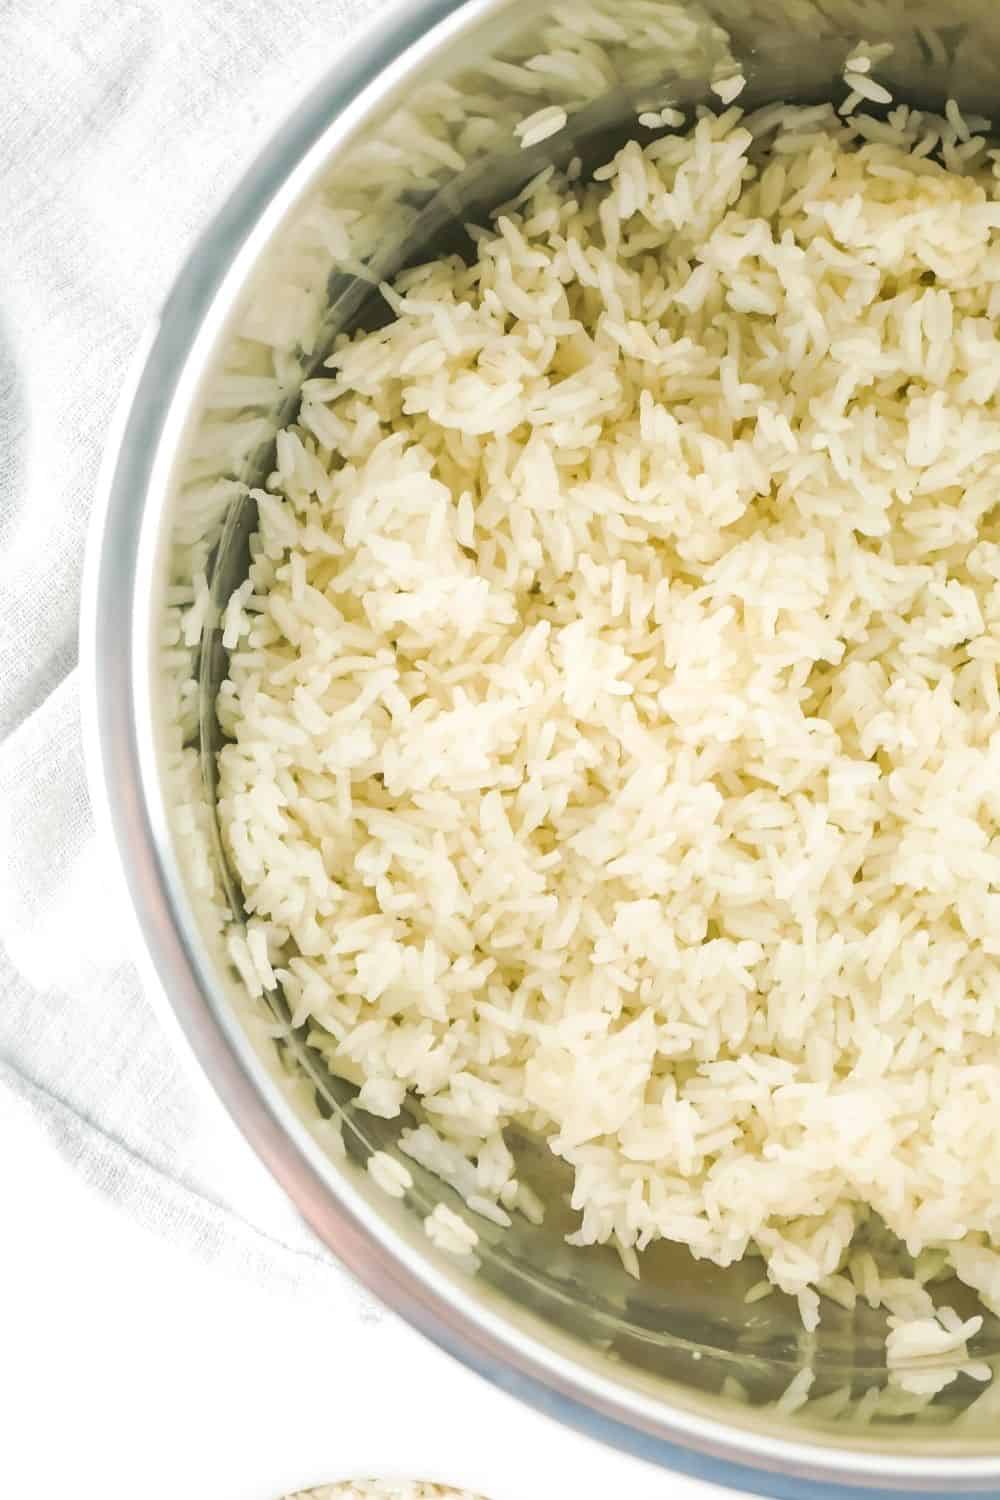
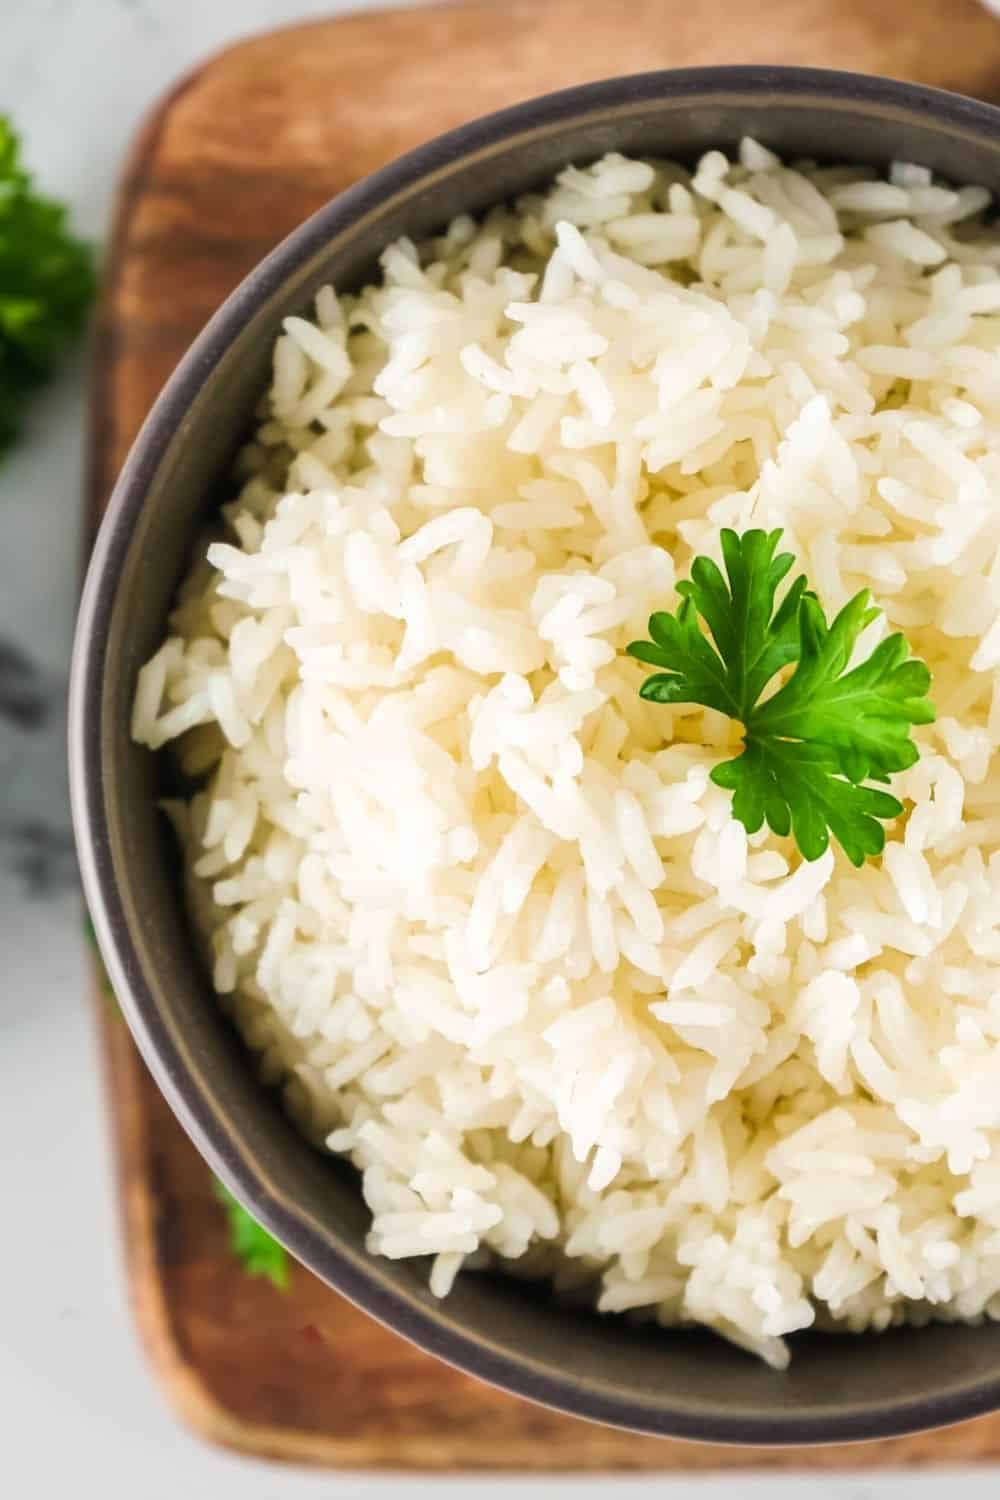
Fluff and serve. Last, you’ll fluff the rice with a fork and serve.
Notes and Adaptations:
- You can double or triple this recipe if you’d like–the ratios will stay the same.
- If desired, you can use broth instead of water. In that case, omit the salt.
Recommended Equipment:
- Instant Pot or other electric pressure cooker
- Aluminum bundt pan (I use this for pot-in-pot rice)
Easy Instant Pot White Rice
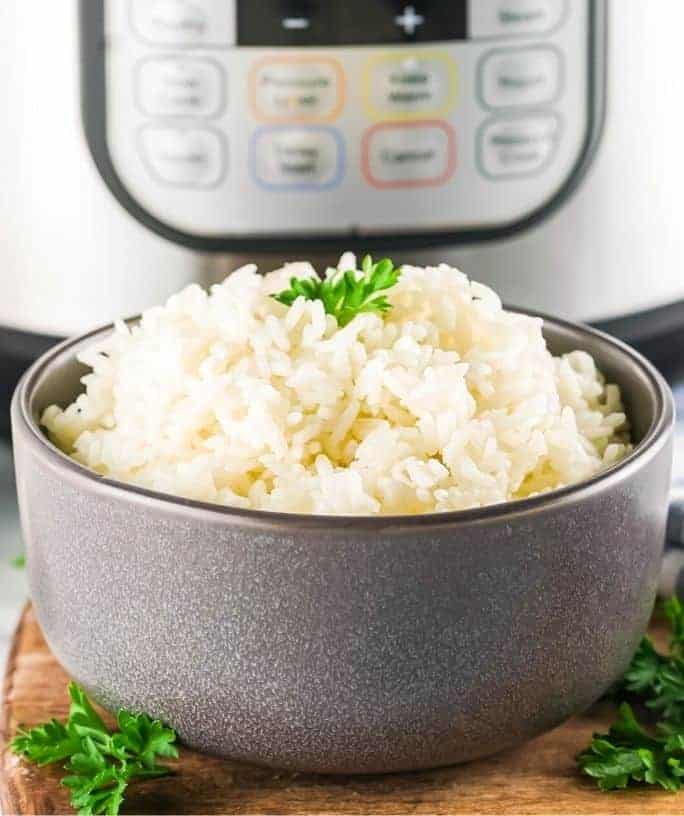
Cooking white rice in the Instant Pot is the easy way to prepare this inexpensive and versatile staple!
Ingredients
- 1 cup long-grain white rice
- 1 cup water
- 1/4-1/2 tsp salt
Instructions
- In the insert pot of the Instant Pot, combine the rice, water, and salt, mixing to combine. Close the lid and set the vent to the sealed position.
- Using the Manual/Pressure Cook button, select a cook time of 4 minutes at high pressure.
- Once the cook time is complete, allow a 10 minute natural release of pressure, followed by a quick release of remaining pressure (you can also allow a full natural release if you prefer).
- After the pressure has released and the valve has dropped, carefully remove the lid. Use a fork to fluff the rice, then serve.
Notes
You can double or triple this recipe if you'd like--the ratios will stay the same.
If desired, you can use broth instead of water. In that case, omit the salt.
- For the pot-in-pot method, combine rice and water in a heat-proof dish that fits in your Instant Pot (I use this bundt pan). Add 1 cup of water to the insert pot of your Instant Pot and set the trivet in place. Lower the pan onto the trivet and proceed with cooking. Depending on the heat conductivity of your dish, you may need to increase the cook time by a couple of minutes (I use 4 minutes with my aluminum bundt pan, but glass or ceramic dishes may need longer--you may need to do some trial and error for your specific dish).
Nutrition Information:
Yield:
6Serving Size:
1/2 cupAmount Per Serving: Calories: 34Total Fat: 0gSaturated Fat: 0gTrans Fat: 0gUnsaturated Fat: 0gCholesterol: 0mgSodium: 293mgCarbohydrates: 7gFiber: 0gSugar: 0gProtein: 1g
Nutrition information is automatically calculated and is not guaranteed for accuracy.




Leave a Reply