

How to Proof Dough in the Instant Pot
You can use your Instant Pot to rise dough for baking! Find out exactly how to create the best environment for proofing dough with your Instant Pot!
Learning to proof dough in the Instant Pot was a game-changer for homemade bread making!
Note: This post may contain affiliate links for your convenience. If you make a purchase, this site may receive a small commission at no additional cost to you. You can read my full disclosure policy here.
There’s nothing quite like the toasty aroma of fresh bread baking, is there?
Several years ago, my sister scored a bread machine for me at a yard sale for just $5, and I have used it countless times for mixing and kneading and rising the dough for many types of bread.
But when the holidays rolled around and I was tasked with baking the dinner rolls for our family get-together, I knew I would need to make more than my bread machine could handle.
They say necessity is the mother of invention, and that’s how I discovered that I could proof dough in the Instant Pot!
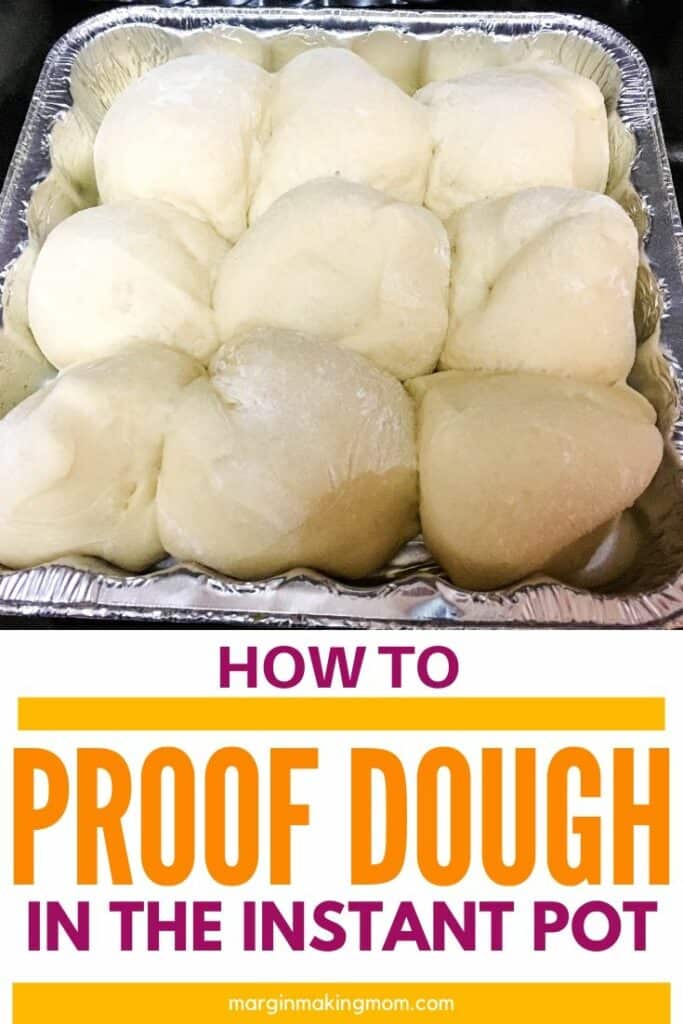
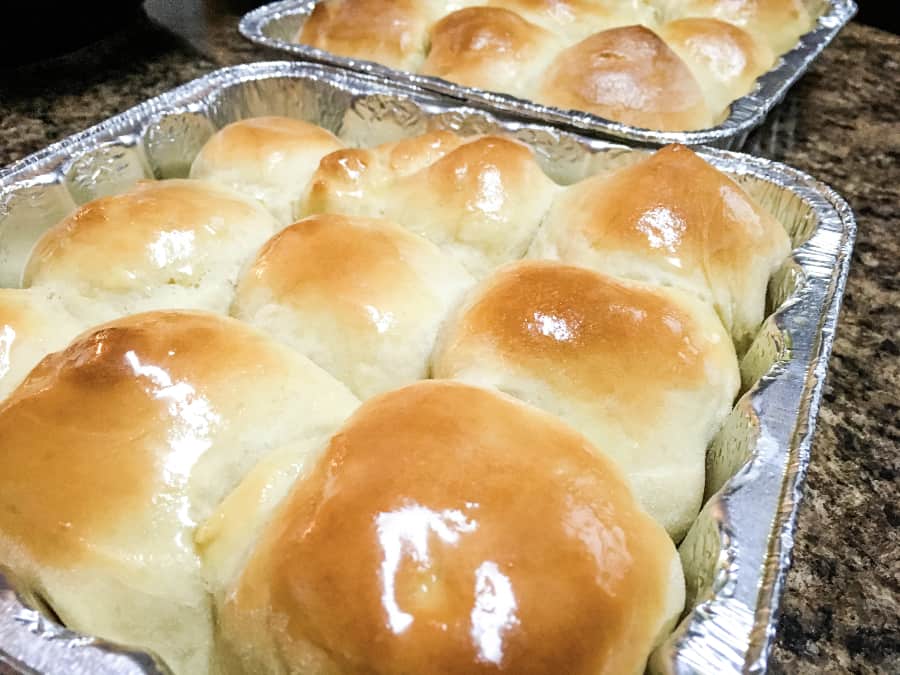
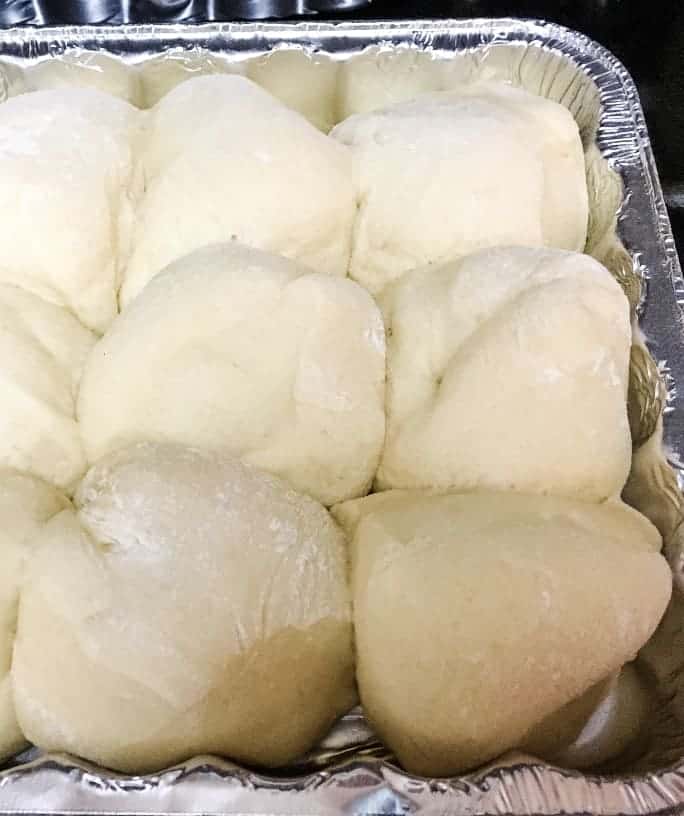
The result was my favorite homemade Instant Pot dinner rolls, which are soft, fluffy, and tender! In that recipe, the dough completes its first rise in the Instant Pot, then is shaped, rises a bit more in the pans, and bakes in the oven.
You can also use this method to make frozen dinner rolls ahead of time and thaw them out on baking day! Or, you can proof the frozen rolls in the Instant Pot in a fraction of the time.
I also decided to experiment with rising AND “baking” some bread in the Instant Pot. Not every bread recipe is suitable to be baked in the Instant Pot, but I did find a winner!
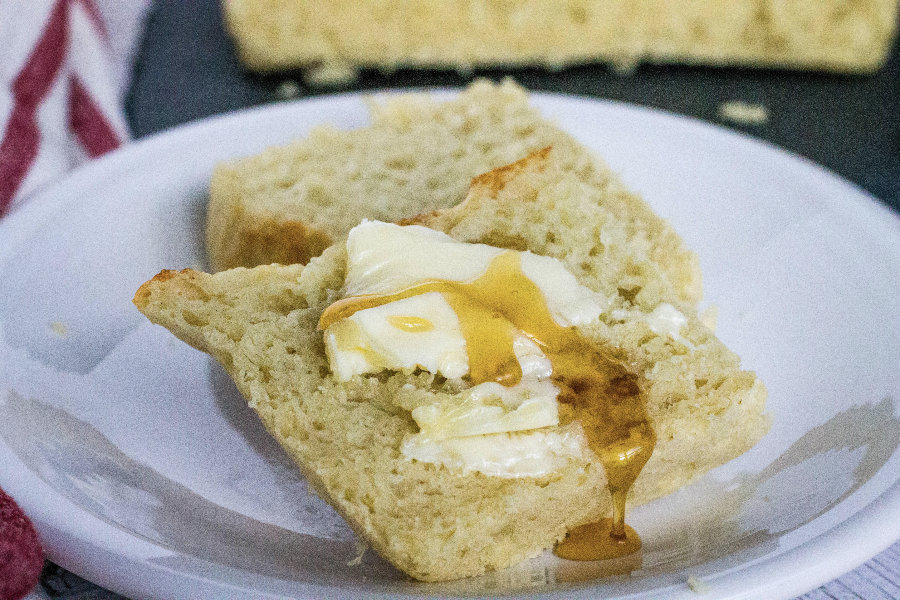
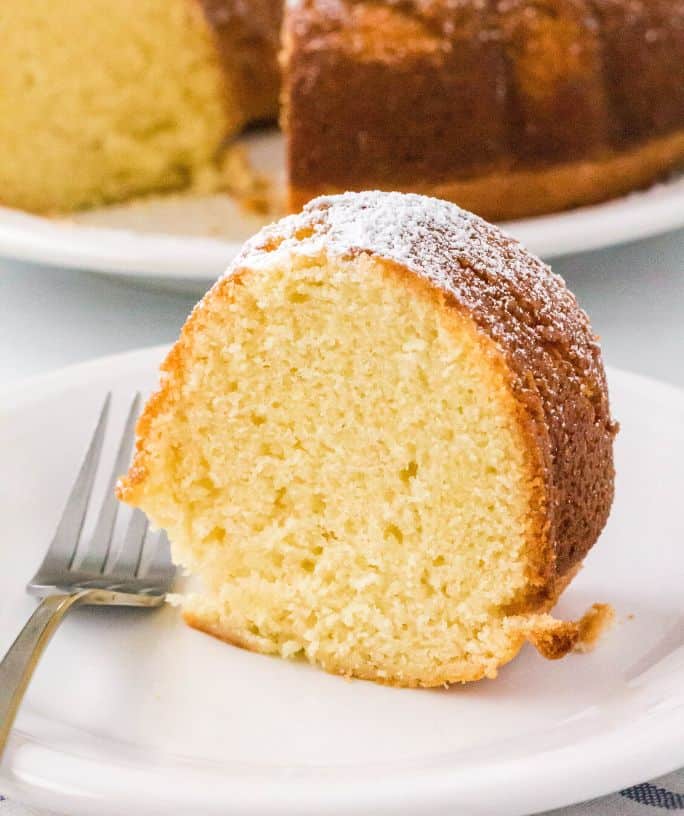
This experimentation led to my no-knead Instant Pot bread recipe, which is very similar to English muffin bread–perfect served warm with butter and jam, honey, or Instant Pot apple butter!
I also use this process to make my easy french bread, Instant Pot pizza dough, Instant Pot naan bread, and even homemade soft pretzels!
You can also make Instant Pot crescent rolls with this method.
So today I’m sharing with you the technique for using the Instant Pot to help your dough to rise, so you can use it with your favorite homemade bread recipe!
How to Use the Instant Pot to Rise Dough
First, you’ll want to mix together your dough ingredients according to your recipe. You can do this by hand or with a stand mixer.
If your recipe calls for kneading the dough prior to rising, go ahead and do that now. Again, you can do this by hand or with a stand mixer. I often like to use my KitchenAid stand mixer fitted with the dough hook to accomplish this.
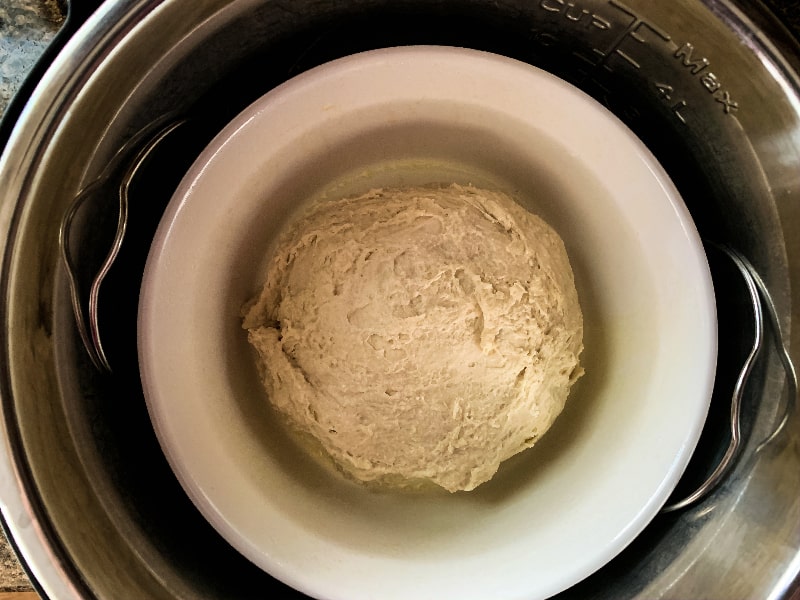
Grease the insert pot of your Instant Pot with some cooking spray, oil, or a wrapper from a stick of butter. You don’t need much–this is just to keep the dough from sticking too much to the pot.
Transfer the ball of dough to the insert pot and roll it around a bit to gently coat it with oil.
Place the lid on the Instant Pot. I always just use the lid that came with the Instant Pot, and it has worked just fine.
If you have a glass lid, you could also use that. The benefit of a glass lid would be the ability to see the dough as it rises without opening the lid and letting heat escape.
I suppose there is a chance that if you are making a large batch of dough, it could rise so much that it comes in contact with the lid, but I’ve never personally found that to be an issue.
Next, you’ll use the Yogurt setting (I use the “normal” level on the Yogurt setting, but “less” would probably work fine as well) to allow the dough to proof.
The Yogurt setting, which normally is used to help bacteria thrive as they metabolize the sugars in milk while culturing yogurt, also provides the perfect environment for yeast to metabolize sugar and create carbon dioxide, which causes the dough to rise. #scienceforthewin
In most bread recipes, you want the first rise to allow the dough to double in size. You’ll work off of your particular recipe with regard to how long this first rise should be, but in general, I’ve found that most recipes call for a rise of somewhere between 30-60 minutes.
Do keep in mind that the dough will likely rise a little bit faster in this warm environment, so you may want to start checking it early.
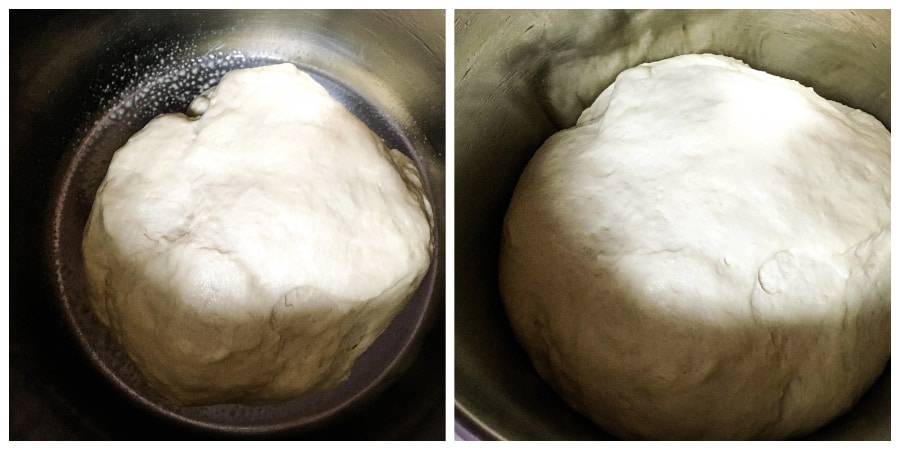
As you can see in these before and after photos, the dough has risen substantially during this time.
Once this first rise is complete, press Cancel to turn off the Yogurt function.
What to Do After the First Rise
After the dough has doubled in size, you’ll want to follow the instructions in the recipe to proceed. In most cases, the first rise is followed by shaping, then a shorter second rise (often about 20 minutes), then baking.
For instance, with dinner rolls, you will remove the dough, shape into rolls, place in a pan, and allow them to rise a second time before baking.
The same is generally true for french bread, focaccia, ciabatta bread, or whatever type of bread you are making. You will shape the dough, then let it rise a second time, usually in or on the pan you’ll use for baking.
Is Proofing Dough in the Instant Pot with No Yogurt Button Possible?
There are some Instant Pot models that do not have a Yogurt button. In this case, it’s a little bit trickier to proof dough in the Instant Pot.
The trouble is that the other buttons create an environment that is too hot for the yeast to thrive. Even the Keep Warm button is too hot, which causes the yeast to die.
This method is a little less reliable, but my best recommendation is to turn on the Keep Warm setting for a couple of minutes, to allow it to warm up just a bit inside the pot, then turn off the Keep Warm setting by pressing Cancel so it doesn’t get too hot.
Add your dough ball and put the lid into place, allowing the residual heat to warm the dough.
If you are making a smaller amount of dough, you could also use your trivet and put the dough in a dish on top of the trivet, so it isn’t directly in contact with the insert pot.
I use this method with my Instant Pot bread, but larger amounts of dough would surely rise up over the top of the dish and spill out, which would make quite a mess.
Either way, I hope you enjoy using this method as a simple kitchen hack for rising your dough!
How to Proof Dough in the Instant Pot
Instant Pot dough proofing is very simple, thanks to the warm environment that allows the dough to rise to pillowy soft perfection!
Tools
- Instant Pot (preferably a model with a Yogurt button)
Instructions
- Mix and knead dough according to recipe instructions.
- Lightly oil the insert pot of the Instant Pot, then transfer the ball of dough to the insert pot. Roll it to coat it with oil.
- Place the lid on the Instant Pot and select the Yogurt button at "normal" level.
- Allow dough to double in size, which generally takes between 30-60 minutes.
- After the first rise, remove the dough from the insert pot and proceed with shaping, performing a second rise (generally about 20 minutes), and baking according to your recipe's instructions.
Notes
- If your Instant Pot does not have a Yogurt setting, you can try turning on the Keep Warm setting for just a couple of minutes to warm up the pot, then turning it off. Add the ball of dough and close the lid, allowing the residual heat to rise the dough. This method is less reliable than the Yogurt button, but should help the dough proof without killing the yeast.
- For more tips, tricks, and recipe ideas, please see the full article.
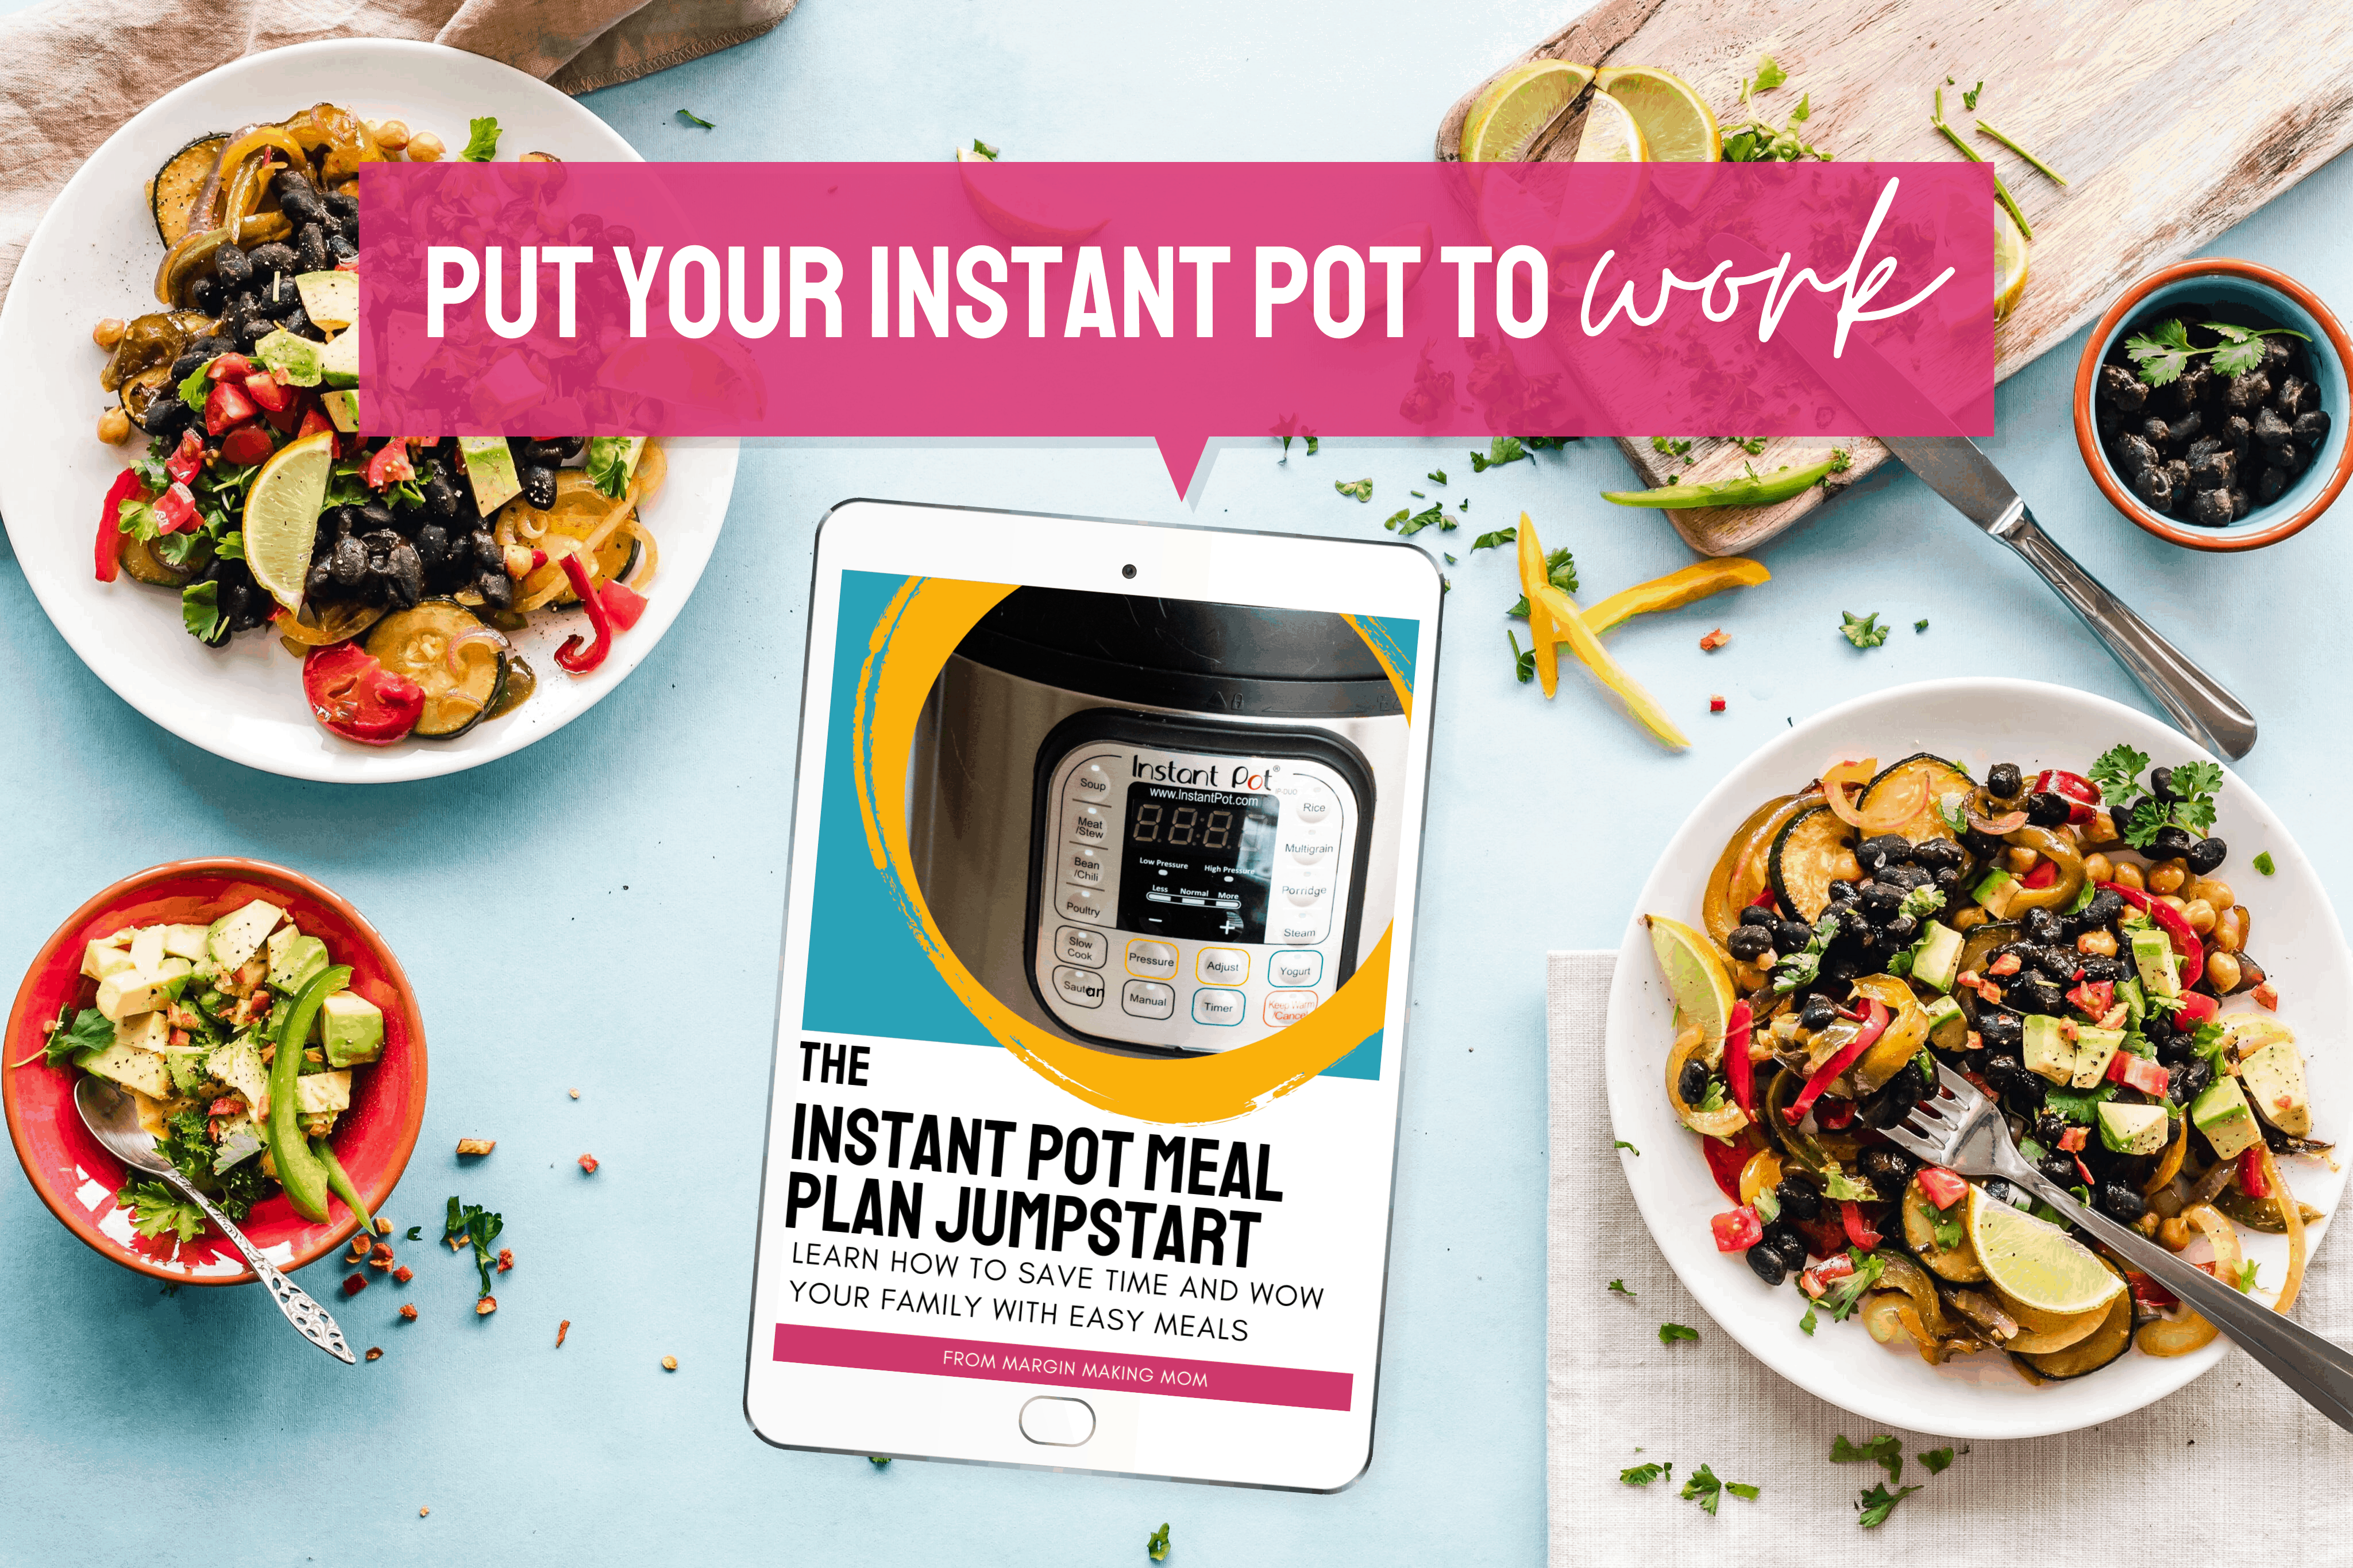
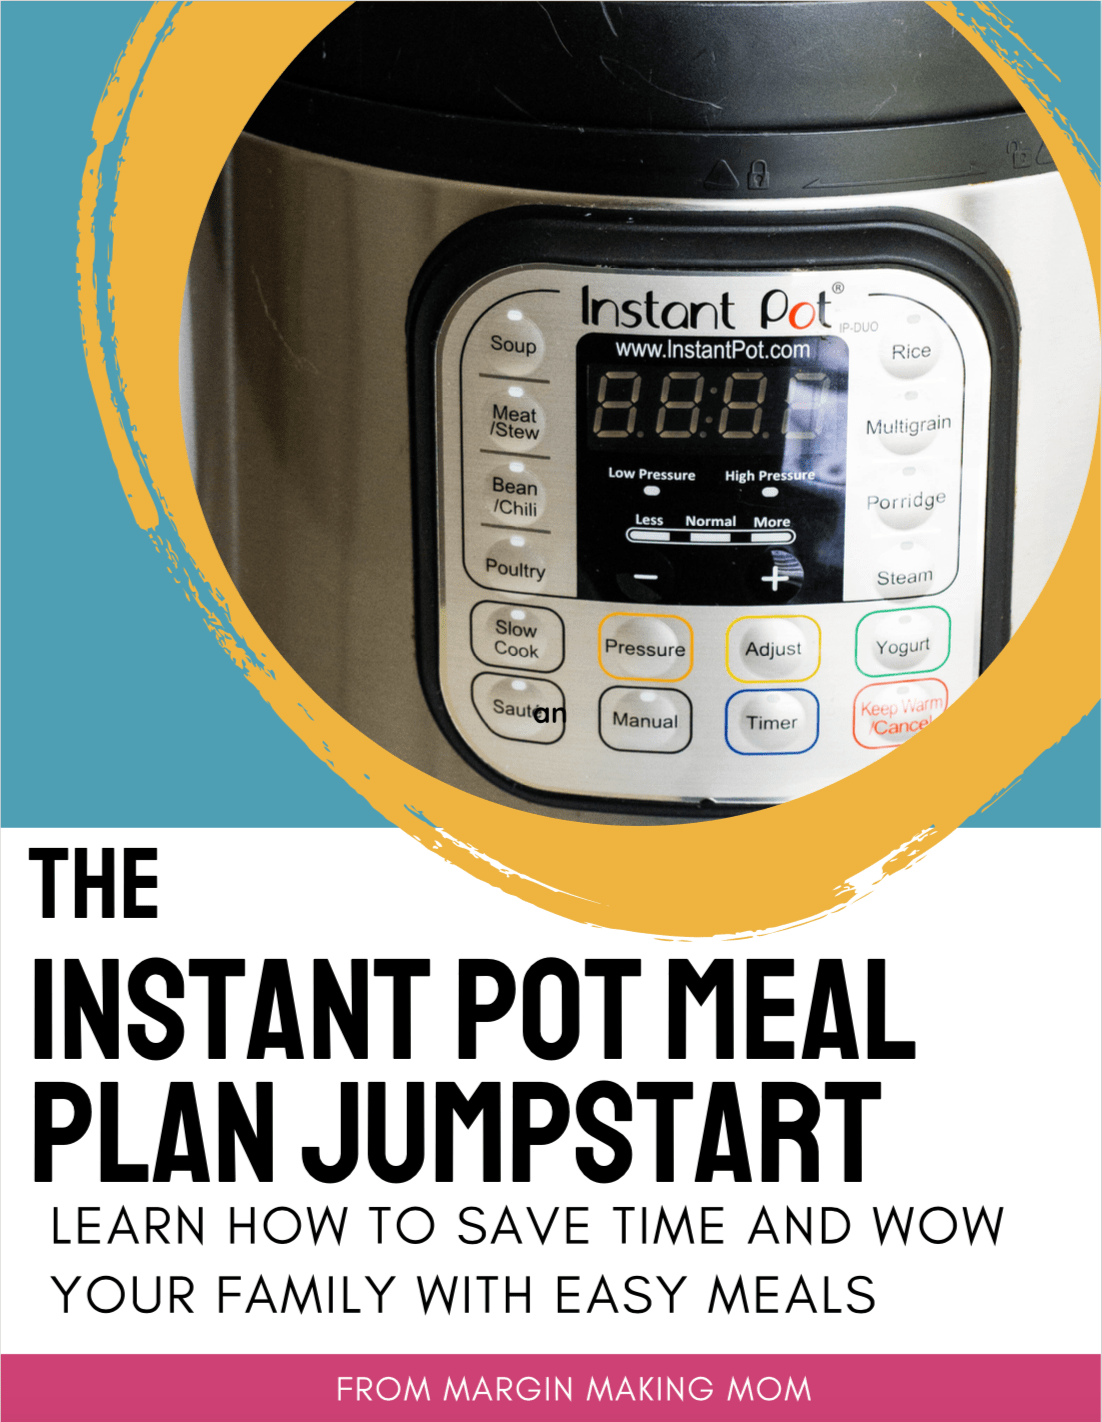
Stock Your Freezer!
2. No need to thaw before cooking in the Instant Pot--meals can cook from frozen!
3. Easy-to-use plan includes shopping lists, labels, recipes, and instructions!


I can’t wait to try this! Do you do the second rise in the IP too? Can you put the bread in the loaf pan and put it in the IP?
Hi Bonnie! In theory, it would work to do the second rise in the IP, but the problem is that the pans usually don’t fit, unfortunately. If you do have a pan that will fit, you can use it–but keep in mind you won’t be able to stack pans since you need to give the dough room to rise. Hope that helps–happy baking! 🙂
I recently upgraded from a normal Instant Pot to an Instant Pot/Air Fryer combo and it no longer has the yogurt button. I truly miss my yogurt button specifically for proofing dough! I regularly made loaves of sourdough and the recipe called for 4 hours of proofing… do you have any advice on how to proof a larger ball of dough without a yogurt button?
That’s a good question, Andrea! You should be able to use the Dehydrate setting on the Instant Pot air fryer lid, which I understand is around a temp of 125F, which is just slightly higher than the 110F of the Yogurt function. I hope that helps with your sourdough! 🙂
This method is a game changer! I never thought to use my Instant Pot for proofing dough. Can’t wait to try it out and speed up my baking process. Thanks for sharing such a helpful tip!
I’m so glad you found it helpful! 🙂