

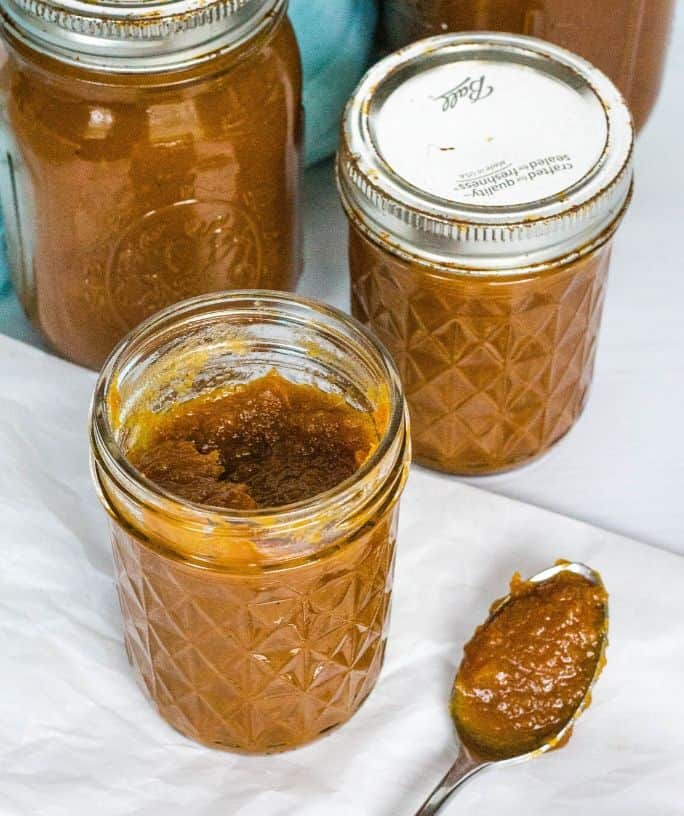
Instant Pot Rice a Roni and Chicken
Did you know you can make Rice a Roni and chicken in your Instant Pot? It’s a deliciously simple one-pot meal!
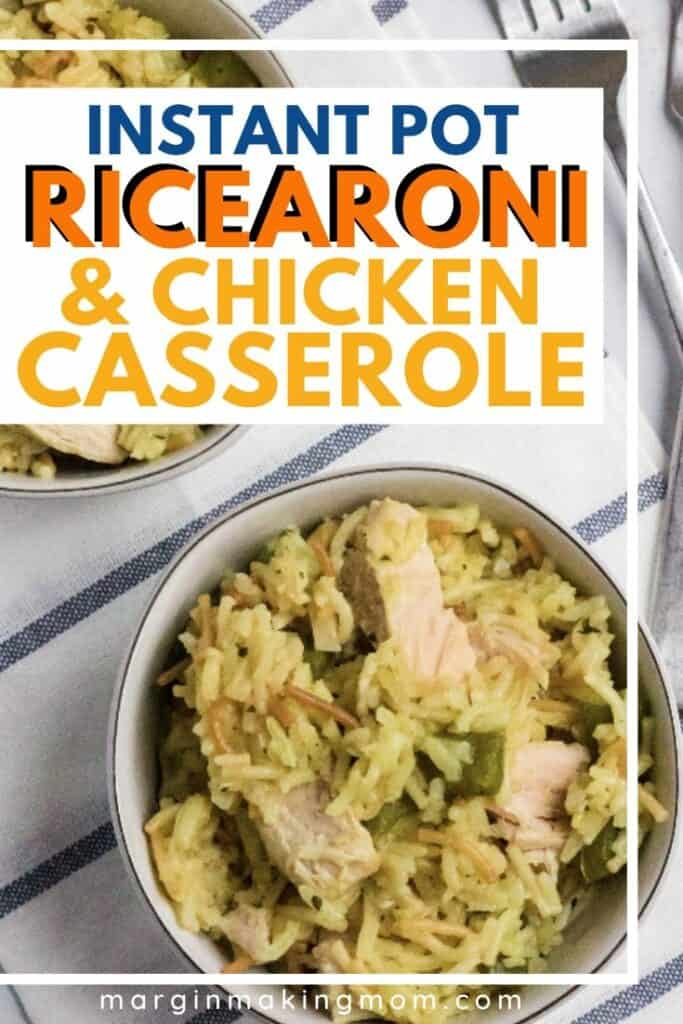
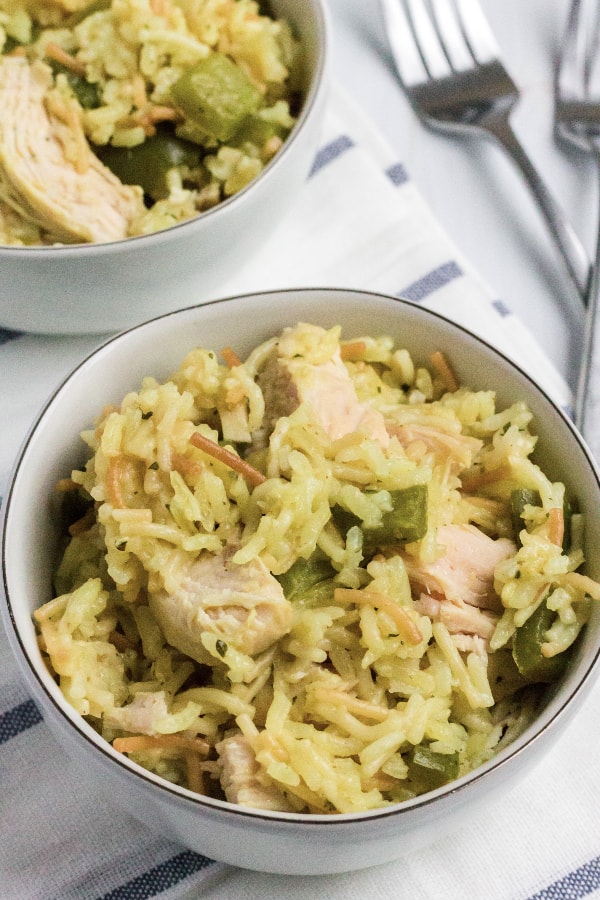
Instant Pot Rice a Roni and chicken comes together quickly to make a casserole type meal in one pot!
Note: This post may contain affiliate links for your convenience. If you make a purchase, this site may receive a small commission at no additional cost to you. You can read my full disclosure policy here.
At one of my bridal showers many years ago, the hostess asked the guests to each write down a recipe from memory for me to start my new married life with.
The idea was that the recipes would all be something the guests had made many times, and the recipes would be easy enough to commit to memory.
What a great way to start out with a collection of tried-and-true recipes!
One of those recipes used Rice a Roni to make a casserole type dish in the skillet. I’ve been making a variation of that meal ever since, which is how this Instant Pot chicken and Rice a Roni was born.
It’s actually really easy to make Rice-a-Roni in the Instant Pot, and this meal is one of the best Instant Pot chicken and rice recipes!
Instant Pot Rice a Roni
I used to cook the chicken in one pot, then cook the rice in another pot, and add them all together at the end.
But because I use my pressure cooker to make Instant Pot chicken and rice, Instant Pot chicken and wild rice casserole, Instant Pot Spanish chicken and rice, Instant Pot French onion chicken and rice, and Instant Pot cheesy chicken, broccoli, and rice, I wanted to try to use it to make this dish even easier!
The Instant Pot allows you to cook the rice and chicken together AND shorten the cook time.
I’m so happy to report that it worked! I have a feeling this will become one of your favorite Instant Pot chicken dinner recipes.
Why You’ll Love this Rice a Roni Chicken Casserole
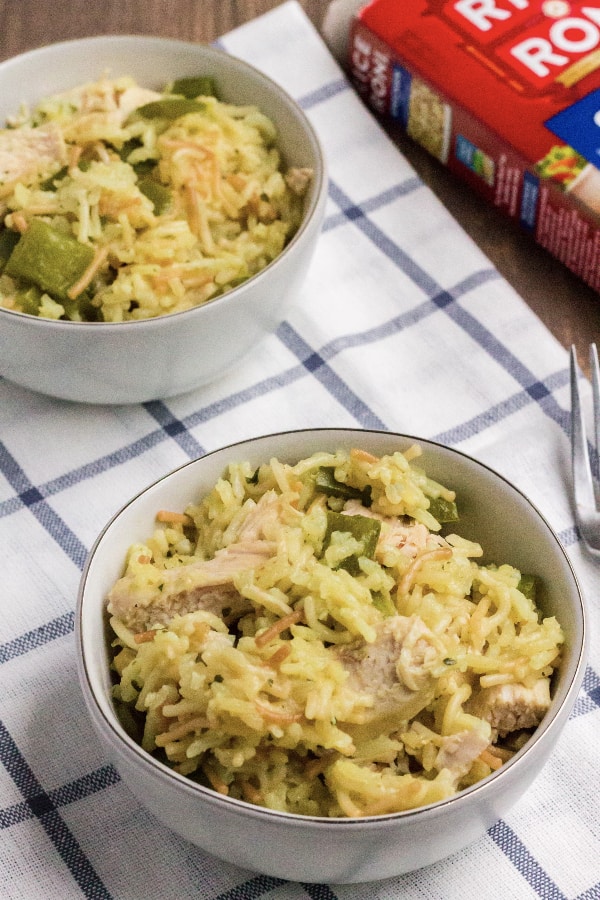
Ricearoni is a super simple seasoned rice and pasta mix that typically cooks on the stove. With this simple recipe, the chicken, seasoning, rice, and peppers all cook together!
Even if you’re like us and don’t eat a whole lot of convenience foods, this is one of those easy one-pot meals that is perfect for a busy weeknight.
How to Make Instant Pot Chicken Rice a Roni
You’ll be glad to know that this is a quick and easy recipe. I like to keep the ingredients on hand for those days when dinner otherwise might not happen! 🙂
Ingredients You’ll Need:
- 6.9-oz box chicken flavored Rice-A-Roni
- 1 Tbsp butter
- 1 1/2 cups water
- 1 large chicken breast, cut into three pieces
- 1 bell pepper, chopped (optional; can also use different veggies as desired)
How to Make Chicken & Rice a Roni in the Pressure Cooker:
(Full printable recipe below)
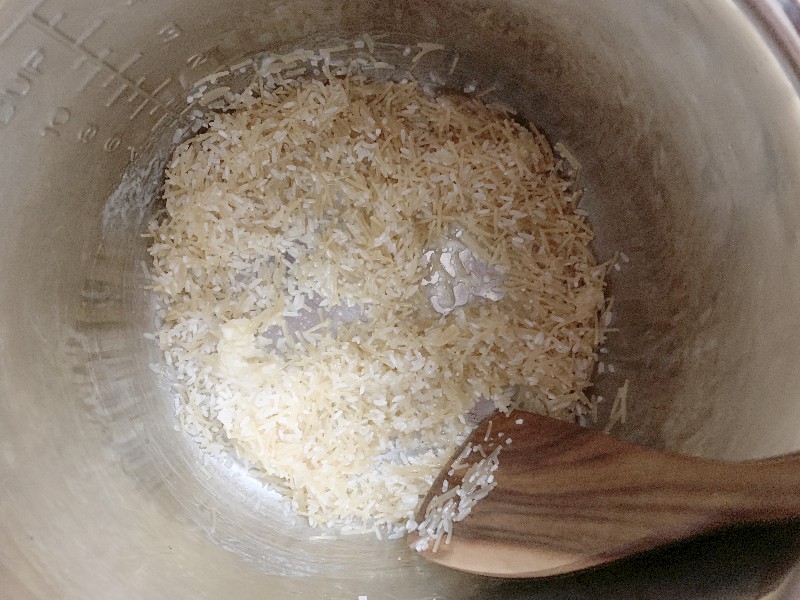
Saute the rice mix. First, you’ll use the Saute function to melt some butter in the insert pot of the Instant Pot. Then, add the rice to the pot, stirring occasionally, heating until it turns light golden-brown.
Add remaining ingredients. Next, you’ll add the water, seasoning packet, and chicken breast pieces. Stir to combine, then add the bell peppers on top.

Pressure cook. Last, you’ll cook this at high pressure for 5 minutes using the Manual/Pressure Cook button. After the cook time has finished, perform a quick release of pressure.
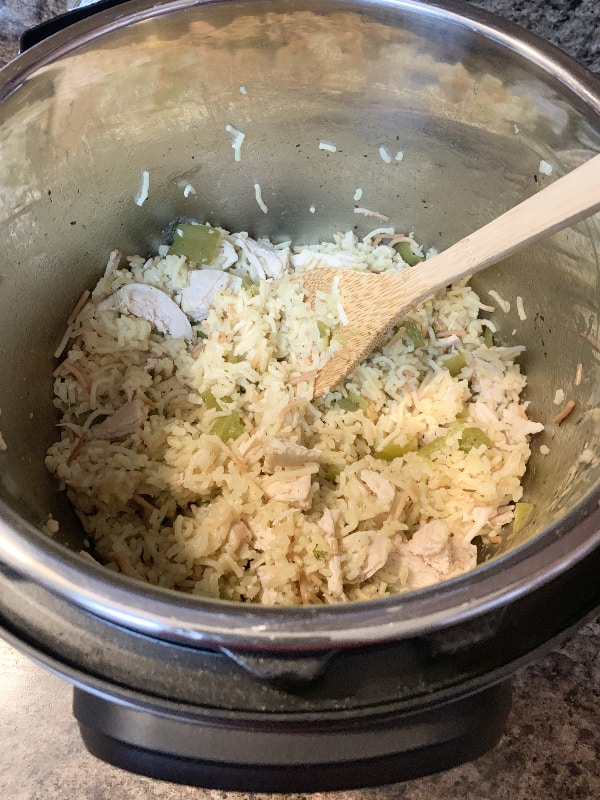
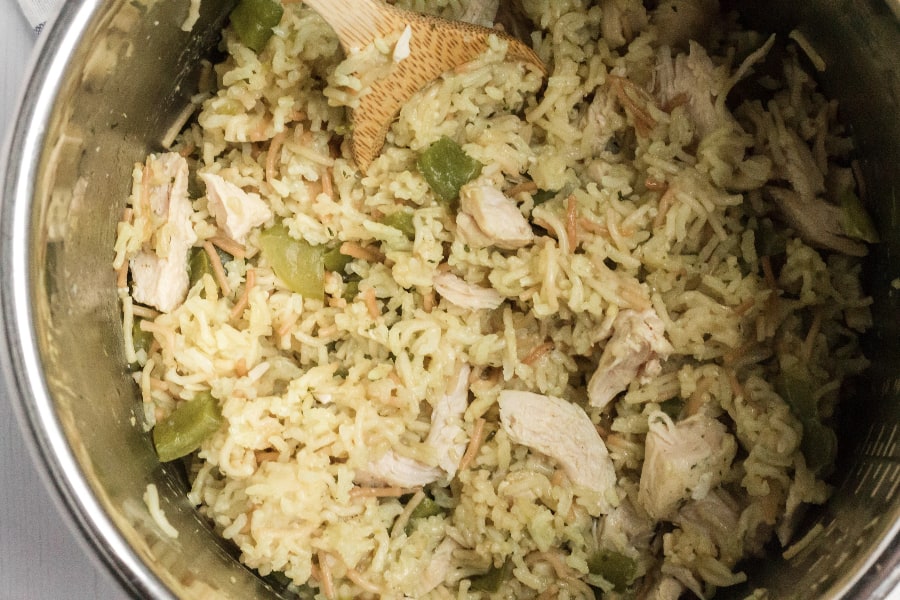
Shred the chicken. Remove the chicken pieces to a cutting board and shred or chop as desired, then return to the pot and stir to combine. Serve and enjoy!
Notes and Adaptations for Chicken and Rice a Roni in the Instant Pot:
- I have not tried doubling this recipe, but I don’t see why it wouldn’t work, as long as it doesn’t exceed your pressure cooker’s maximum fill recommendation! You would keep the cook time the same.
- I like the added flavor from the bell pepper, but you could use different veggies if desired! Carrots, celery, or peas would all be tasty choices!
Recommended Equipment:
- Instant Pot or other electric pressure cooker
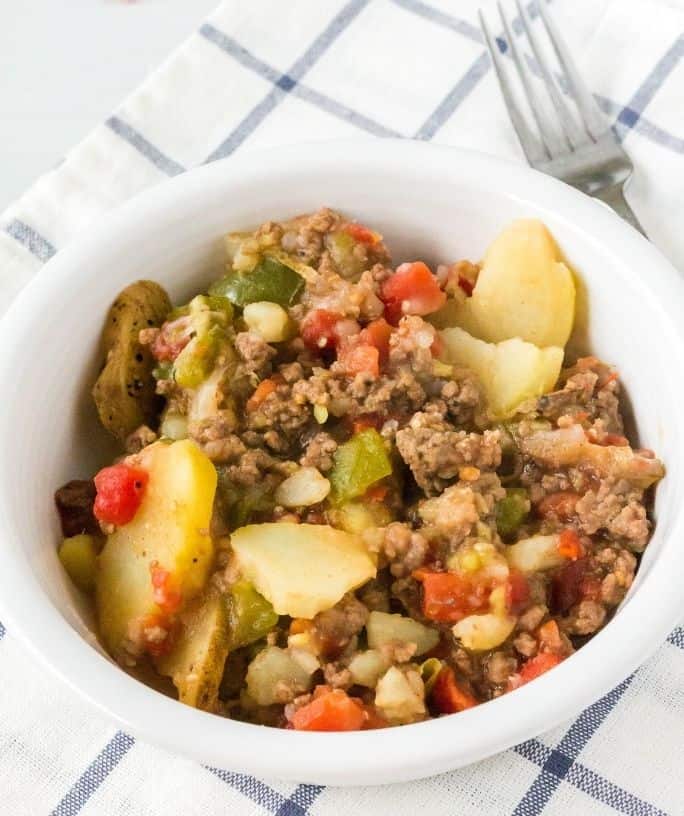
Instant Pot Chicken and Rice-a-Roni
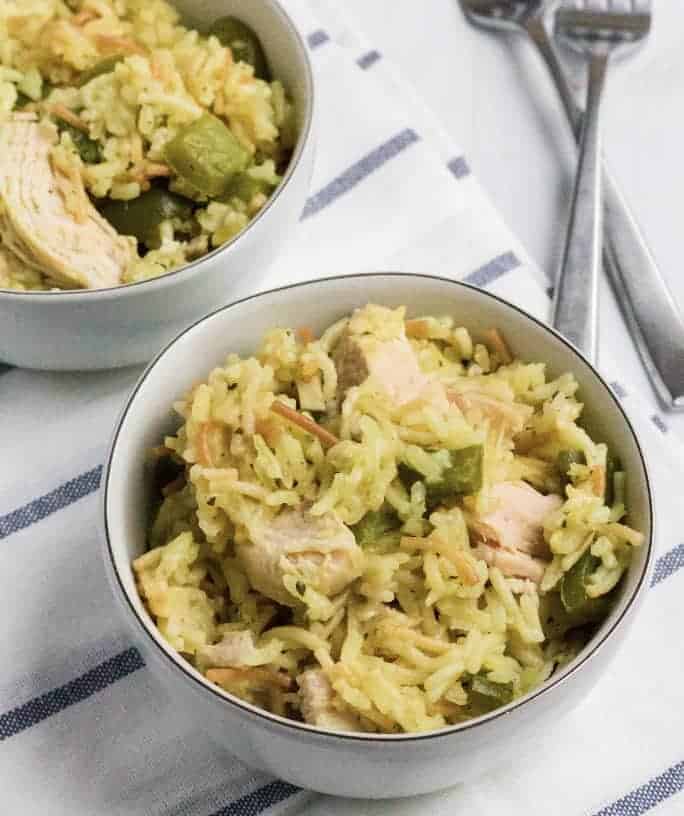
You can enjoy Rice-a-Roni and chicken casserole as a quick and easy meal, thanks to the Instant Pot!
Ingredients
- 6.9-oz box chicken flavored Rice-A-Roni
- 1 Tbsp butter
- 1 1/2 cups water
- 1 large chicken breast, cut into three pieces
- 1 bell pepper, chopped (optional; can also use different veggies as desired)
Instructions
- Add butter to the insert pot of an Instant Pot. Use the Saute function to melt the butter.
- Add the dry Rice-a-Roni to the butter and saute until it starts to turn light golden-brown.
- Turn off the Saute function. Add water, seasoning mix, and chicken breast pieces. Stir to combine. Add bell pepper on top.
- Close the lid and set the vent to the sealed position. Select a 5 minute cook time at high pressure using the Manual/Pressure Cook button.
- Once the cook time is complete, perform a quick pressure release.
- After the pressure has released and the valve has dropped, carefully remove the lid. Transfer chicken pieces to a cutting board and shred or chop as desired, then return to the rice mixture and stir to combine. Serve and enjoy!
Notes
- Feel free to add different veggies if preferred! Carrots, celery, or peas would all be tasty options!
- Although I haven't tried it, you should be able to double the recipe if needed (as long as it doesn't exceed your pressure cooker's recommended maximum fill amount). You would keep the cook time the same.
Nutrition Information:
Yield:
4Serving Size:
1Amount Per Serving: Calories: 149Total Fat: 6gSaturated Fat: 2gTrans Fat: 0gUnsaturated Fat: 3gCholesterol: 33mgSodium: 234mgCarbohydrates: 13gFiber: 1gSugar: 1gProtein: 11g
Nutrition information is automatically calculated and is not guaranteed for accuracy.
Stock Your Freezer!
2. No need to thaw before cooking in the Instant Pot--meals can cook from frozen!
3. Easy-to-use plan includes shopping lists, labels, recipes, and instructions!


Only 1 1/2 cup water?
Hi Cassie! Yes, that’s correct. I know the box calls for more water when cooking on the stove top, but that’s because more water evaporates on the stove than it does in the pressure cooker. So you can get away with less water! Hope that helps–enjoy! 🙂
Followed your instructions by word and ended up with the burn food alarm going off. BTW this is the first time I have used an instapot so any advice is gladly welcomed.
Hi Roscoe–I’m so sorry the Burn message came on! One reason the Burn message can appear is when there isn’t enough liquid in the pot to build up steam inside the cooker, but the cooker keeps heating in an attempt to create steam, but eventually it realizes there’s no steam building up, so it issues a Burn warning to keep from burning up the food inside. The amount of liquid shouldn’t have been a problem with this recipe, so I don’t think that was the cause. More commonly, the Burn message can happen if the vent (that twisty knob on the top of the lid) is accidentally left in the open position instead of in the sealed position. When the vent is left open, the steam from inside escapes through the vent, so pressure never builds up inside the cooker and it keeps heating until the Burn warning is issued. I’m wondering if maybe the vent was left open accidentally? The only other thing I can think of is if you had a lot of browned bits stuck to the bottom of the pot from Sauteeing the rice in butter, that could potentially cause the Burn message as well.
Same, and I use my Instant Pot all the time. I took it all out and now have it in a pan, can’t serve uncooked chicken.
Hi Angie! I’m sorry to hear that happened! I’m wondering if the bottom of the pot needs to be deglazed more after sauteeing the rice in butter? At any rate, I hate hearing that it didn’t work well for you.
Would anything change if I used thighs instead of breast?
Hi John- boneless chicken thighs typically require a slightly longer cook time than boneless chicken breasts. To keep the cook time the same of 5 minutes (for the purposes of the rice), I’d recommend cutting the thighs into 3-4 pieces, depending on how big they are, so they’ll cook through in that amount of time. Enjoy!
Hello! Wondering if I could use frozen breast tenderloins and then just shred them after cooking, or should I thaw them and dice them first? Really trying to avoid the step of having to thaw ahead of time, but will make it work if I need to. Thanks!
Hi Amber! I think using frozen breast tenders would be fine–you’ll probably need to increase the cook time, though, to 6 minutes to ensure they cook all the way through. This might make your rice-a-roni a little bit softer, but it should still be fine. Enjoy! 🙂
This was so easy to make and so delicious. This is my new, go-to, one-pot chicken and rice dinners. I diced a small onion and sautéed for 2 minutes before adding the rice; splash of soy sauce and white wine, then the seasoning packet; Italian seasoning, pepper; crushed tarragon leaves, and 1 cup frozen peas after release. I also left the breast whole. One additional note for my taste preference, I like a ‘wet’ rice so next time I’ll use 2 cups of broth instead of 1.5 cups.
Thank you so much for sharing your tweaks! I love the idea of adding tarragon. So happy to hear you enjoyed it! 🙂
Could you use any rice a roni with this? Like the Rice a Roni Broccoli Cheese?
Hi Chris! I haven’t tried that specific variety, but I don’t see why it wouldn’t work! I noticed the broccoli cheddar box calls for a bit less water, so you may want to decrease the water in this recipe a bit (maybe try 1 1/4 cup?).
It was awesome! Going to add some broccoli next time! Thank you
Made this. I doubled the recipe and did frozen onion instead of bell pepper. I also added a packet of ranch seasoning. So good!
I’m so glad you enjoyed it! Thanks for sharing your tweaks! 🙂
Tried this tonight. I added onion, Next tine I will cook the onion for more flavor. Broth instead of water sounds like a great idea.
Thanks for sharing your adjustments, Ione! 🙂
I followed the instructions, but I used 3 froxen, boneless, skinless chicken breasts, 4½ cups of chicken broth, n 3 boxes of chicken flavored rice a roni cuz I tripled the recipe. The rice was perfect, but the chicken wasn’t done in the middle, so I cut them in half n air fried all of them at 350°, for 5 minutes, n it was perfect!!
Hi Steph! Yes, frozen chicken requires a longer cook time, but you were so smart to pop the chicken into the air fryer to finish! So glad you enjoyed the recipe! 🙂
Thanks for this great, easy recipe! I made it with 2 large boneless, skinless chicken breasts and added a bag of frozen, cut green beans on top. It came out great. My family said it reminded them of risotto!
Thank you so much, Jennifer! I’m glad you enjoyed it. I love hearing that recipes are a hit with the whole family! 🙂
This looks amazing! Gonna make it tonight, except. I’m gonna add shredded cheese and mix it in!
I love that idea, Cindy! Cheese is always a welcome addition, if you ask me! 🙂
We aren’t big fans of chicken breast. Would I need to make any adjustments if I used boneless/skinless thighs? Can’t wait to try.
Hi Mary! Boneless skinless thighs should work fine. I would probably cut them into smaller pieces, just because they can sometimes be thicker and take a bit longer to cook than breasts. You could either dice into 1-inch chunks, or cut each thigh into four pieces. Then you can either shred the chicken afterward, or serve in chunks. Hope that helps! 🙂
Thanks! Would this also work with the Ric A Roni Wild Rice package?
You didn’t specify whether the chicken was cooked or raw.
Hi Terryann! I use raw chicken. Enjoy! 🙂
Made this with 2 cups water, sautéed in some garlic before adding the water. Used chicken thighs and canned corn. After the quick release, added 1/4 cup of sour cream and 1/2 cup shredded cheddar cheese. Replace lid for 5 minutes. It needed some extra seasoning, so I added Dan-O’s Cheeseoning! It was perfect!
Hi Tiffany! Thank you for sharing your tweaks–adding sour cream and cheese is a great idea–that sounds delicious! 🙂
I made this recipe with 4 small chicken thighs, that I skinned, deboned and chopped into 1-inch pieces, sautéed the broccoli cheddar cheese rice a Roni, and chopped a green bell pepper. Threw it all in the 3qt pot and set the timer for 12 minutes. It came out great! so easy on a 100-degree weather day!
Thank you for sharing your tweaks, Barbara! It’s always nice to be able to skip the stove and oven when it’s sweltering outside! 🙂