

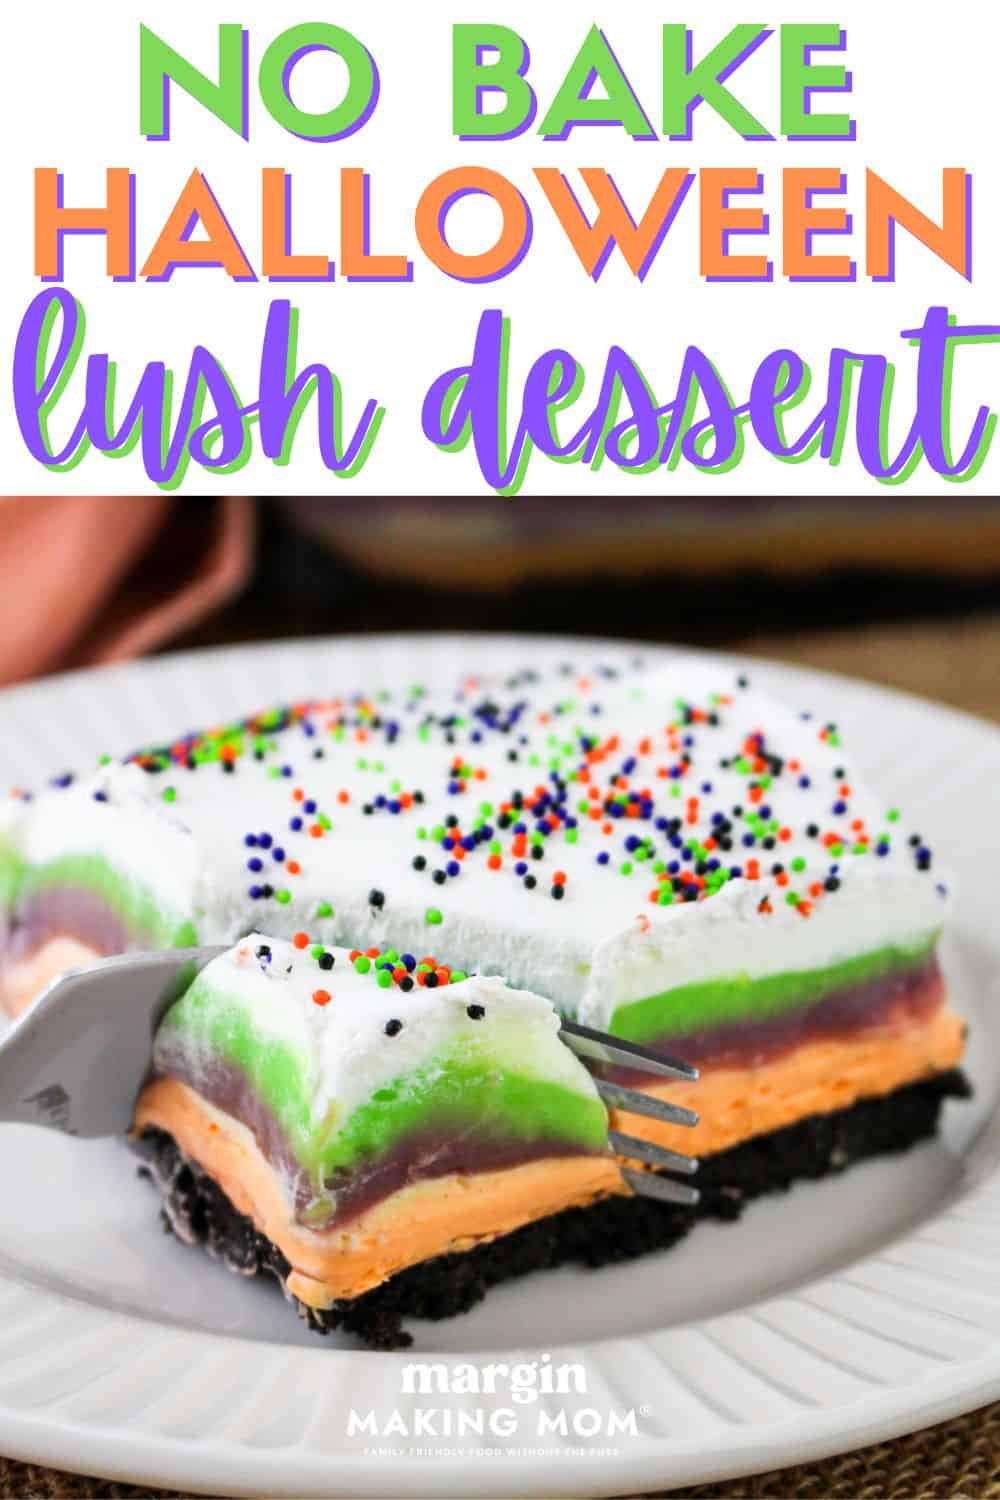
Easy No-Bake Halloween Lush Dessert
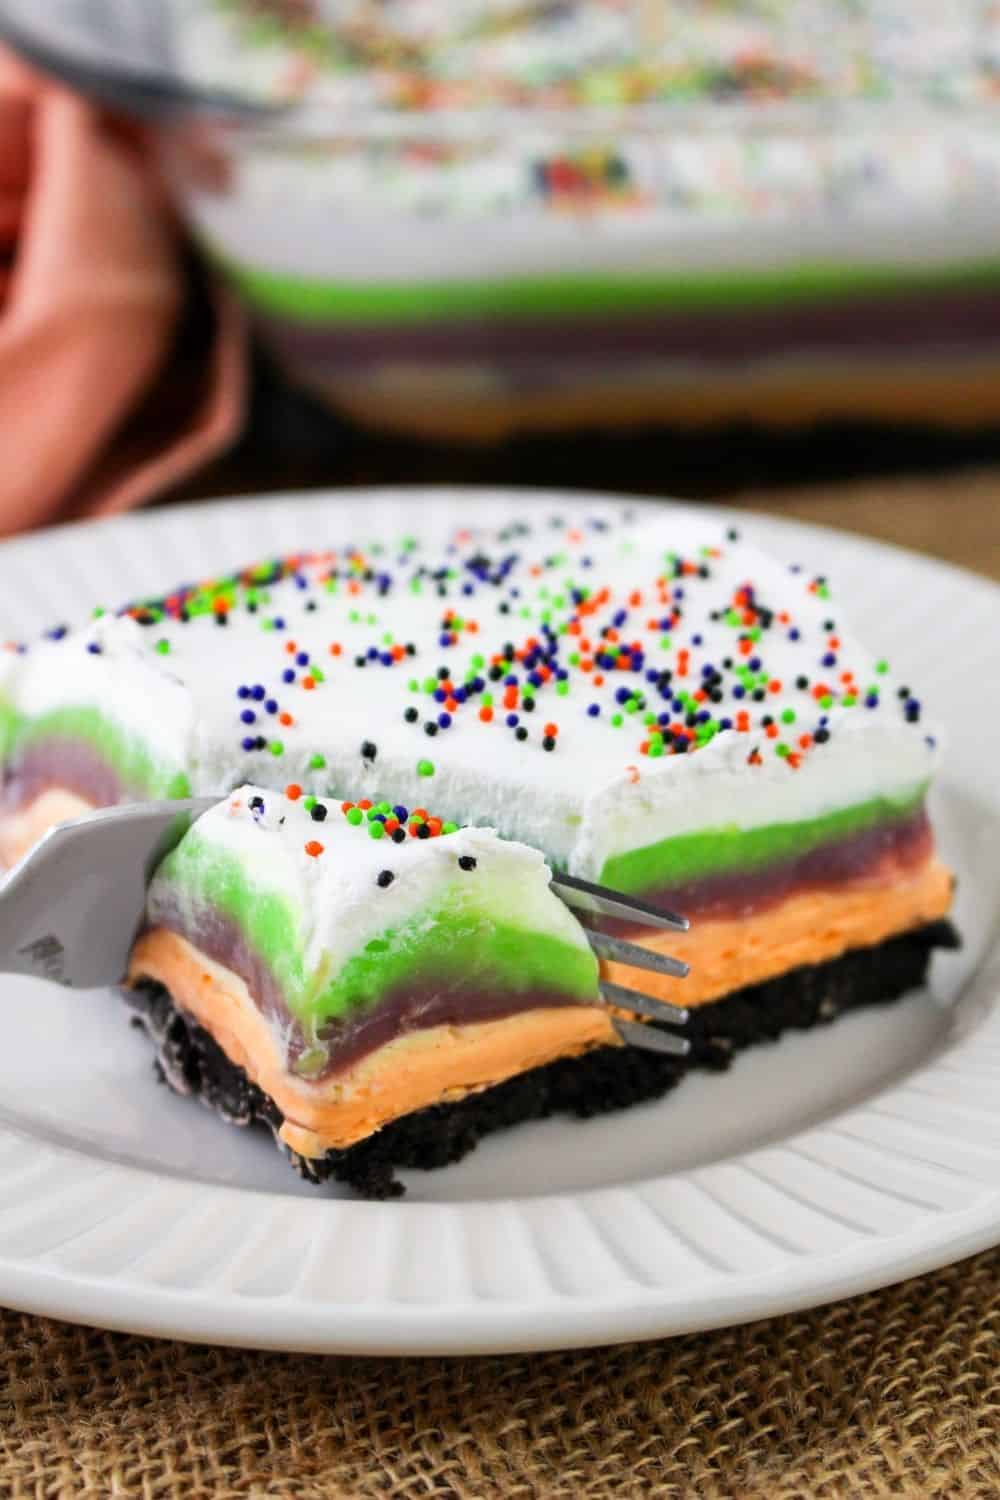
This fun Halloween layered dessert is a creamy, delicious treat that’s as festive as it is tasty. Perfect for serving at a Halloween party!
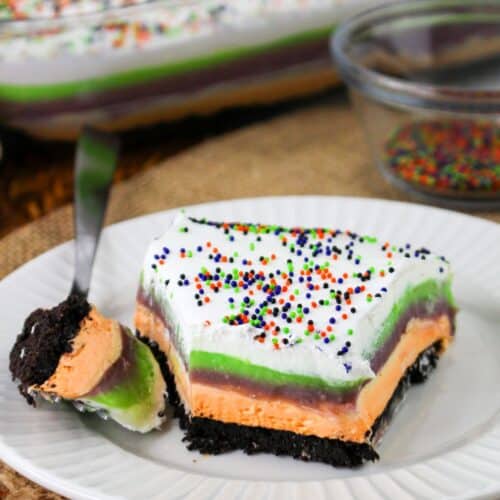
No-bake Halloween lush dessert is a make-ahead option that’s perfectly spooky, thanks to its orange, green, and purple hues.
Note: This post may contain affiliate links for your convenience. If you make a purchase, this site may receive a small commission at no additional cost to you. You can read my full disclosure policy here.
Creamy layered desserts are always a hit in our family, because they’re light and airy, while still satisfying your sweet tooth.
I particularly like that they can be made ahead of time, so I’m not scrambling in the kitchen at the last minute.
And while we love a good chocolate peanut butter delight or layered Oreo cream dessert, Halloween calls for something a little more festive!
That’s where this no bake Halloween lush dessert comes in! It’s super simple to make, with common ingredients, but with a colorful flair that makes it perfect for spooky season!
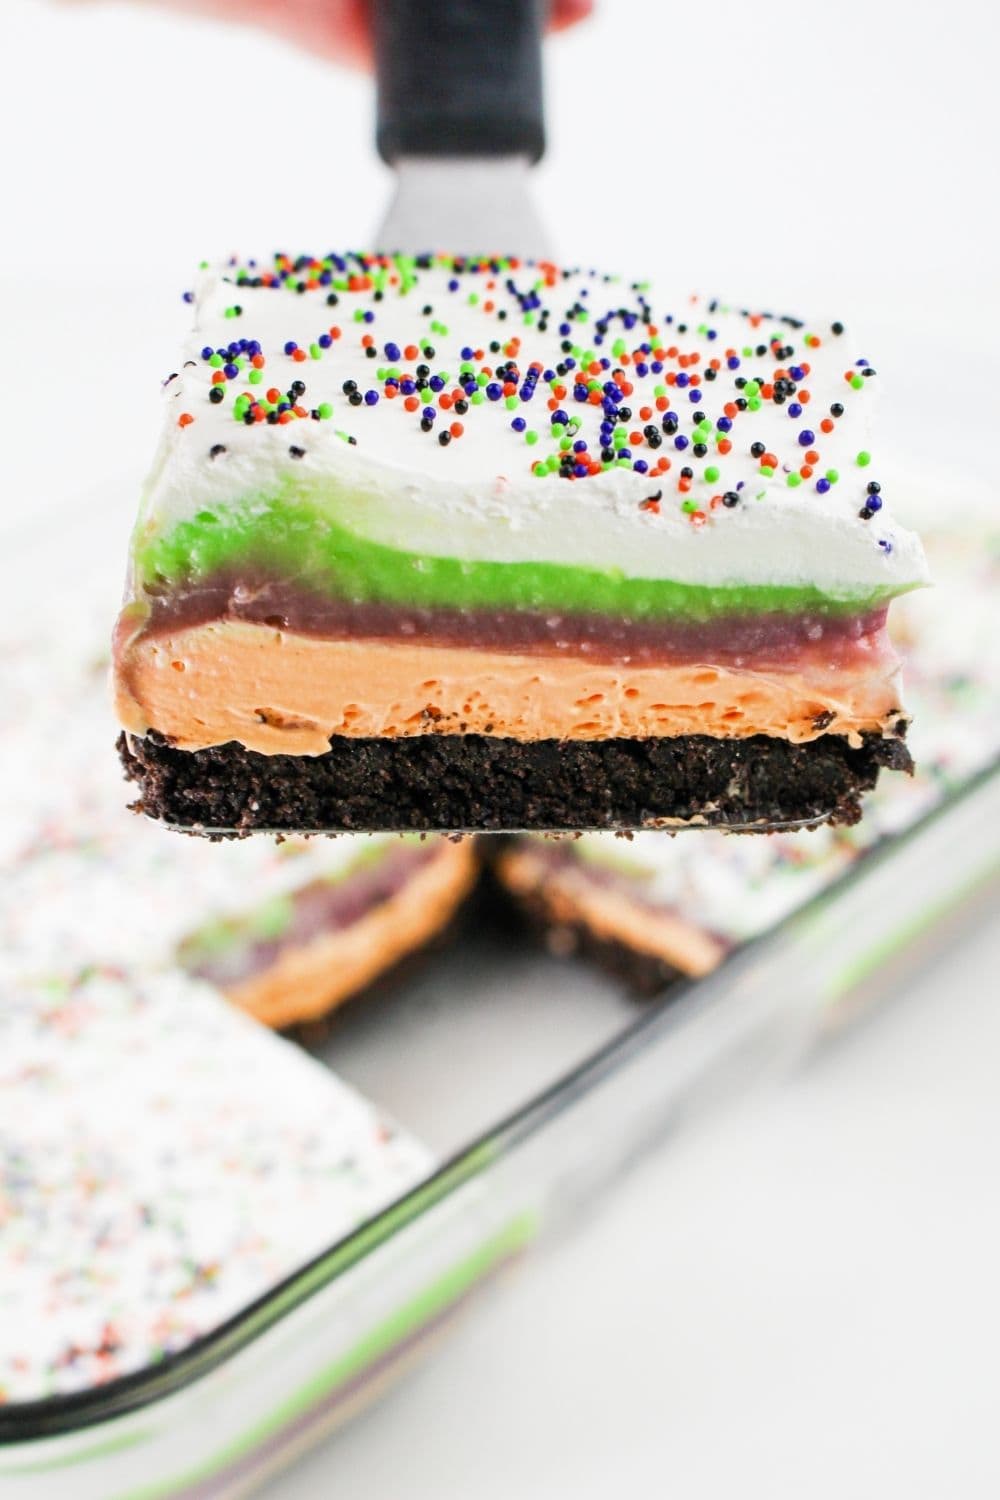
A cream cheese layer combines with pudding layers and Cool Whip to create that luscious texture, which pairs perfectly with an Oreo cookie crust.
If you need an easy Halloween dessert to whip up for an upcoming party, this is a great one to make!
More Easy Halloween Treats for the Whole Family:
- Witches’ Brew Halloween Punch
- Easy Halloween Dessert Dip
- Chocolate Cake Mix Halloween Cookies
- Halloween Bark
- Easy Dipped Halloween Oreos
- Easy No-Bake Halloween Treat Ideas
Easy Make-Ahead Halloween Delight
For this dessert, I like to stick with classic layers that are easy to make and taste great.
Instant pudding mix, cream cheese, and Cool Whip are the stars of the show here–all easy to find and keep on hand!
I used vanilla pudding for one layer, but since I love pistachio pudding desserts, I chose to use the pistachio variety for one layer. Plus it gives it some green color!
Of course, if you need a nut-free dessert, you can use vanilla or white chocolate pudding mix instead.
How to Make No-Bake Halloween Lush Dessert
It’s really easy to whip up this spooky treat.
Ingredients You’ll Need
- Chocolate cookie crumbs
- Butter
- Cream cheese
- Powdered sugar
- Whipped topping
- Vanilla pudding mix
- Pistachio pudding mix
- Milk
- Green, orange, and purple food coloring
- Halloween sprinkles
How to Make It:
Find the full printable recipe available below
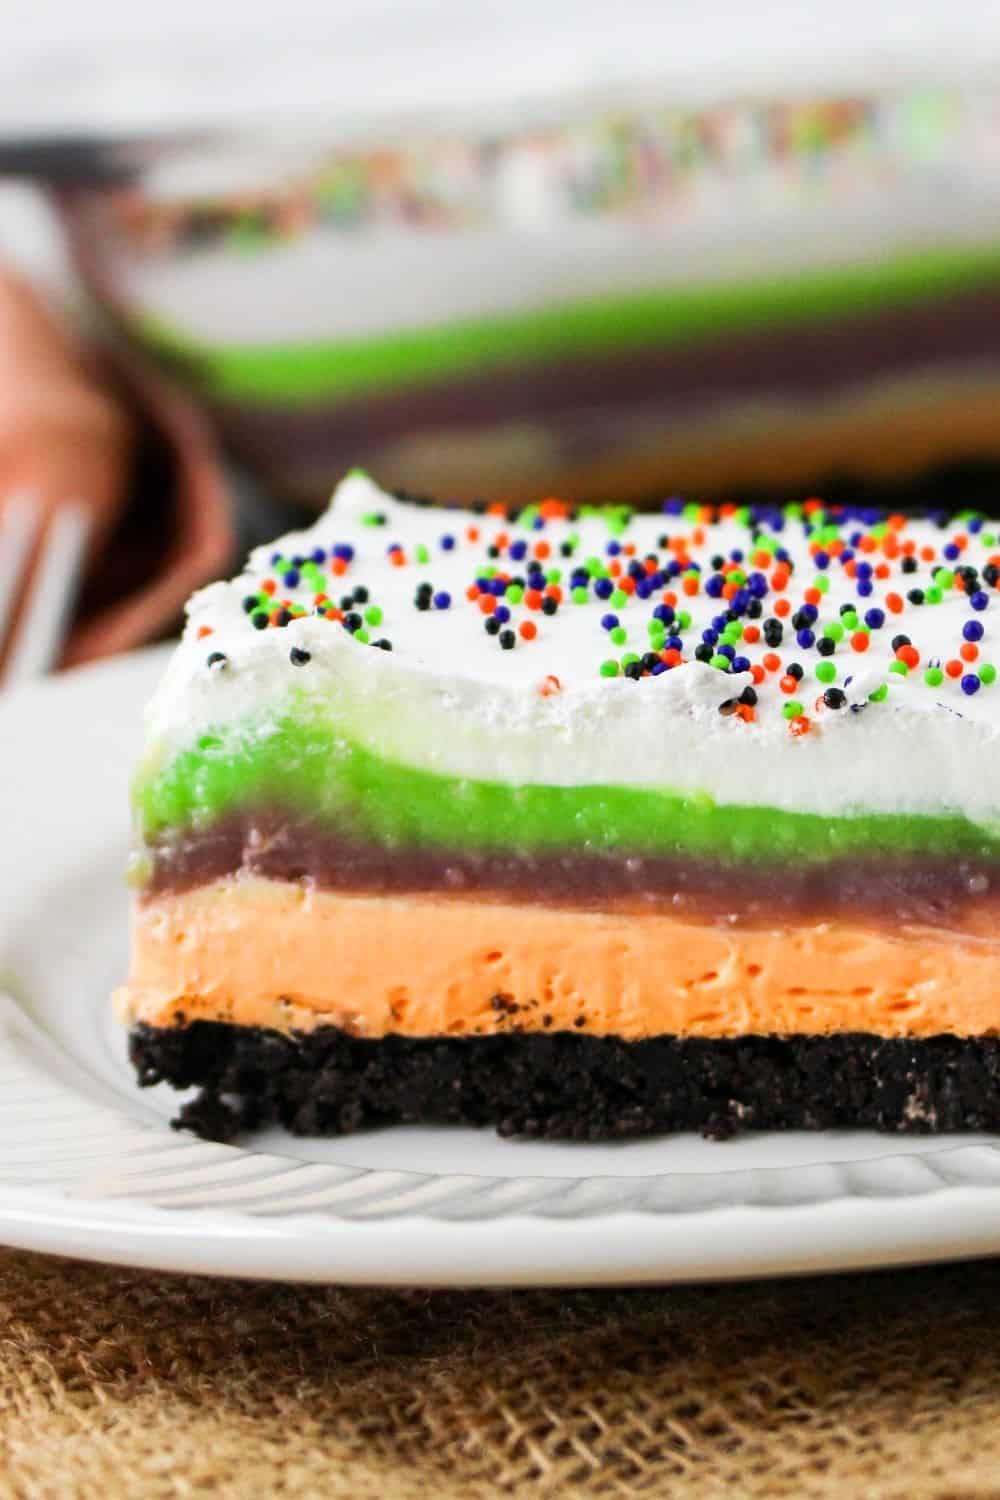
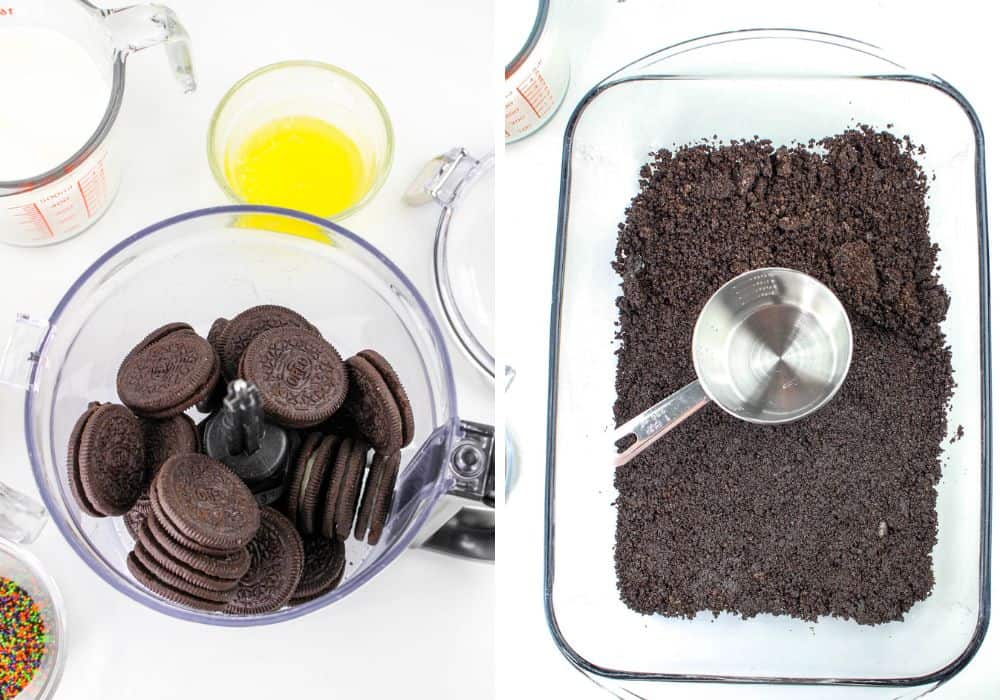
Prep the crust. First, you’ll combine cookie crumbs and melted butter until moistened, then press into a 9×13″ pan.
Transfer to the fridge and chill.
Prep the orange layer. Next, you’ll beat together the cream cheese and powdered sugar until it’s completely smooth.
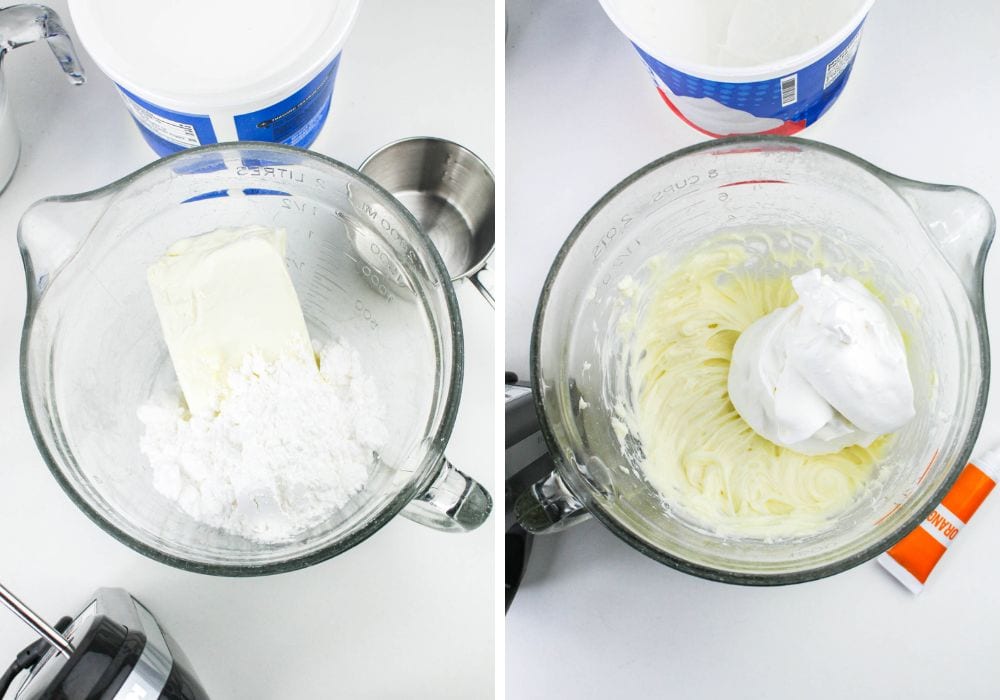
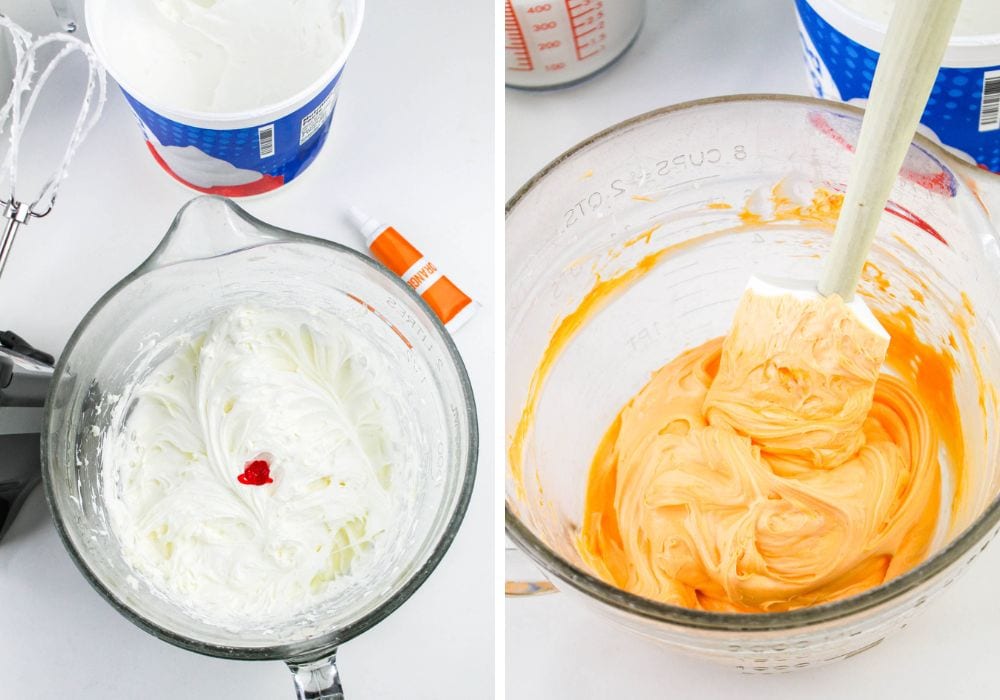
Fold in some of the Cool Whip until it’s nice and creamy, then add in some orange food coloring.
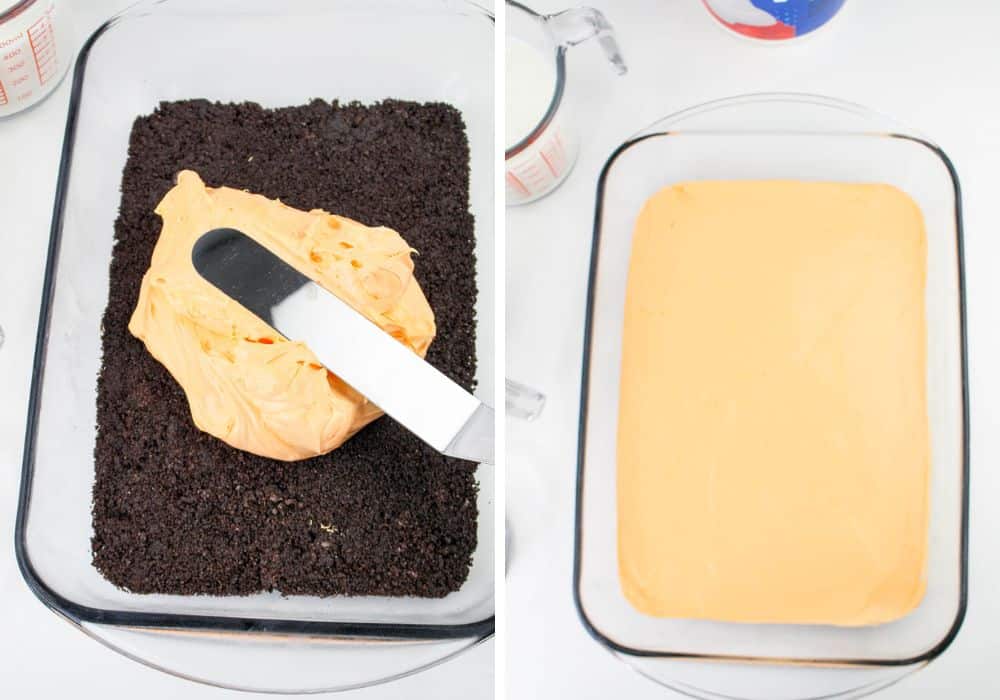
Spread this layer over the chilled crust, then pop it back in the fridge.
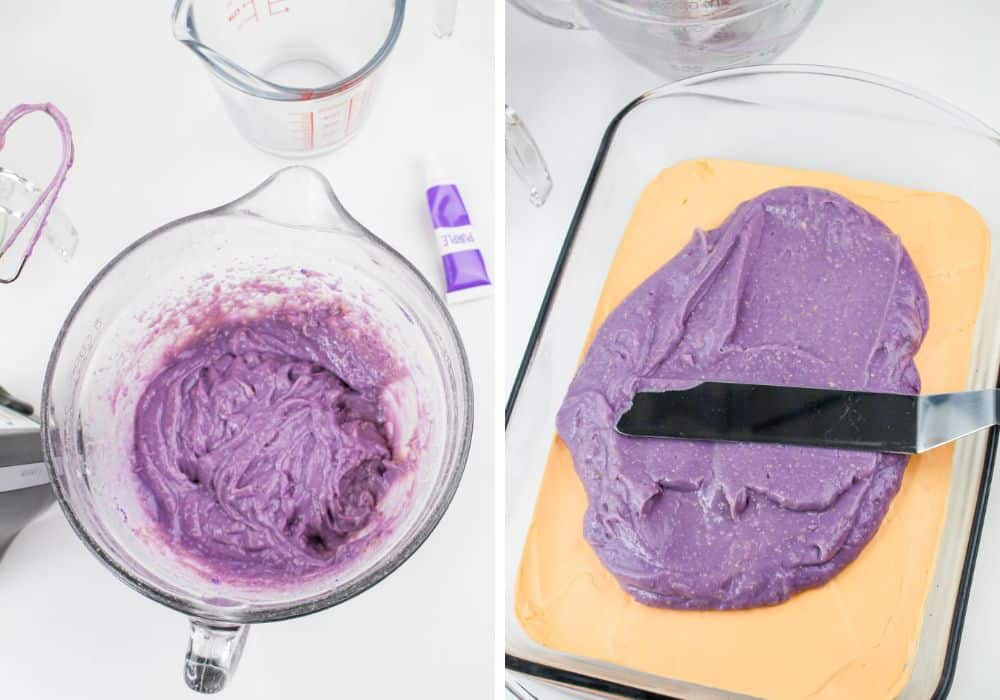
Prep the purple layer. Next, you’ll whisk together vanilla pudding mix and milk, until it’s beginning to thicken.
Add your purple food coloring and mix to combine, then spread this layer over the orange layer.
Return the pan to the fridge.
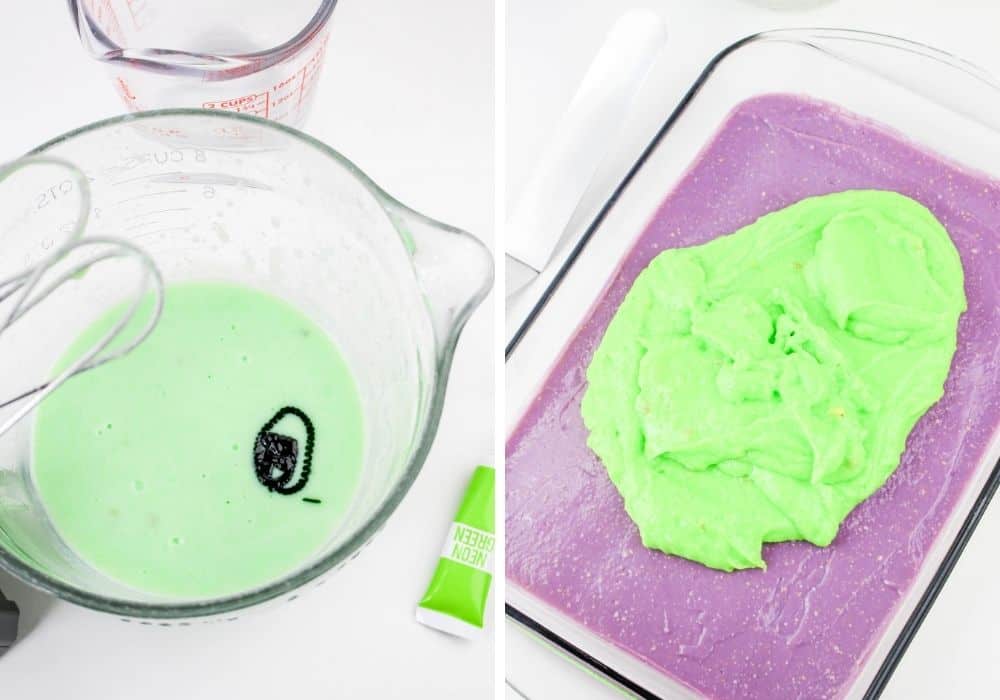
Prep the green layer. Next, you’ll whisk together the pistachio pudding mix and milk, until it’s starting to thicken up.
Add in some green food coloring until it’s the color you prefer, then spread it over the purple layer.
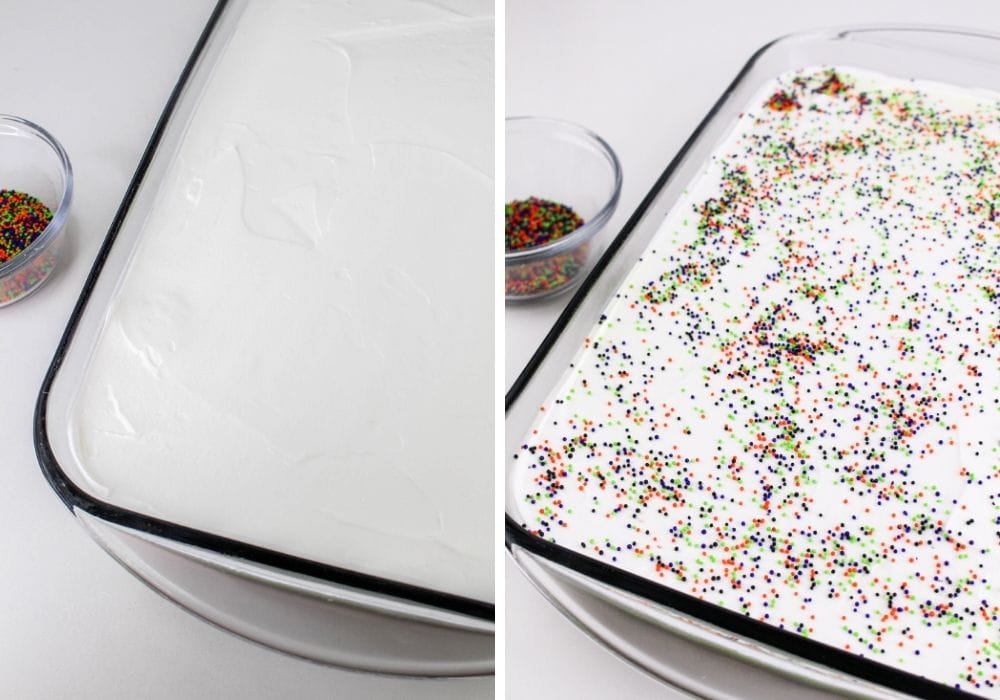
Top with whipped topping. Last, you’ll add the remaining whipped topping over the green layer. Return to the fridge and chill for at least 2 hours.
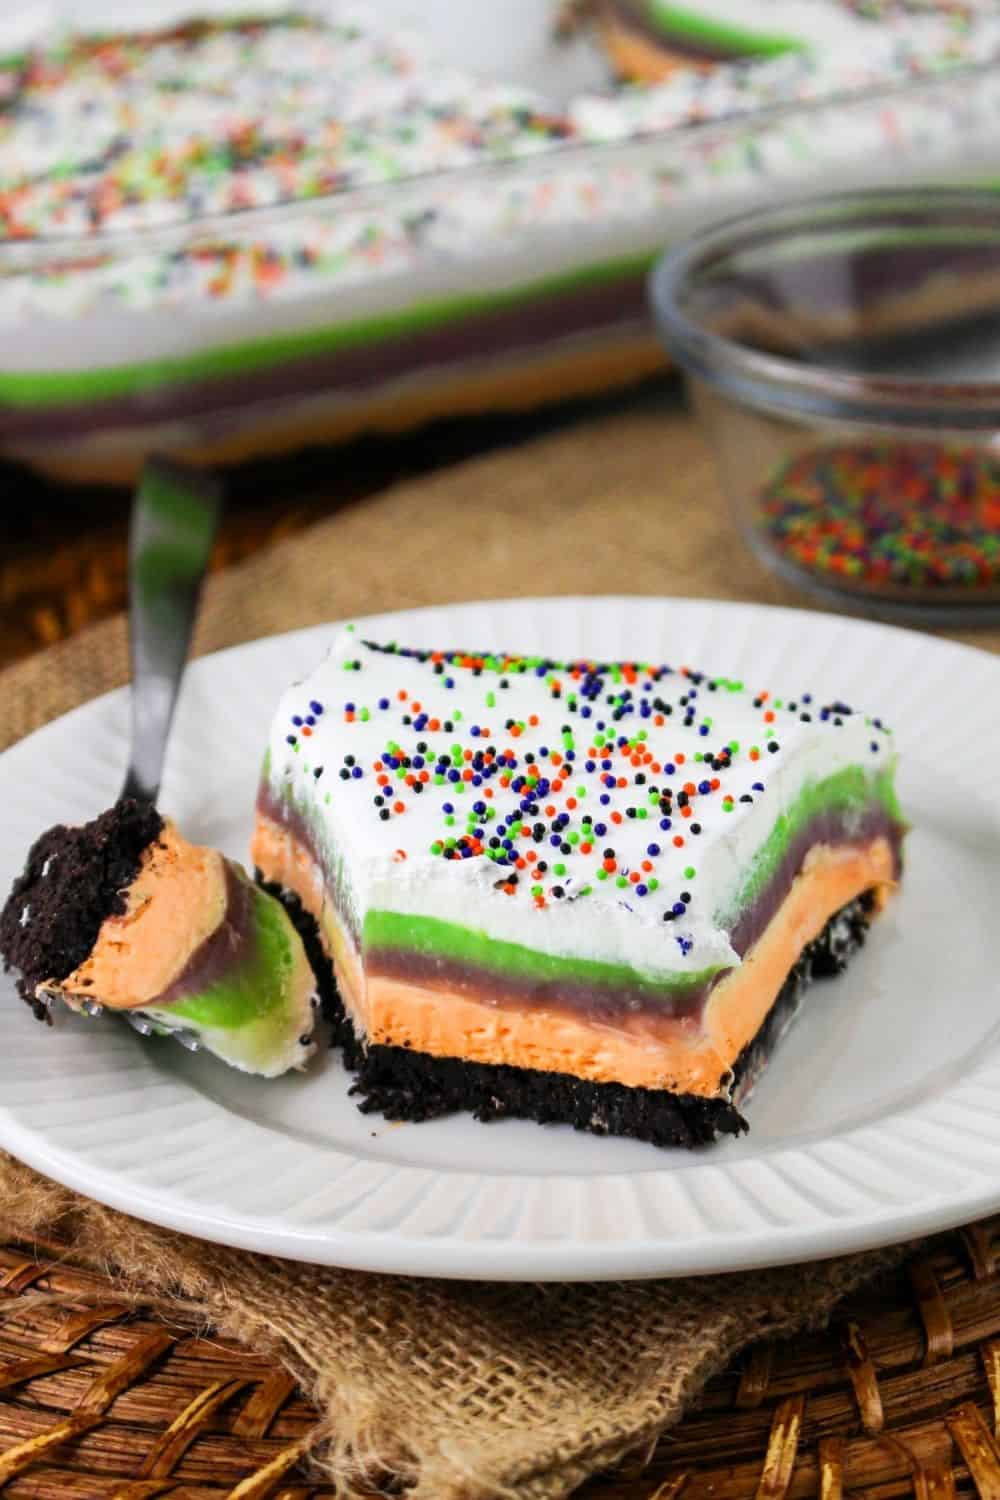
Just before serving, decorate the top of the dessert by spreading Halloween sprinkles evenly over the Cool Whip.
Then cut into squares and serve cold!
Notes and Adaptations
- Keep this dessert chilled until ready to serve. Leftovers should be covered and refrigerated for up to 3-5 days.
- Wait to add the sprinkles until just before serving, to prevent the colors from “bleeding” into the whipped topping.
Recommended Equipment
No Bake Halloween Lush Dessert
Ingredients
For the Crust:
- 1 1/2 cups chocolate cookie crumbs (such as Oreos)
- 1/4 cup butter (melted)
For the Orange Layer:
- 8 ounce cream cheese (softened)
- 1 cup powdered sugar
- 1 cup whipped topping
- orange food coloring
For the Purple Layer:
- 3.4 ounce instant vanilla pudding mix
- 1 3/4 cups cold milk
- purple food coloring
For the Green Layer:
- 3.4 ounce instant pistachio pudding mix
- 1 3/4 cups cold milk
- green food coloring
For the Topping:
- 1 cup whipped topping such as Cool Whip
- Halloween-themed sprinkles
Instructions
For the Crust:
- In a medium mixing bowl, combine chocolate cookie crumbs and melted butter, stirring until the crumbs are fully moistened.
- Press the mixture into the bottom of a 9×13-inch baking dish, then chill in the refrigerator while preparing the other layers of the dessert.
For the Orange Layer:
- In a large mixing bowl, beat the softened cream cheese and powdered sugar together until smooth. Gently fold in 1 cup of whipped topping until incorporated.
- Add a few drops of orange food coloring and mix until evenly colored. Add more drops as needed, until your desired hue is achieved.
- Spread this orange cream evenly over the chilled crust, then return the pan to the fridge.
For the Purple Layer:
- In a medium bowl, whisk together the vanilla pudding mix and cold milk until thickened.
- Add purple food coloring and mix until evenly colored and your desired hue is achieved.
- Spread the purple layer over the orange layer, then return the pan to the fridge.
For the Green Layer:
- In another medium bowl, whisk together the pistachio pudding mix and cold milk until thickened.
- Add green food coloring and mix until evenly colored to your desired hue.
- Spread the green layer over the purple layer.
For the Topping:
- Spread the remaining whipped topping over the green layer.
- Refrigerate for at least 2 hours before serving to allow the layers to set. Just prior to serving, decorate the top layer of whipped topping with Halloween-themed sprinkles.
- Cut into squares and serve cold.
Notes
- Keep this dessert chilled until ready to serve. Leftovers should be covered and refrigerated for up to 3-5 days.
- Wait to add the sprinkles until just before serving, to prevent the colors from “bleeding” into the whipped topping.
Nutrition
Did you try this recipe?
Don’t forget to leave a rating below and make sure to follow on Instagram and Pinterest for more easy recipes!
Don’t forget to save this recipe to your Halloween board on Pinterest!


Easy family-friendly recipes in your inbox!