

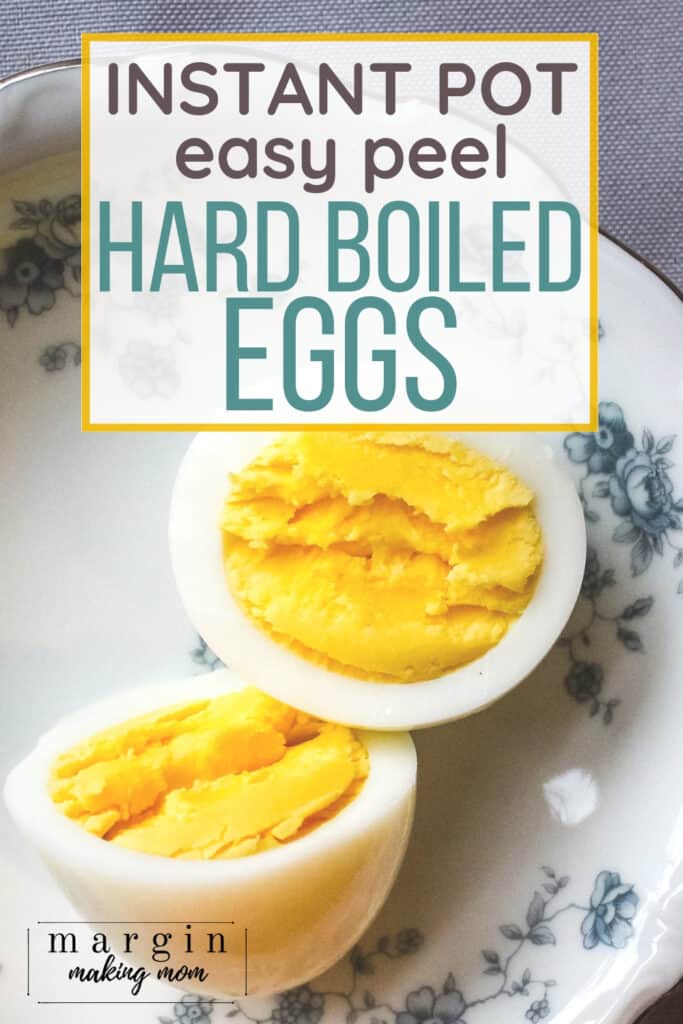
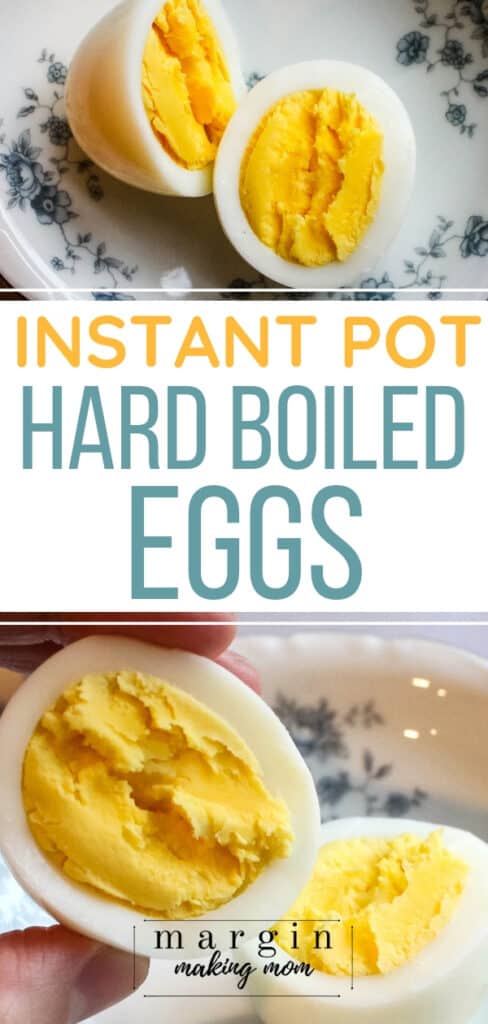
Perfect Easy-Peel Hard Boiled Eggs in the Instant Pot
Instant Pot hard boiled eggs come out perfectly every time! They’re SO easy to peel, and you can make a single egg or a dozen at a time!
There are many methods for preparing hard boiled eggs, but making hard boiled eggs in the Instant Pot is a cinch and results in perfect, easy-to-peel eggs!
Note: This post may contain affiliate links for your convenience. If you make a purchase, this site may receive a small commission at no additional cost to you. You can read my full disclosure policy here.
I think hard boiled eggs are an underutilized food in the kitchen.
Not only are they an inexpensive source of protein, but there are so many things you can make with them!
But getting perfect hard boiled eggs every time can be a little tricky.
Don’t get me wrong–there are several techniques for making hard boiled eggs, and none of them are particularly difficult.
The most obvious method is boiling, with different variations of that simple method. Some people keep the eggs boiling until they are fully cooked.
Some people boil for a set amount of time, then remove from heat to allow the eggs to finish cooking, still in the water but off of the heat (this was my go-to method for quite a while).
Then there are those who make their hard boiled eggs in the oven, which is a technique I have never tried.
One popular Instant Pot sous vide recipe involves cooking your eggs low and slow, with the sous vide function of your Instant Pot.
Why I Love Making Hard Boiled Eggs in the Instant Pot
More recently, as I have been experimenting with my Instant Pot, I discovered how to make perfect hard boiled eggs in the Instant Pot pressure cooker.
I must say, this is my favorite method by far, both for its ease and for the way it cooks the eggs perfectly every time.
It’s so easy, in fact, that I included this recipe on my list of the best Instant Pot recipes for beginners!
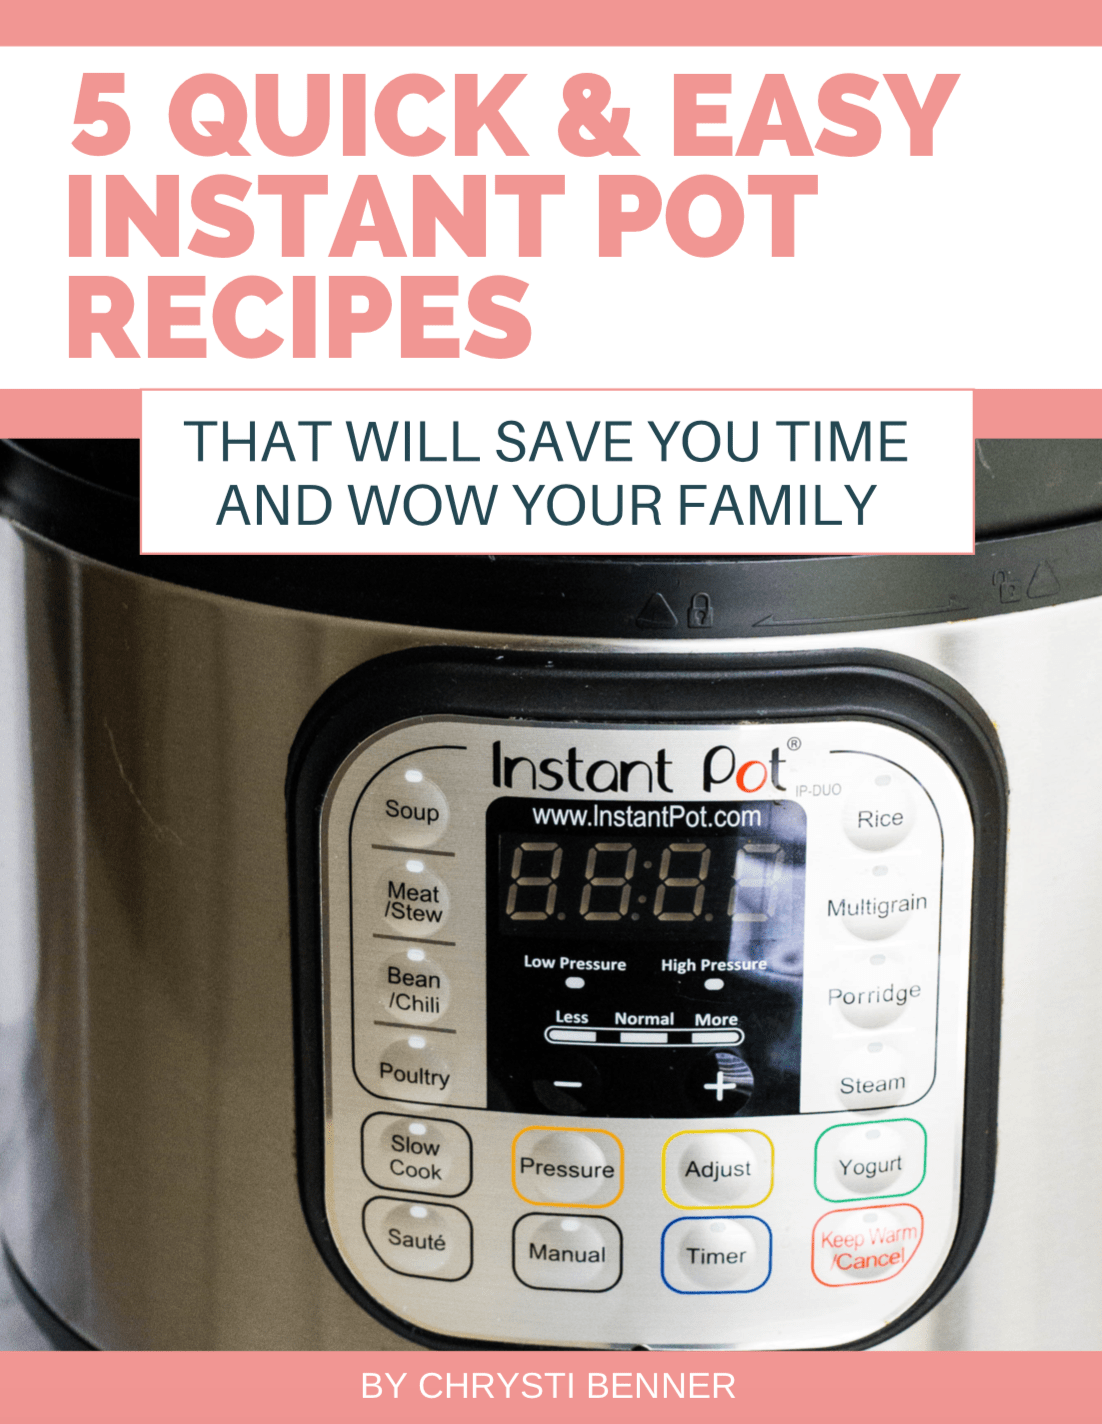
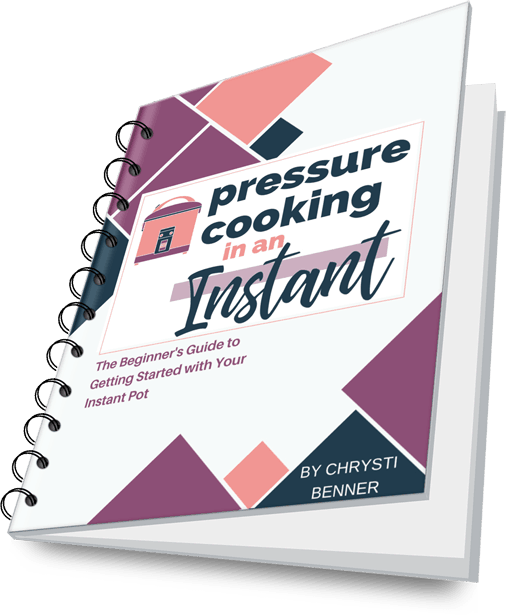
New to Pressure Cooking? Check Out These Helpful Resources:
- Everything You Need to Know to Get Started Making Easy Pressure Cooker Recipes
- How to Reheat Leftovers in the Instant Pot
- How to Make Your Favorite Slow Cooker Recipes in the Instant Pot
Now, I will admit that using the Instant Pot to make hard-boiled eggs doesn’t necessarily save time.
It takes about the same amount of time to boil the eggs in a pot of water.
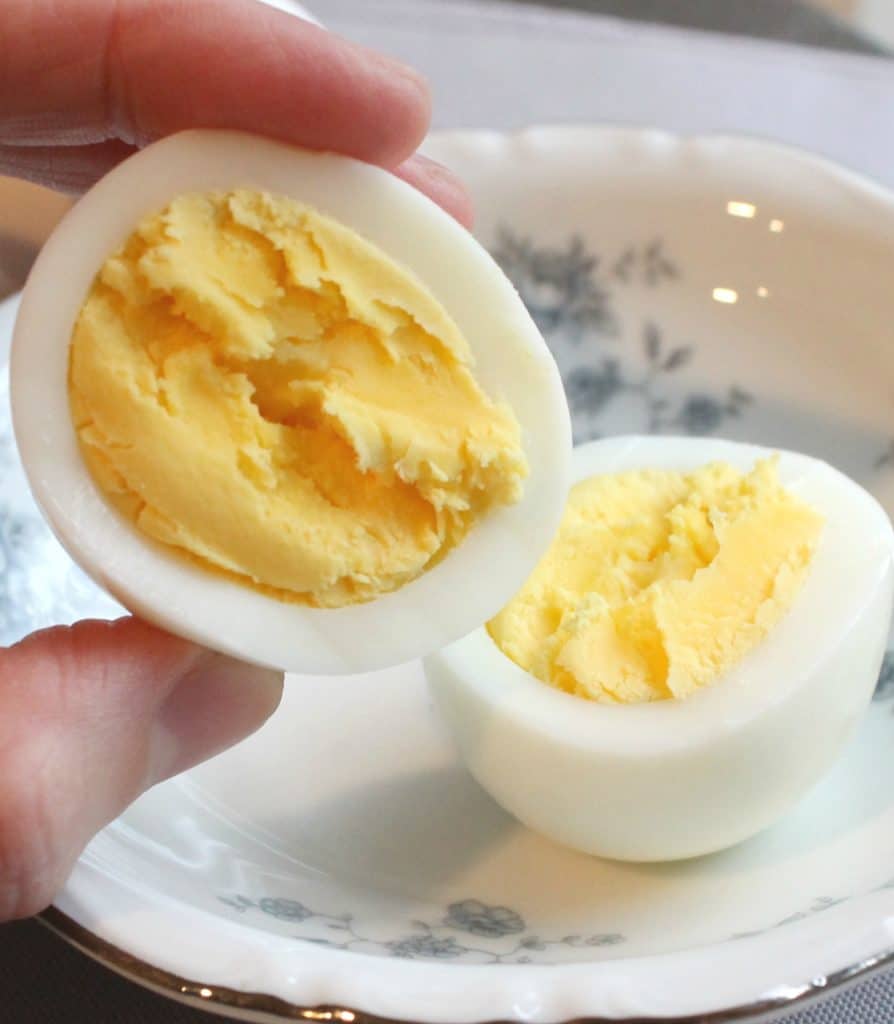
But, I love the fact that this method is easy, mostly hands-off, and it results in eggs with a perfectly cooked yellow yolk–no green edges!
I think this really is the easiest way to make hard boiled eggs.
The other bonus is that these eggs are incredibly easy to peel. I’m not sure what it is about cooking them under pressure, but the shells just slip right off of them.
How Many Eggs Can You Hard Boil in an Instant Pot?
You can make just one egg, if that’s all you need.
Or, you can make more than that, depending on how many you need.
I’ve personally made as many as a dozen at a time.
If you want to make even more, this egg rack is handy for making as many as 18 eggs at a time, and keeping them in the rack will help prevent them from cracking.
You can also use a steamer basket in your Instant Pot. This mesh basket is the one I have, and it’s on my list of the best Instant Pot steamer baskets!
Can You Stack Eggs in an Instant Pot?
I have regularly stacked eggs in my Instant Pot, so yes, you can!
However, do note that it can become a little precarious, the more eggs you add to the stack.
They are a little more likely to crack when there are several stacked together. This doesn’t bother me, since I’m going to be cracking them afterward anyways.
You can always use an egg rack if you prefer them to not be stacked, or a steamer basket to contain them.
How to Make Instant Pot Hard Boiled Eggs
Making hard boiled eggs in the Instant Pot is a cinch! It’s a great beginner technique to try.
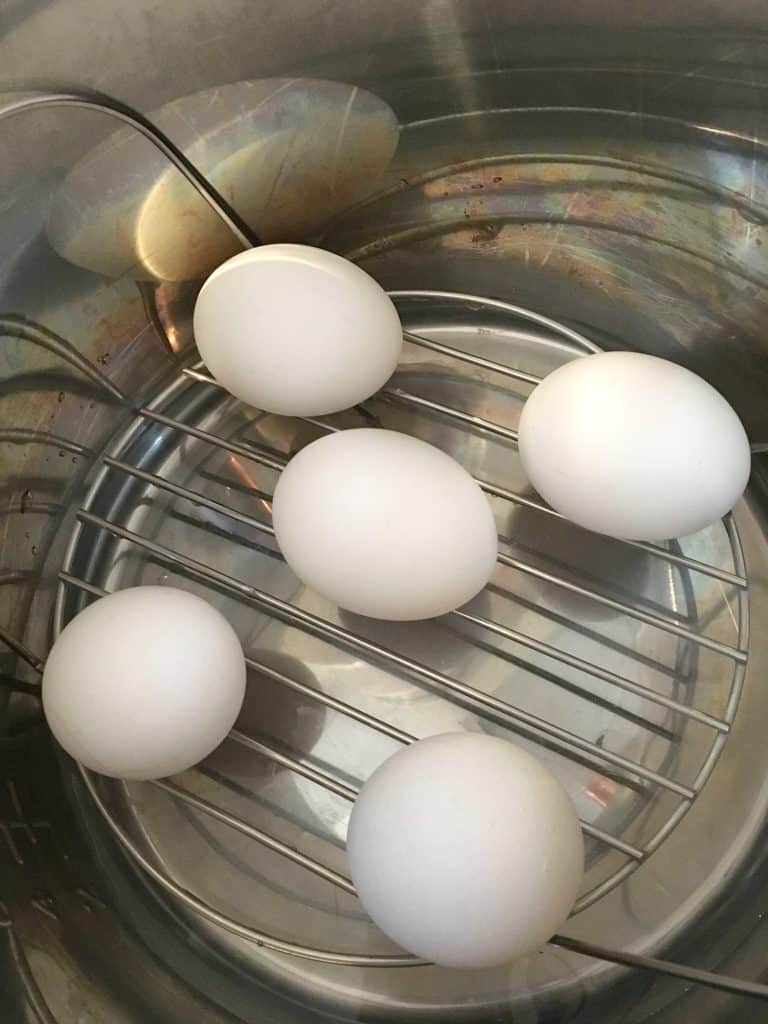
First, you’ll place the trivet in the insert pot and add a cup of water.
Next, position your eggs on the trivet. You can cook just one egg, or I’ve made up to a dozen at a time. That’s the most I’ve personally made at once.
Select a cook time of 5 minutes at high pressure. Once the cook time is complete, allow a 4 minute natural release, followed by a quick release of remaining pressure.
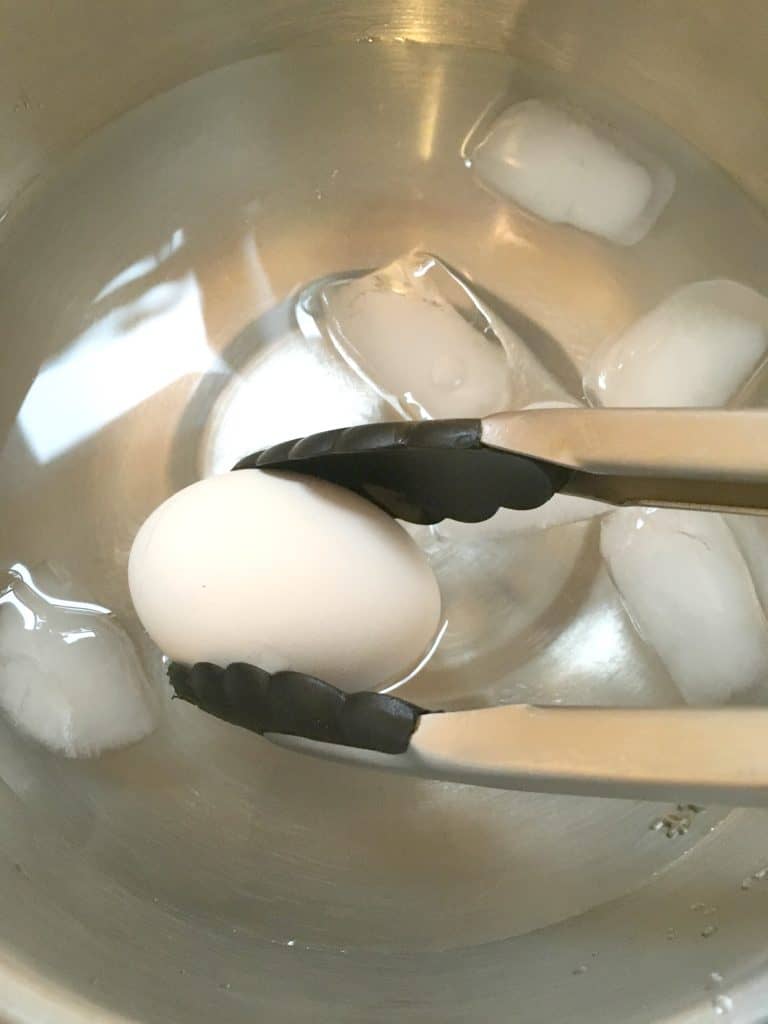
You’ll then transfer the eggs to an ice water bath to stop the cooking and help them cool faster. This helps to prevent the yolks from getting green edges.
And that’s it!
Once the eggs are cool, you can peel and use them for whatever you’d like!
Egg salad, as an addition to potato salad or chicken salad, to make deviled eggs, as a topping for a green salad, or just plain with a bit of salt. 🙂
Being able to quickly prepare hard boiled eggs can can be a life-saver when it comes to last-minute mealtime prep!
Recommended Equipment:
- Instant Pot (I love my Duo60) with trivet
- Tongs
- Egg rack – If desired, to help prevent cracking (this rack holds 18 eggs!)
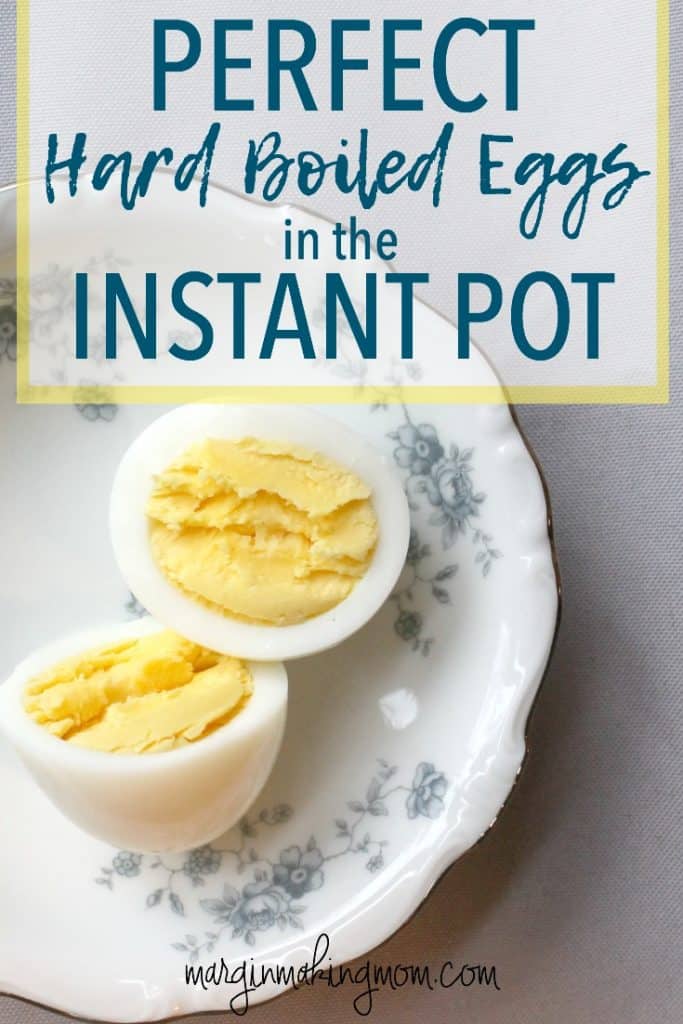
Perfect Hard Boiled Eggs in the Instant Pot

Instant Pot hard boiled eggs come out perfectly every time! They're SO easy to peel, and you can make a single egg or a dozen at a time!
Ingredients
- 5 eggs (or more or less, as desired)
- 1 cup water
Instructions
- Pour water into bottom of insert pot of the Instant Pot.
- Place the trivet in the insert pot and set the eggs on the trivet (or use a steamer basket or egg rack, if preferred).
- Close lid and set the ventt to the sealed position.
- Using the Manual/Pressure Cook setting, select a 5 minute cook time at high pressure.
- Once the cook time is complete, allow a 4 minute natural release of pressure.
- At end of 4 minutes, perform a quick pressure release. Once pressure is released and the valve has dropped, carefully remove the lid. Use tongs to remove eggs to a bowl of cold ice water to stop cooking.
- Once eggs are cool, peel and enjoy.
Notes
- You can make just one egg, a dozen eggs, etc. following this method with the same cook time. Eggs can be stacked on top of each other.
- I use my trivet that came with the Instant Pot, but you can use a steamer basket or egg rack if you prefer.
Recommended Products
As an Amazon Associate and member of other affiliate programs, I earn from qualifying purchases.
-
 Instant Pot DUO60 6 Qt 7-in-1 Multi-Use Programmable Pressure Cooker, Slow Cooker, Rice Cooker, Steamer, Sauté, Yogurt Maker and Warmer
 -
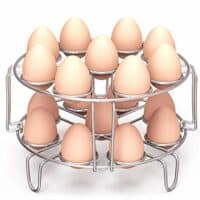 Egg Steamer Rack, Packism Steaming Rack Fit 6,8Qt Instant Pot Accessories Air Fryer Cook 18 Eggs, Stainless Steel Kitchen Trivet Basket Stackable Vegetable Steaming Holder Pressure Cooker Accessories
Nutrition Information:
Yield:
5Serving Size:
1Amount Per Serving: Calories: 72Total Fat: 5gSaturated Fat: 2gTrans Fat: 0gUnsaturated Fat: 3gCholesterol: 186mgSodium: 73mgCarbohydrates: 0gFiber: 0gSugar: 0gProtein: 6g
Nutrition information is automatically calculated and is not guaranteed for accuracy.


Hi Chrysti!
Your eggs look AMAZING!! Do you think you could cook more than 5 eggs at a time and still get the creamy egg yolk results? I’m wondering if you experimented with more than 5 eggs? TIA!
Hi Christine! The most I have personally made at one time is 6, and that worked fine. I have read of others successfully making as many as 10 eggs at once, so I don’t see why you couldn’t! The cook time should be the same. Let me know how it goes if you give it a try! 🙂
Thank you for the reply! Today, I placed as many as I could fit on my trivet (8) and they were fine!
Yay! Thanks for letting me know. Glad it worked for you!
I live at an altitude around 4800’. I cook mine for about 6 min & then I’ve bath. They come out perfect & so easy to peel.
Hi Sally! Thanks so much for this tip for those who live at high altitudes! 🙂
Turned out beautifully, then put them in pickling brine.
Hi Evelyn! What a great idea–thank you for sharing! 🙂