

Ultimate Beginner’s Guide to the Instant Pot Sous Vide Function
Wondering how to use your Instant Pot Sous Vide smart program? This easy-to-follow tutorial will help!
Learn how to use your Instant Pot sous vide function with this step-by-step guide.
UPDATED October 15, 2024
Note: This post may contain affiliate links for your convenience. If you make a purchase, this site may receive a small commission at no additional cost to you. You can read my full disclosure policy here.
Although the Instant Pot is most known for its ability to cook food quickly at a high pressure, most Instant Pot models boast additional options beyond pressure cooking.
Some models have functions that allow you to incubate yogurt in the Instant Pot or proof bread dough in the Instant Pot.
Most models have a slow cooker function and a warming function as well, plus an Instant Pot timer that delays the start of cooking.
Some models even have an air fryer lid you can use for crisping food.
But one of the newest features available on some Instant Pot models is the Sous Vide function!
We’ll be showing you exactly how to use the Instant Pot sous vide function, so you can get the most out of your appliance.
Once you’ve learned how to use the sous vide cooking program, check out these Instant Pot sous vide recipes to try!
Introduction to the Sous Vide Method– What is it?
Before you use the sous vide function of your Instant Pot, it’s a good idea to know how the process works.
There are two important factors when it comes to cooking food with any method–time and temperature.
As a general rule of thumb, if you’re cooking for a shorter period of time, you’ll use a higher temperature, which is the case with a pressure cooker.
Likewise, if you’re cooking at a low temperature, cook times will be longer, such as with a slow cooker.
Sous vide (pronounced soo veed), which in French means “under vacuum,” is a cooking method where food is typically vacuum-sealed in a bag, then cooked for a specific amount of time in a temperature-controlled water bath.
The food will eventually reach the same temperature as the water.
Because the temperature never fluctuates to extremes, the cooking process is gradual and controlled.
This is a slow method of cooking at a set temperature, but it is well-loved for cooking proteins, tender vegetables, potatoes, and eggs, because the food won’t accidentally be overcooked.
Benefits of Sous Vide Cooking:
- Temperature Consistency – More precise temperature control during the process means there’s less risk of overcooking your food.
- Set it and Forget it – You don’t have to babysit food during sous vide cooking.
- Taste and Texture – Because the foods cook in their own juices, resulting in optimum taste and texture.
- Less Contamination – If you have food allergies in your family, this can be an easy way to cook everyone’s food according to their needs, decreasing the risk of cross-contamination.
- Minimal Cleanup – Because the food is contained in plastic, there is minimal cleanup afterward.
Disadvantages of Sous Vide Cooking:
- Time – Sous vide cooking is not a quick way to get dinner on the table. Food cooks at a lower temperature for a longer time.
- Less Pleasurable Experience – Many cooks enjoy the process of touching, smelling, and tasting food as it cooks. It can be a rewarding creative experience for many. With sous vide, the process is more hands-off and may not be as enjoyable for some cooks.
- Specialized Equipment – Traditionally, you need some special equipment for sous vide cooking, though the Instant Pot sous vide function helps to lower this “barrier to entry” for home cooks.
Traditional Sous Vide Circulators
Most often, sous vide circulators are used to maintain water temperature.
These devices, which look similar to an immersion blender, have a metal coil that heats the water, and they also function to circulate the water, so all of the water is the same temperature.
This helps to prevent the water nearest the circulator being hottest, while water away from the circulator could be colder.
Traditional circulators can be attached to a pot of water and programmed to the desired time and temperature.
The Instant Pot company makes an immersion circulator, which can be clipped to any large container or even the insert pot of the Instant Pot, if it’s 6-quart size or larger.
Anova makes another popular immersion circulator.
How Does the Instant Pot Sous Vide Function Work?
The Instant Pot sous vide smart program is a built-in function that works differently than traditional sous vide circulators.
When using the Instant Pot sous vide function, the inner pot heats to the desired temperature, but there is no circulator inside the pot. It’s merely a matter of programming the pot to your desired temperature.
This is less precise than using an immersed circulator, because the water isn’t being circulated (so water near the bottom of the pot can be warmer than water near the surface), and because the pot can’t actually measure the temperature of the water.
For this reason, I recommend using a thermometer to check the temperature of the water to ensure it is adequate for the food you are cooking.
Despite this shortcoming, I’ve found the built-in smart program sous vide function to work quite well.
However, if you want the ability to precisely control the temperature, and if you prefer to have the water agitated throughout cooking, it would be best to purchase an immersion circulator.
Which Instant Pot Models Offer the Sous Vide Function?
Unfortunately, not all Instant Pot models currently offer the sous vide function.
For instance, my original Instant Pot DUO60 I bought years ago did not have this function. So I purchased a newer Instant Pot Duo Evo Plus so I could have a sous vide option.
Currently, readily available electric pressure cooker models that include a sous vide function are:
- Instant Pot Pro
- Instant Pot Pro Plus
- Instant Pot Duo Evo Plus (this is the model I have)
- Instant Pot Duo Plus (newer models only)
- Instant Pot Max
- Instant Pot Duo Crisp
- Instant Pot Ultra (this model does not have a Sous Vide smart program, but you can achieve the same results using its Ultra smart program to customize time and temperature)
Recommended Equipment:
Aside from an Instant Pot with a sous vide function, there are a few items that are helpful to have as you embark on this new cooking journey.
- Freezer Bags (splurge for good quality ones here–cheaper varieties can leak) – For cooking the food. You can also use a vacuum-sealed bag if you have it!
- Digital Thermometer – For verifying temperature of the water
- Tongs – For lowering or removing the bag of food into or out of the hot water
Steps for Sous Vide Cooking in the Instant Pot
The basic steps of sous vide cooking involve adding water to the insert pot and setting the time and temperature.
Then you’ll place food in a plastic bag and remove the air from the bag, and cook the food in the water bath.
1. Add Water to the Insert Pot of your Instant Pot
Fill your stainless steel insert pot to the half-full mark, or more if needed in order to fully cover your food when submerged.
Close the lid and set the vent in the open, or venting, position.
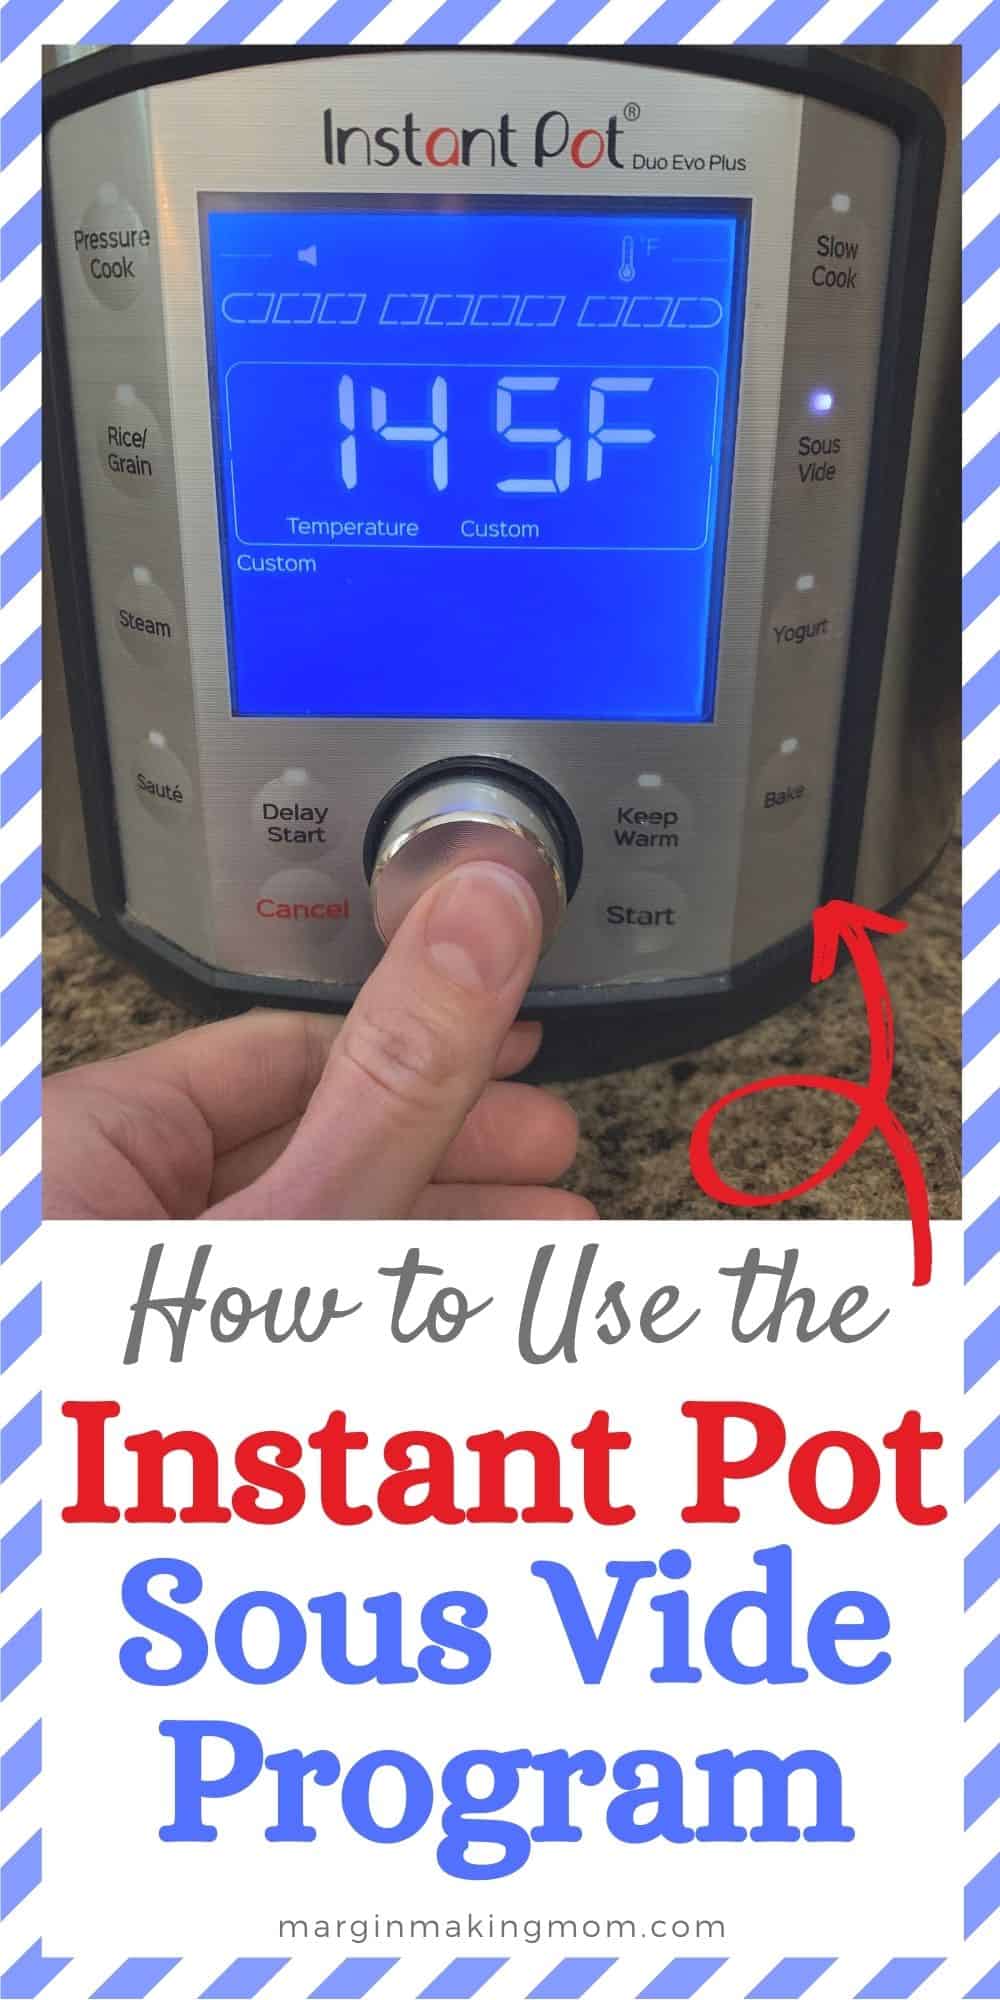
2. Program the Sous Vide Temperature and Time
The method of setting your sous vide program will differ slightly between models. You’ll want to program it before you put your food into the water, because the water needs to come to temperature.
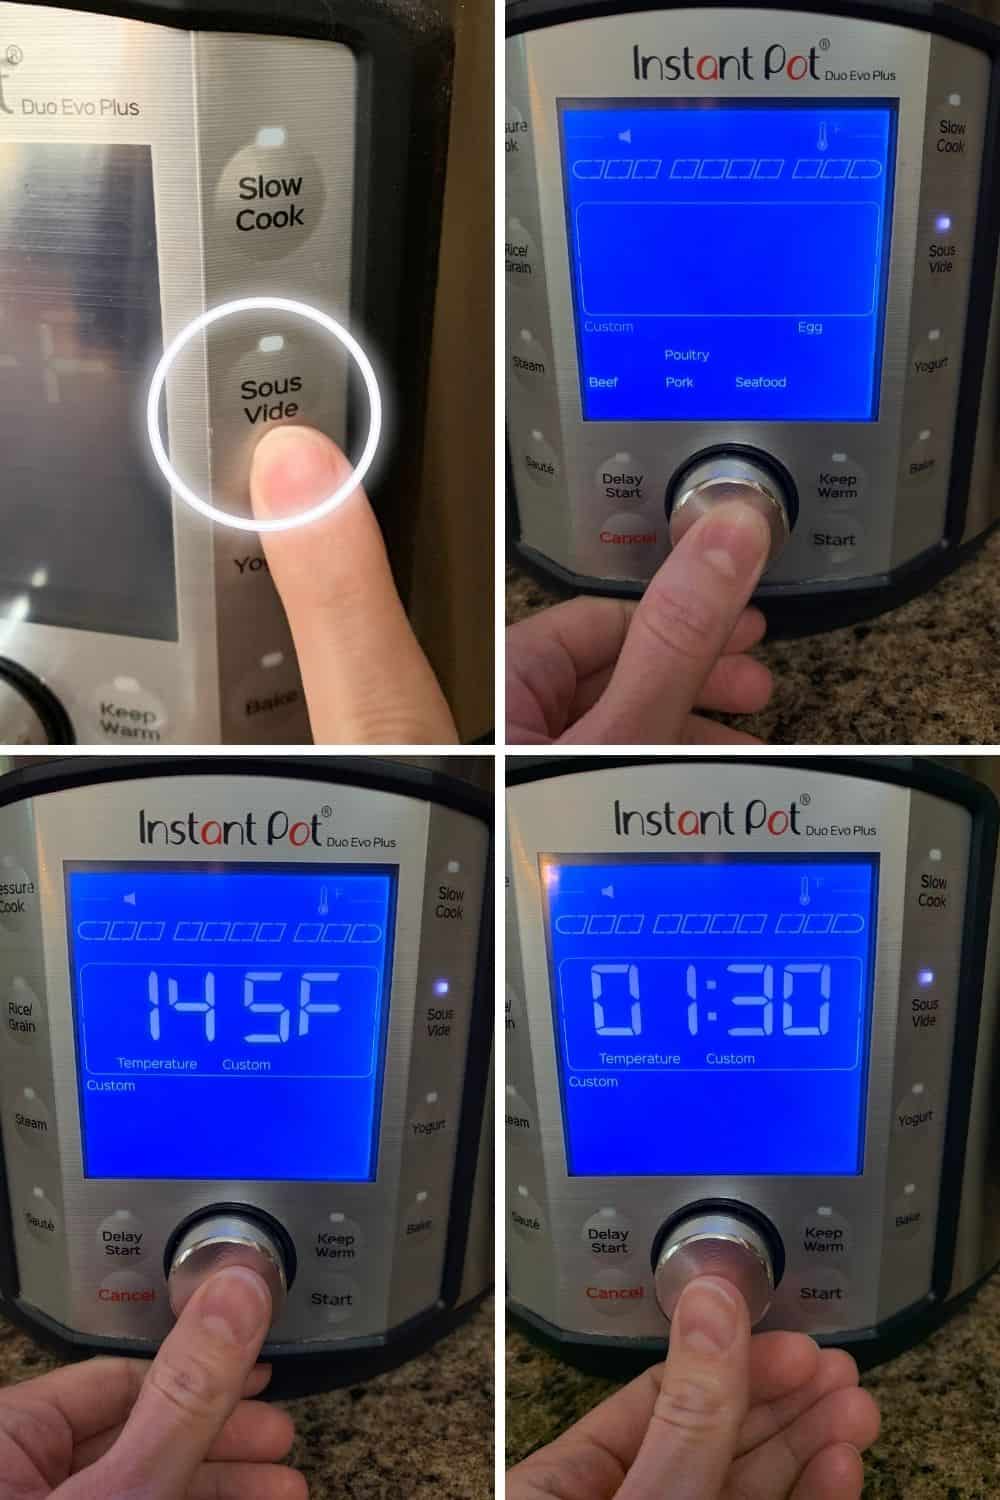
Programming Sous Vide for the Instant Pot Duo Evo Plus
- Press the Sous Vide button, then turn the knob to select the specific sous vide program (I use Custom)
- Press the knob to confirm
- Turn the knob to adjust the temperature, then press the knob to confirm
- Turn the knob to adjust the cooking time
- Press Start (display will switch to “On”)
Programming Sous Vide for the Instant Pot Duo Plus
- Press the Sous Vide button
- Use the + and – buttons to adjust to the desired temperature
- Press the Sous Vide button again
- Press the + or – Time buttons to adjust the cooking time
- After ten seconds, the display will switch to “On”
Programming Sous Vide for the Instant Pot Duo Crisp
- Press the Sous Vide button
- Use the + and – Temp buttons to adjust to the desired temperature
- Use the + and – Time buttons to adjust the cooking time (in increments of 15 minutes)
- Press Start (display will switch to “On)
Once you have finished programming, you’ll need to wait for the water to come to temperature.
Since the Instant Pot sous vide program doesn’t use an immersion circulator, I recommend manually checking the temperature of the water before adding the food.

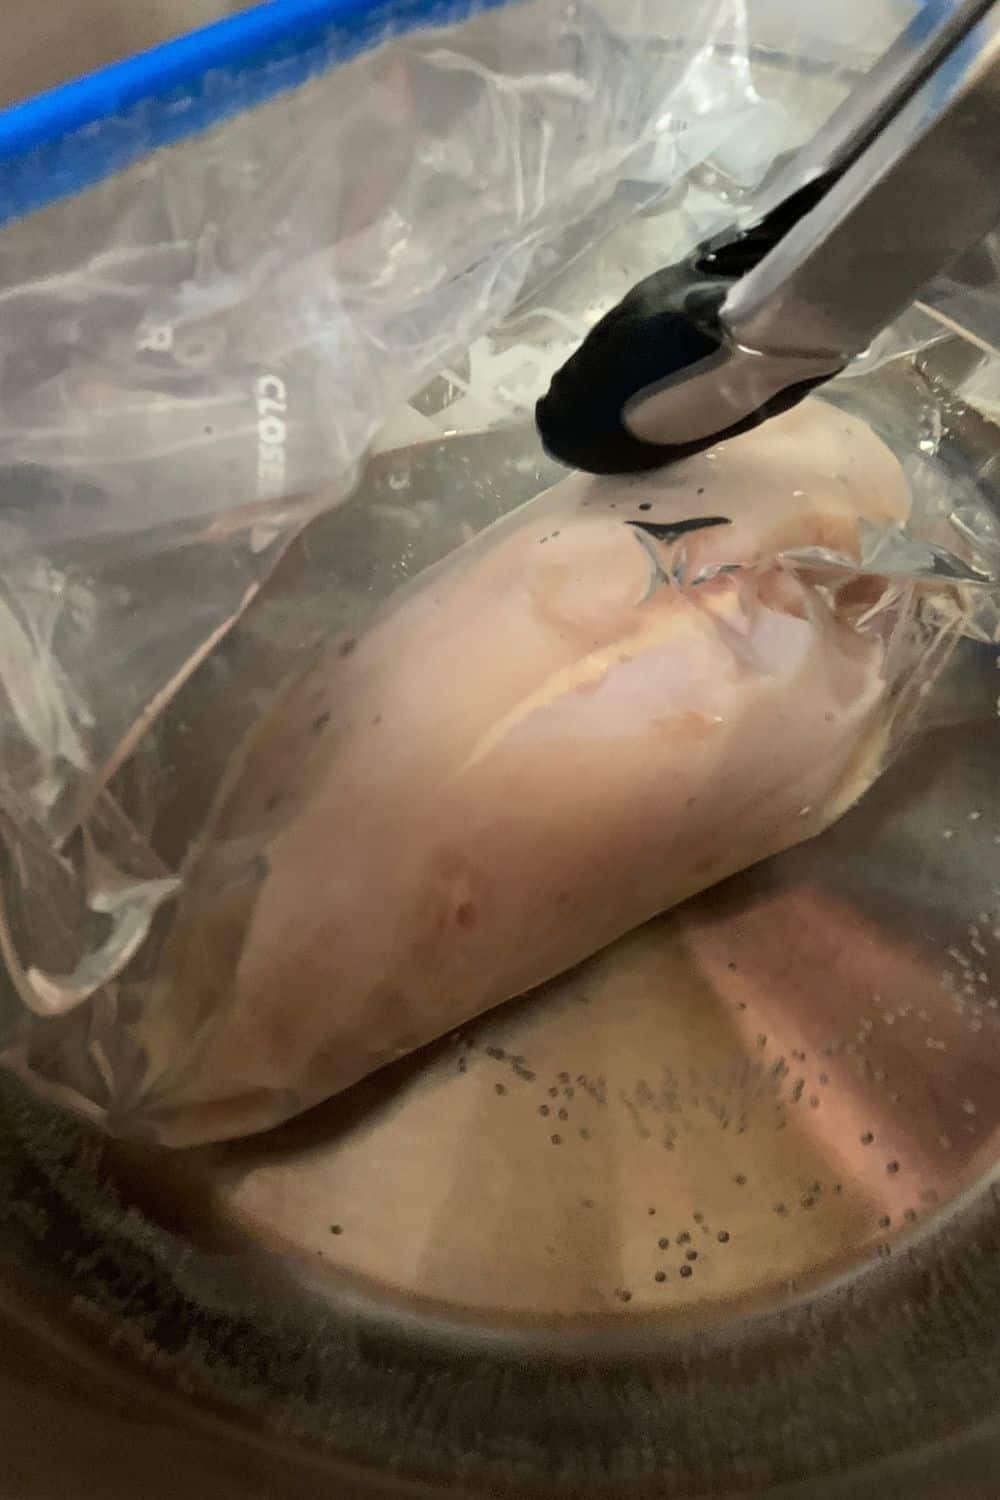
3. Add Food to the Bag and Use the Displacement Method to Remove Air
With sous vide cooking, it’s very important to remove as much air as possible from the bag.
This is because the food needs to be in contact with the hot water in order to cook properly. Air is a poor conductor of heat, so if your food is surrounded by air in the bag, the heat can’t reach the food and the food will not be cooking at the desired temperature.
If you happen to have a vacuum sealer, you can use that for removing air. However, most home kitchens don’t have one, so the displacement method is a good alternative.
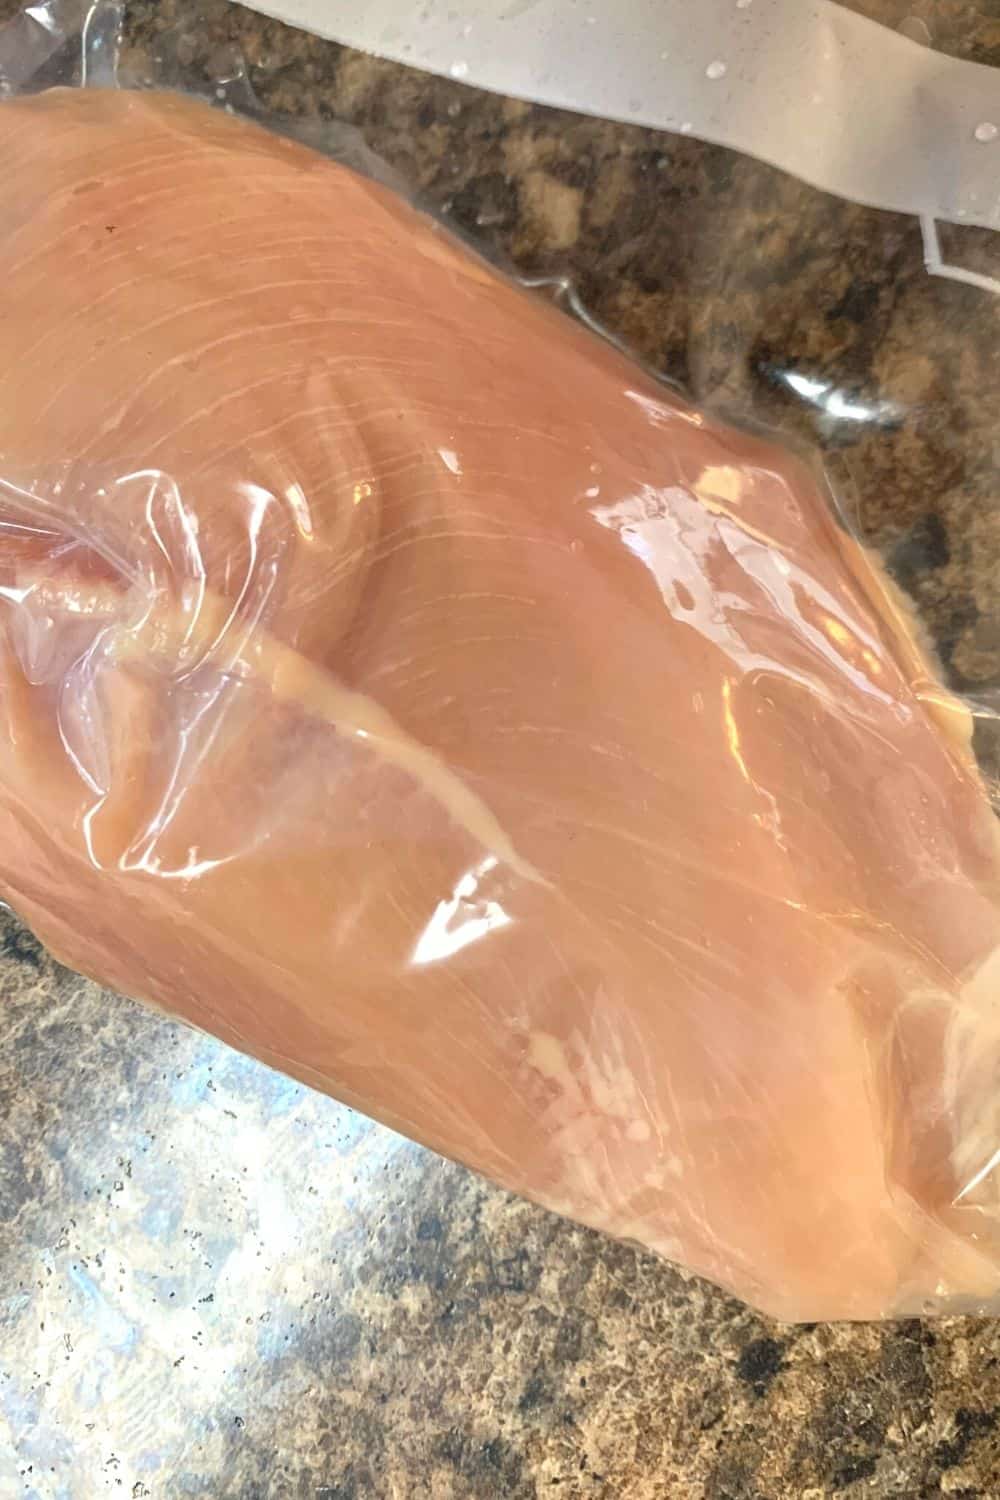
Begin by placing your food into a high-quality freezer bag (don’t overcrowd–the surface of your food needs to be exposed for proper cooking). Close the top zipper, leaving just an inch of the zipper open.
Squeeze out as much air as you can, then lower the bag into the water in your insert pot (I have performed this step using a glass bowl for demonstration purposes, so you can see what’s happening in the images). Be careful to keep the zipper above the level of the water.
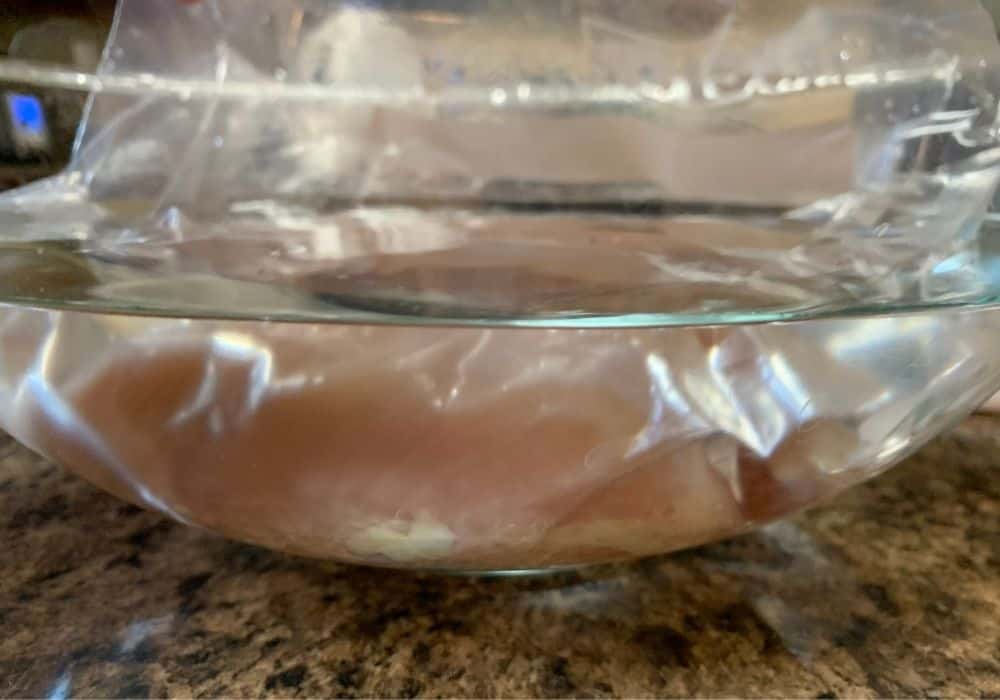
The water exerts enough pressure against the bag to force air up and out of the opening, allowing the plastic bag to be pressed directly against the surface of the food.
Close the remaining inch of zipper.
4. Submerge the Bag in Water
Use a pair of tongs to lower your bag into the water (remember, the water is hot!).
You want your bag of food to be fully submerged in water. If it is floating, that could be because air is still in the bag, which will cause uneven cooking.
Remember, you want as much of the food’s surface area to be in contact with the warm water as possible.
Once all of the air is removed from the bag, you can always place the trivet on top of the food to help keep it submerged if necessary, but most food items will submerge on their own as long as the air is out of the bag.
5. Close Lid and Allow for Cooking
Close the lid of your Instant Pot and allow the cook time to pass.
Once the cook time has passed, you’ll want to verify the temperature of your food using a thermometer, to ensure it was cooked to a proper temperature for food safety.
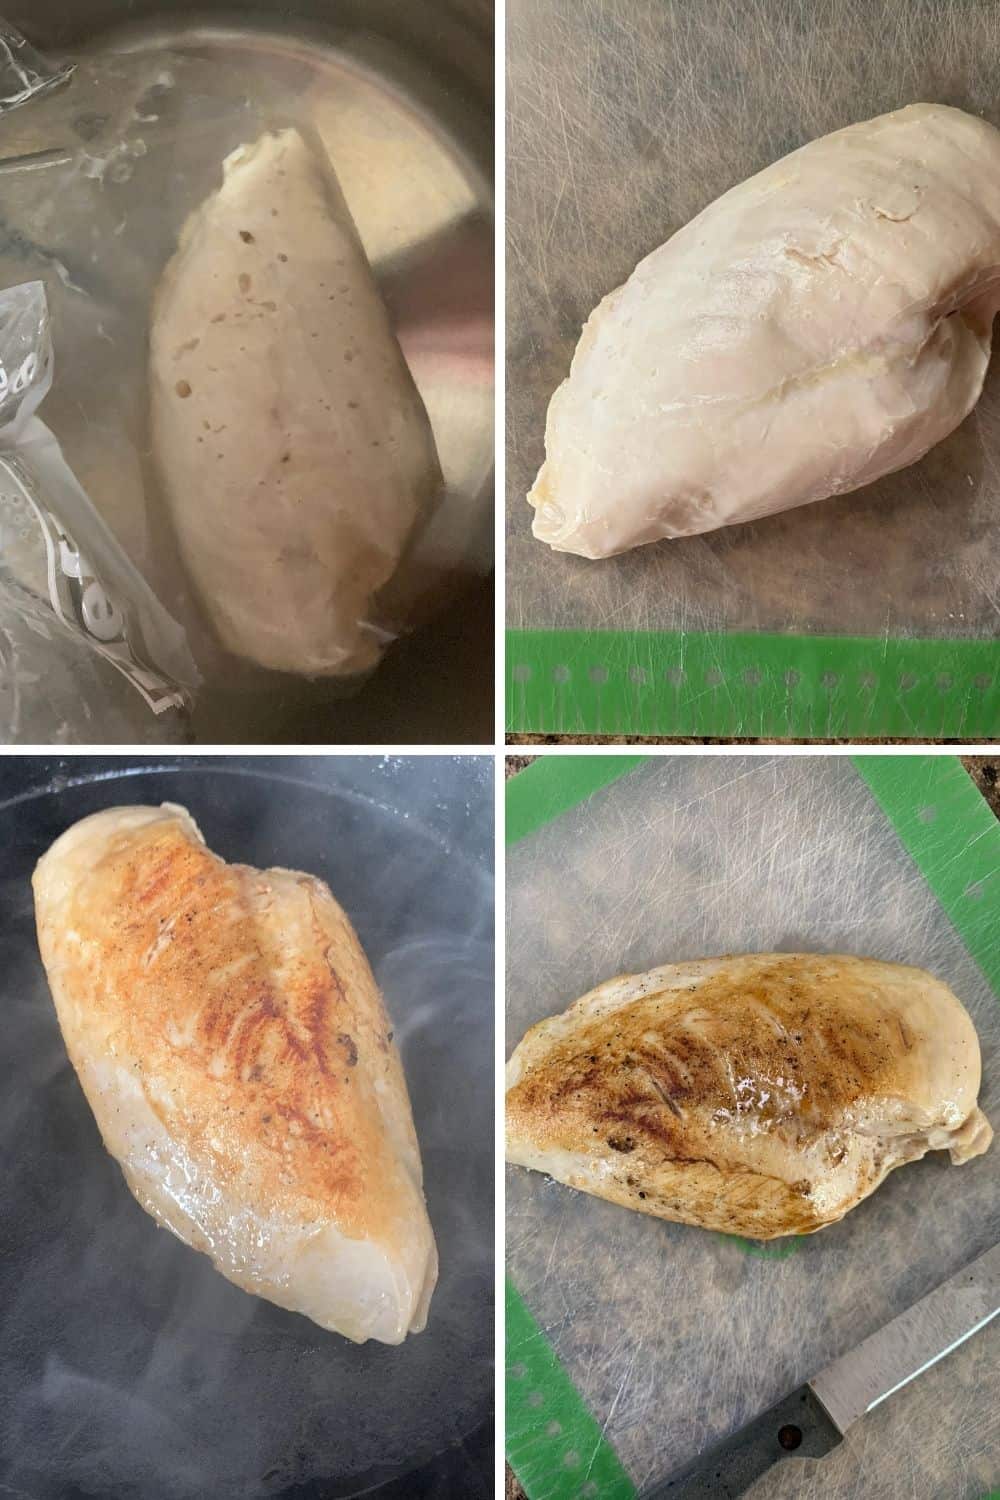
6. Rest and Reverse Sear
If you cooked meat, you’ll want to remove it to a cutting board and let it rest for 10-15 minutes. If desired, you can
“reverse sear” (which means searing after cooking, instead of before cooking) it in a hot pan to brown the outside of the meat.
I like to use my cast iron pan for this, but you could also dry out the inside of your Instant Pot and use the Saute function.
Using Your Instant Pot Sous Vide Setting
I hope these Instant Pot sous vide instructions were helpful for you.
Now that you know how it works, give these recipes a try!
Tutorials for Using Your Instant Pot
Check out these additional tutorials for putting your Instant Pot to work:
- How to Reheat Leftovers in the Instant Pot
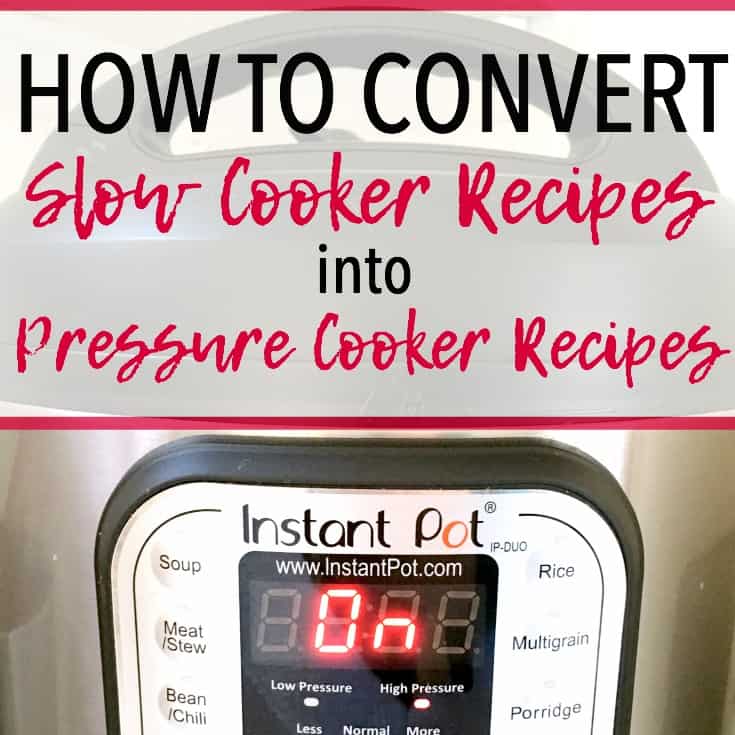
- How to Convert Slow Cooker Recipes into Pressure Cooker Recipes
- How to Halve an Instant Pot Recipe
- How to Saute in an Instant Pot


Hi! Can you use the sous vide function with the lid off?
Hi Chelsea! You could try it without the lid, but since there’s no immersion circulator, I always keep the lid on to help maintain the temperature better. Hope that helps! 🙂
Hi, can you cook more than one item at the same time using the sous vide function. I had two pork tenderloins from Costco and only cooked one fearing they otherwise wouldn’t cook properly. Thanks!
Hi Caitlin! It really depends on the size of the items, as you want the water to circulate around them well. If you can fit more than one without crowding (the items shouldn’t be touching each other, because that would prevent proper heat distribution), it should work okay! But with pork tenderloins, I’m not completely sure if you could fit both without crowding.