

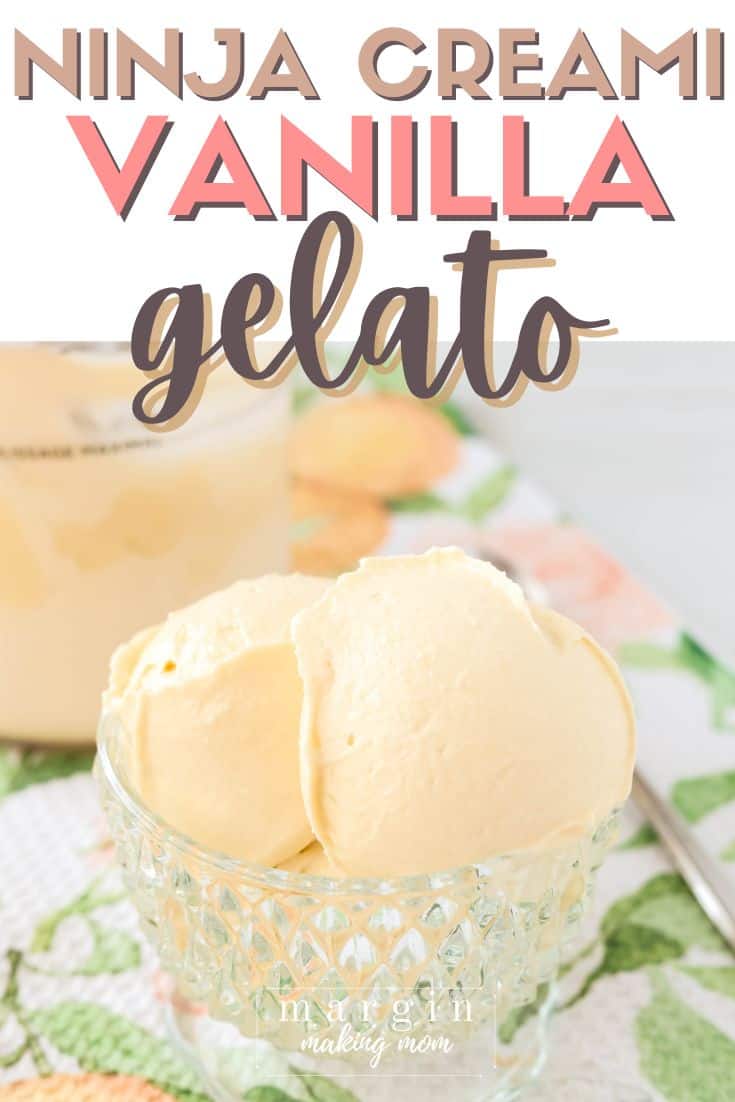
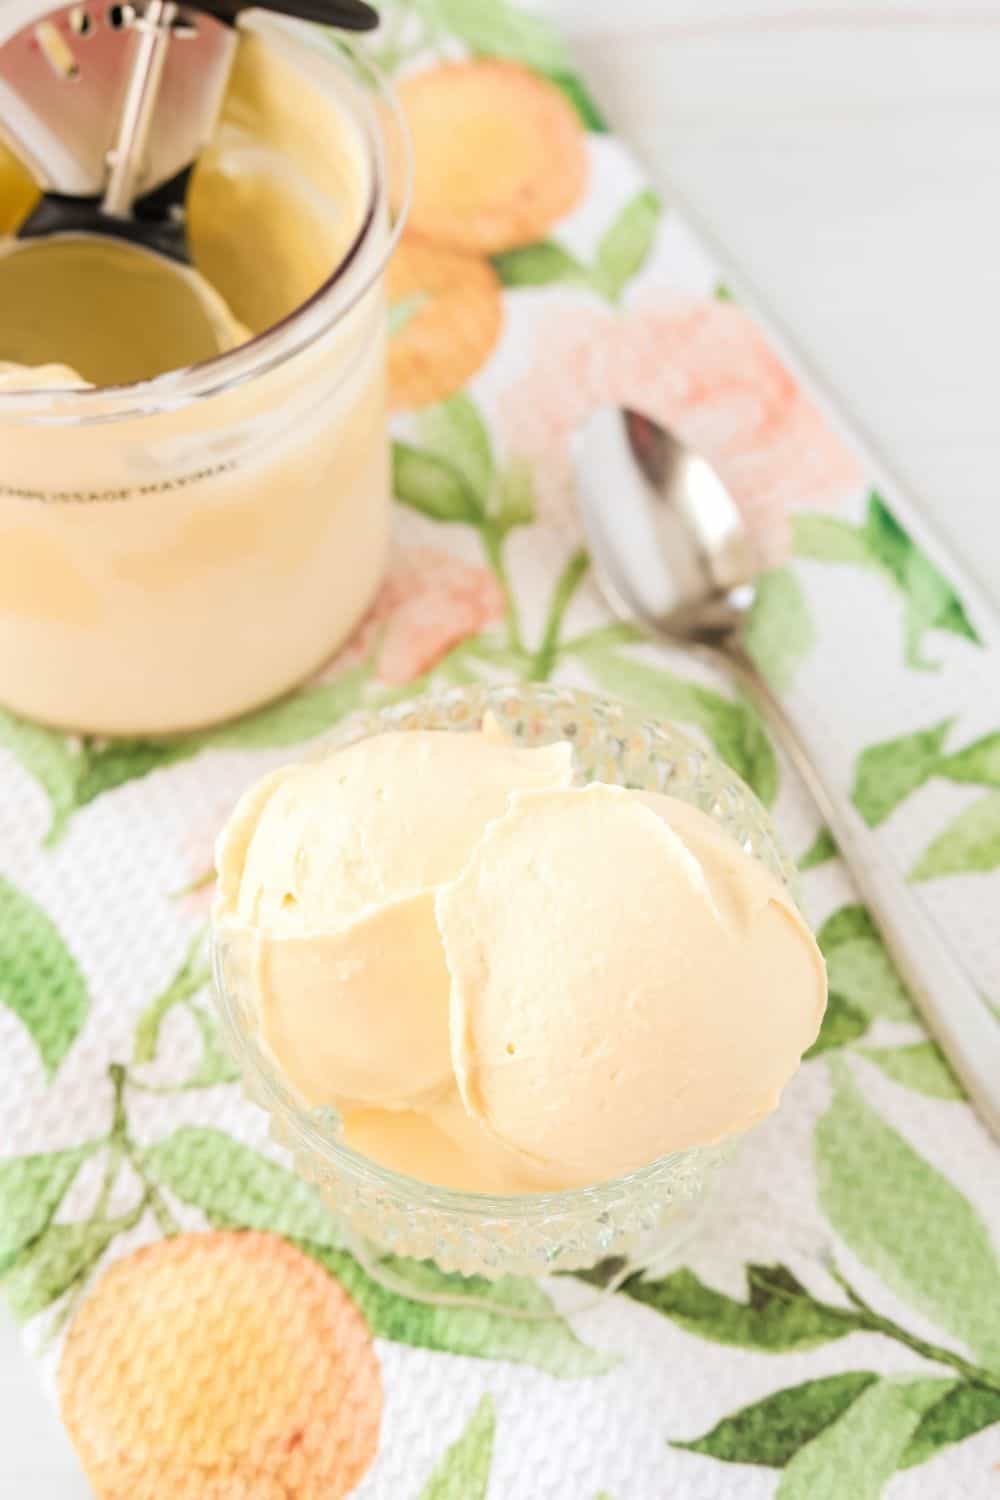
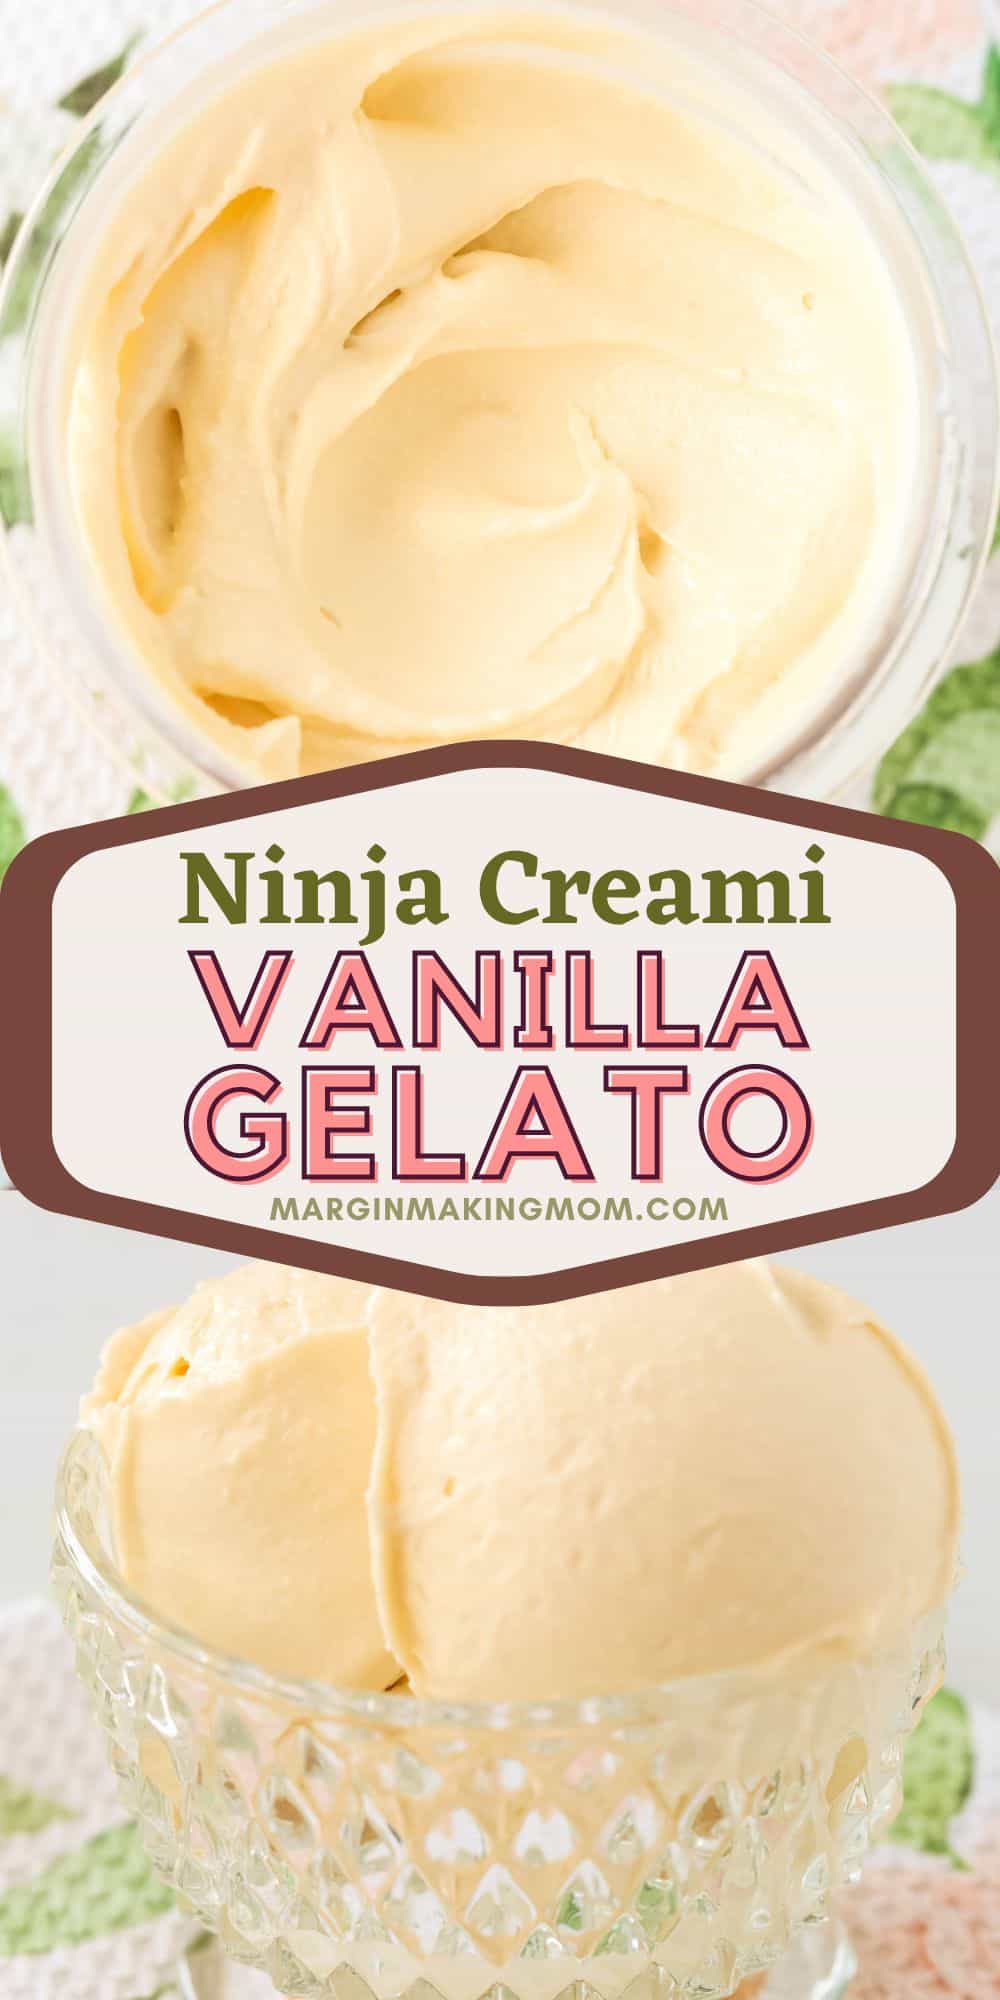
Ninja Creami Vanilla Gelato
Making rich and creamy vanilla gelato in the Ninja Creami is easier than you think!
If you’re looking for a fantastic Ninja Creami vanilla gelato, we’ve got you covered with this simple recipe.
Note: This post may contain affiliate links for your convenience. If you make a purchase, this site may receive a small commission at no additional cost to you. You can read my full disclosure policy here.
Enjoying gelato at home has never been easier, thanks to the Ninja Creami machine!
This popular kitchen gadget has made it so simple to whip up various ice creams, sorbets, milkshakes, and more–including gelato!
If you’ve ever had the classic Italian-inspired ice cream, you know the indulgent treat is famous for its creamy texture.
And although it may seem intimidating to make, it’s actually quite simple.
After making Ninja Creami pistachio gelato, Ninja Creami strawberry gelato, and Ninja Creami lemon gelato, I knew I needed to make more flavors!
This Ninja Creami vanilla gelato is on our list of the best Ninja Creami recipes, and for good reason.
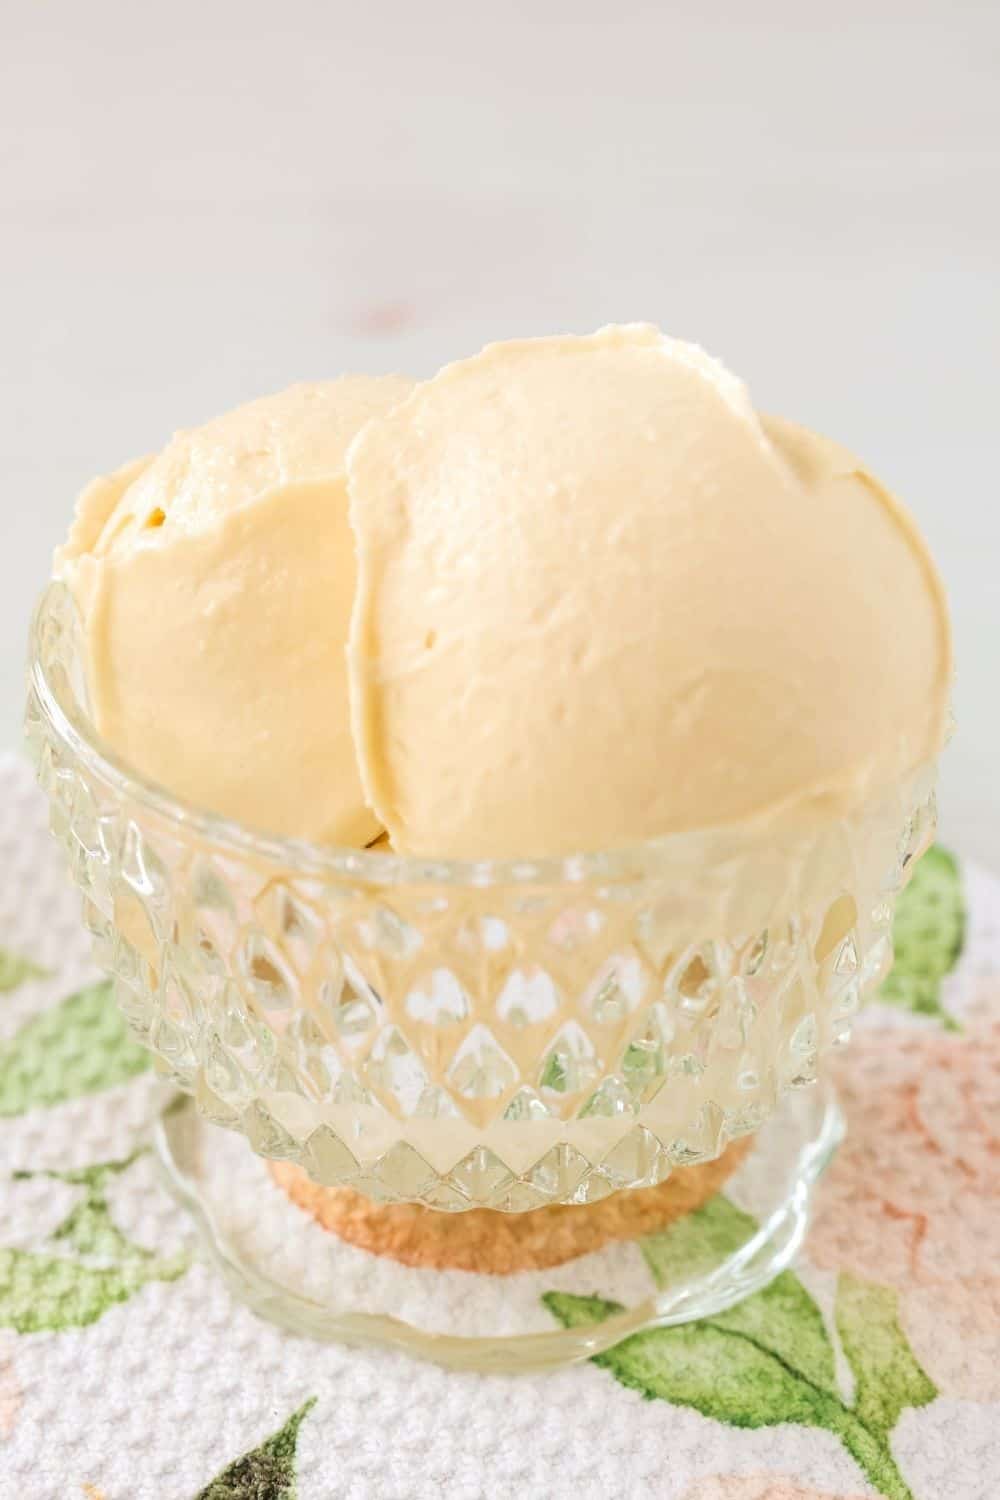
It’s a delicious frozen treat that’s silky smooth, with just the right amount of flavor and sweetness.
Vanilla Gelato in the Ninja Creami
There are several ways to make vanilla-flavored desserts in the Ninja Creami machine.
My family loves this classic Ninja Creami vanilla ice cream recipe, which also makes a great base for various mix-ins.
You can also make vanilla ice cream with pudding mix, which keeps things super simple.
You can even make dairy-free vanilla ice cream in the Ninja Creami, and you can make vanilla soft serve in the Ninja Creami Swirl!
But if you’re looking for a rich, custard-like ice cream, that’s where this vanilla gelato comes in.
It’s made with egg yolks and corn syrup, which create a rich, smooth ice cream with less ice crystals.
The milk and cream provide a fantastic texture, and the sugar and vanilla extract give the sweet and fragrant flavor we expect!
More Ninja Creami Recipes You’ll Love:
- Ninja Creami Chocolate Ice Cream
- Ninja Creami Rocky Road Ice Cream
- Ninja Creami Chunky Monkey Ice Cream
- Ninja Creami Pineapple Sorbet
- Ninja Creami Mint Chocolate Chip Ice Cream
- Ninja Creami Orange Soda Ice Cream
- Ninja Creami No-Peel Peach Sorbet
- Ninja Creami Cherry Sorbet
- Ninja Creami DQ Blizzard Copycat
- Ninja Creami Pumpkin Cheesecake Ice Cream
- Ninja Creami Chocolate Cottage Cheese Ice Cream
How to Make Ninja Creami Vanilla Gelato
It’s really easy to make this classic dessert.
Ingredients You’ll Need:
- Egg yolks
- Corn syrup
- Granulated sugar
- Milk
- Cream
- Vanilla extract
How to Make It:
(Full printable recipe card is available below)
Mix the base. In a small to medium saucepan (off of heat), whisk together the egg yolks, corn syrup, and sugar until smooth.
Gradually add in the milk and cream, whisking until the mixture is combined. Then add the vanilla extract and stir.

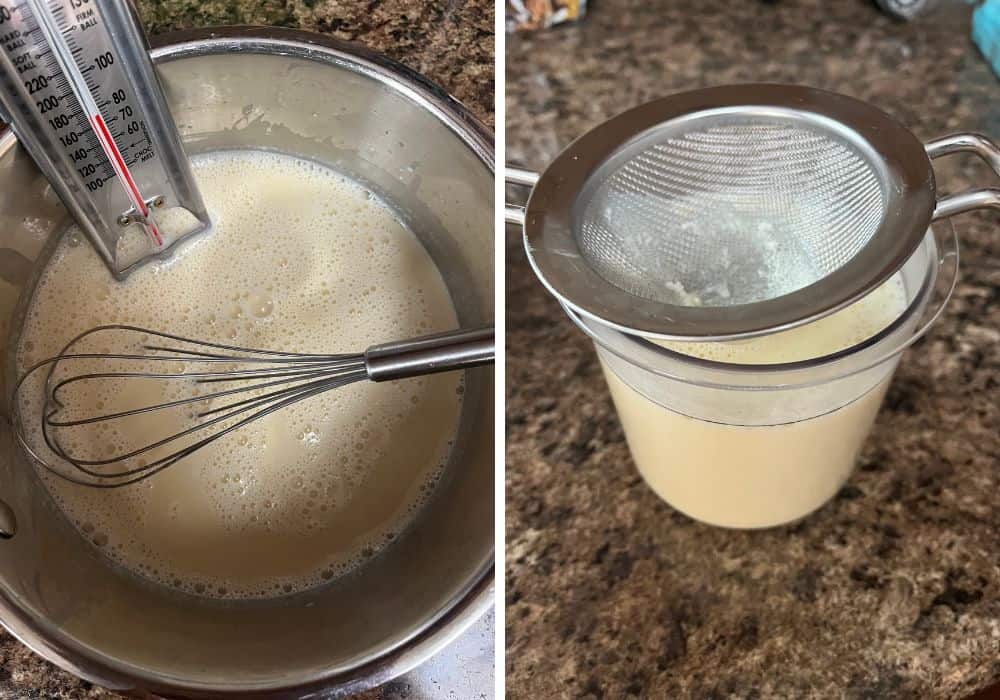
Heat and strain the mixture. Next. you’ll place the saucepan over medium heat.
Whisking slowly but constantly, heat the mixture to a temperature of 165-175F.
I like to use a candy thermometer clipped to the side of the pan, so I can monitor the temperature constantly.
You could also use an instant-read thermometer, as long as you’re checking the temperature often.
Once the mixture reaches the temperature, remove the pan from heat.
Place a fine-mesh sieve over a Ninja Creami pint container and pour the mixture through it, straining out any solids.
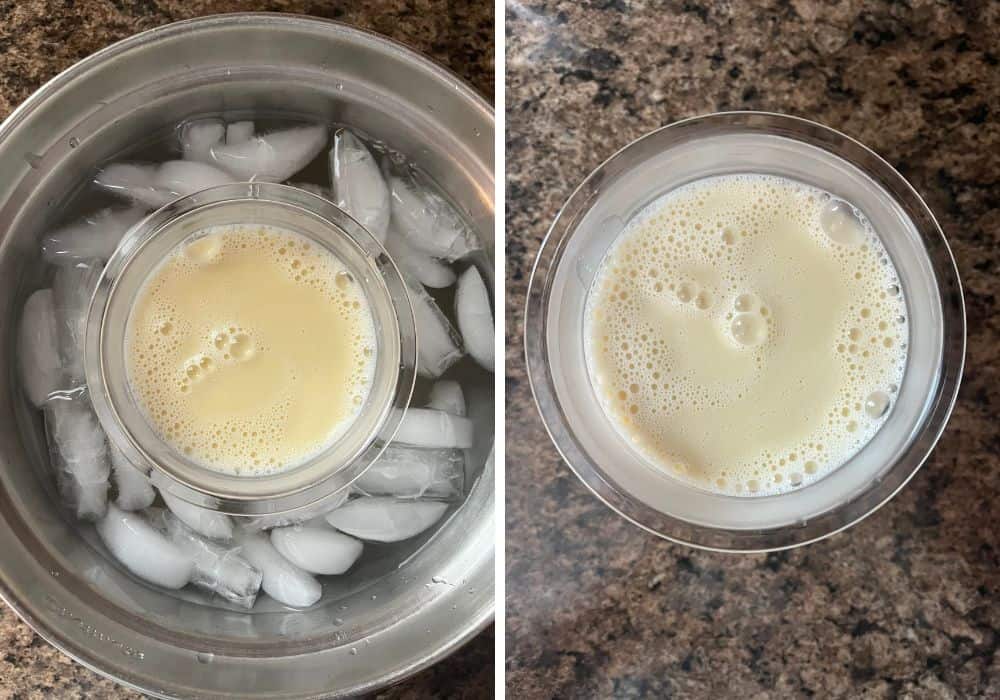
Cool. Place the pint container into a mixing bowl, then add ice and cold water around it.
Allow the mixture to cool in the water bath.
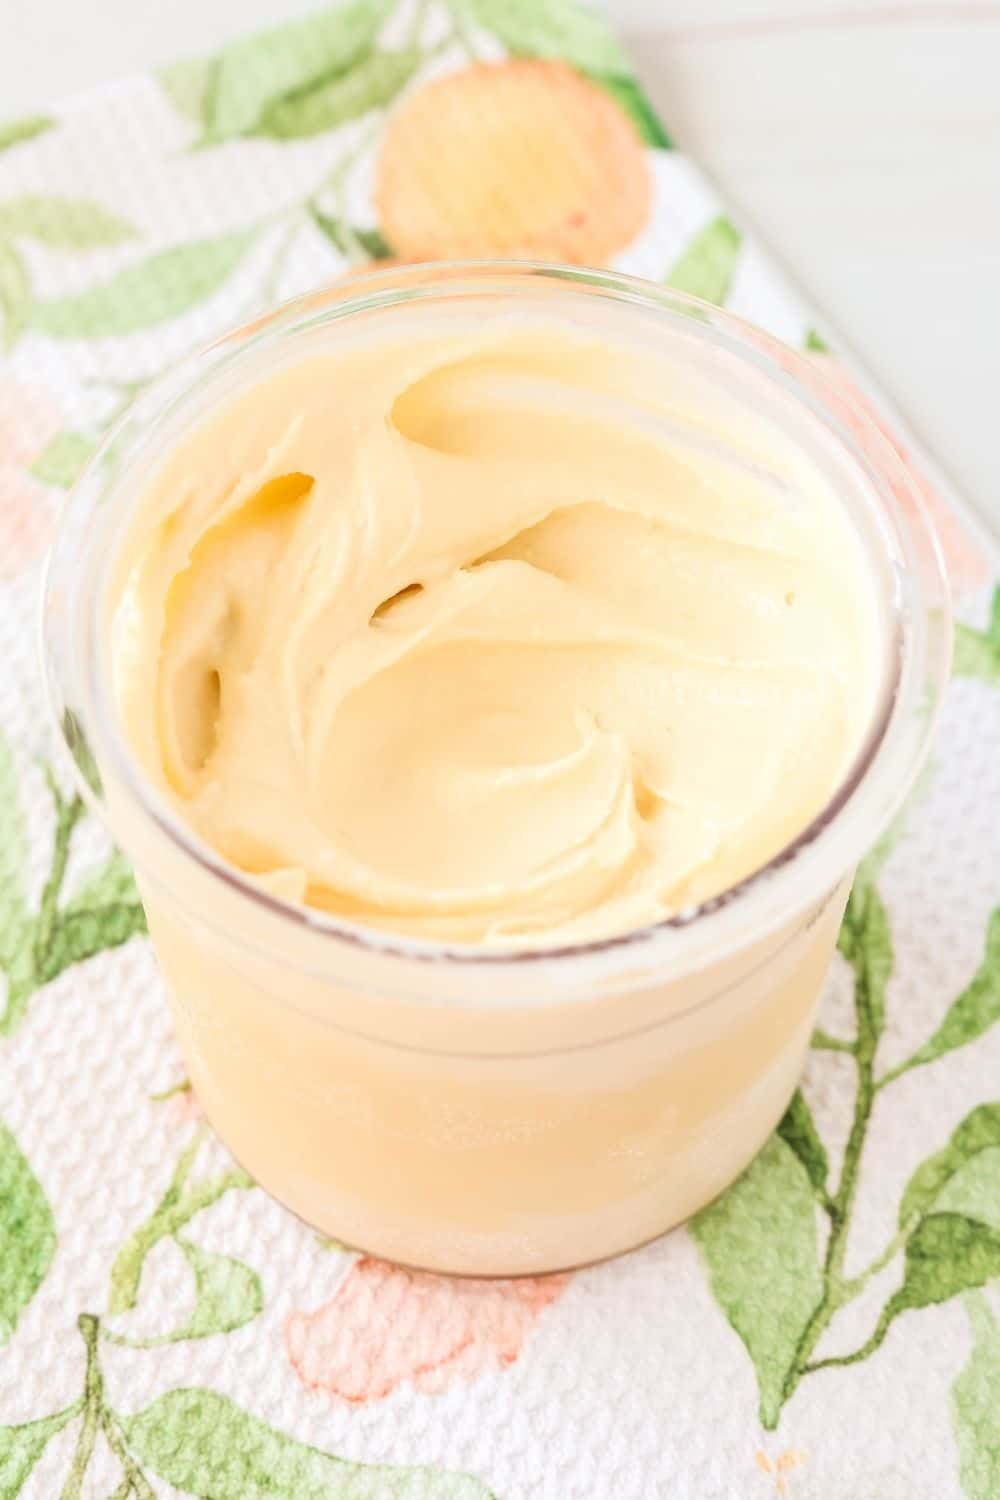
Freeze. Once the gelato base is cool, remove the pint from the bowl and dry off the outside.
Place the pint lid on the container and transfer it to a level surface in your freezer.
Freeze for at least 24 hours.
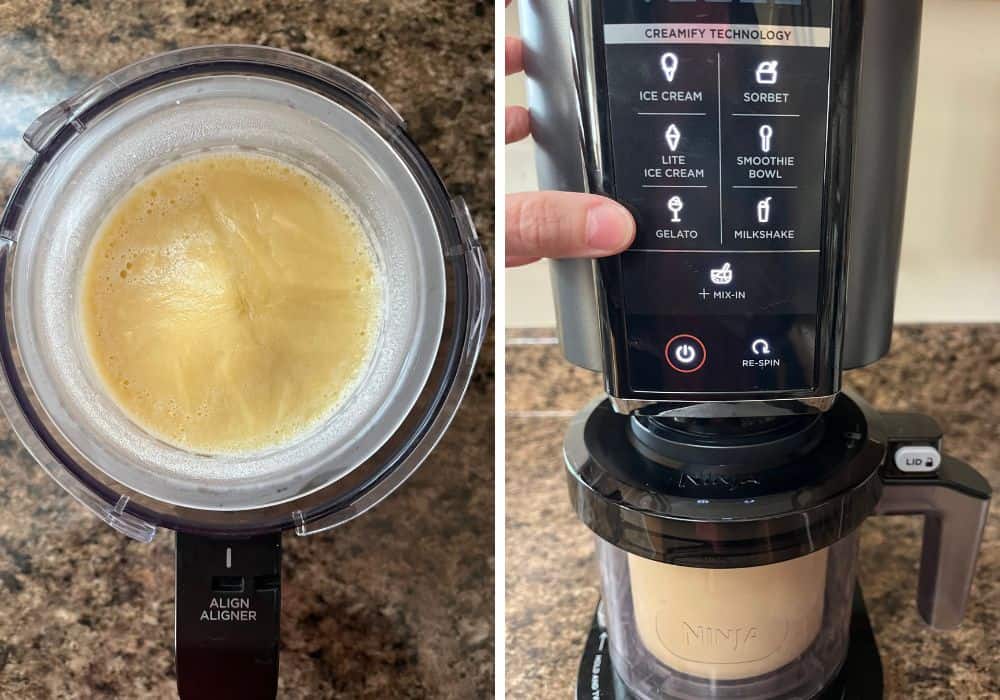
Spin. Remove the pint from the freezer and take off the lid.
Place the container into the outer bowl of the Ninja Creami machine, locking the outer bowl lid.
Transfer the bowl apparatus to the Ninja Creami machine and lock it into place.
Press the Gelato button and allow the cycle to complete.
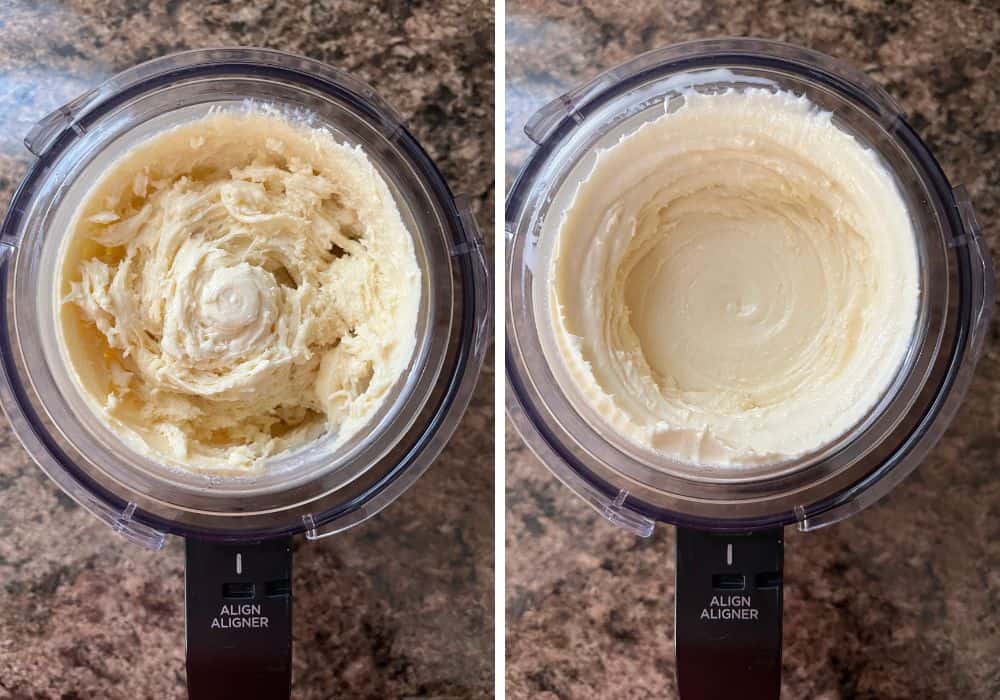
Re-spin if needed. Last, you’ll check the texture of your gelato.
If it appears crumbly, insert it back into the machine and press the Re-spin button.
If it’s still crumbly after that, add a tablespoon of milk to the gelato and Re-spin it again.
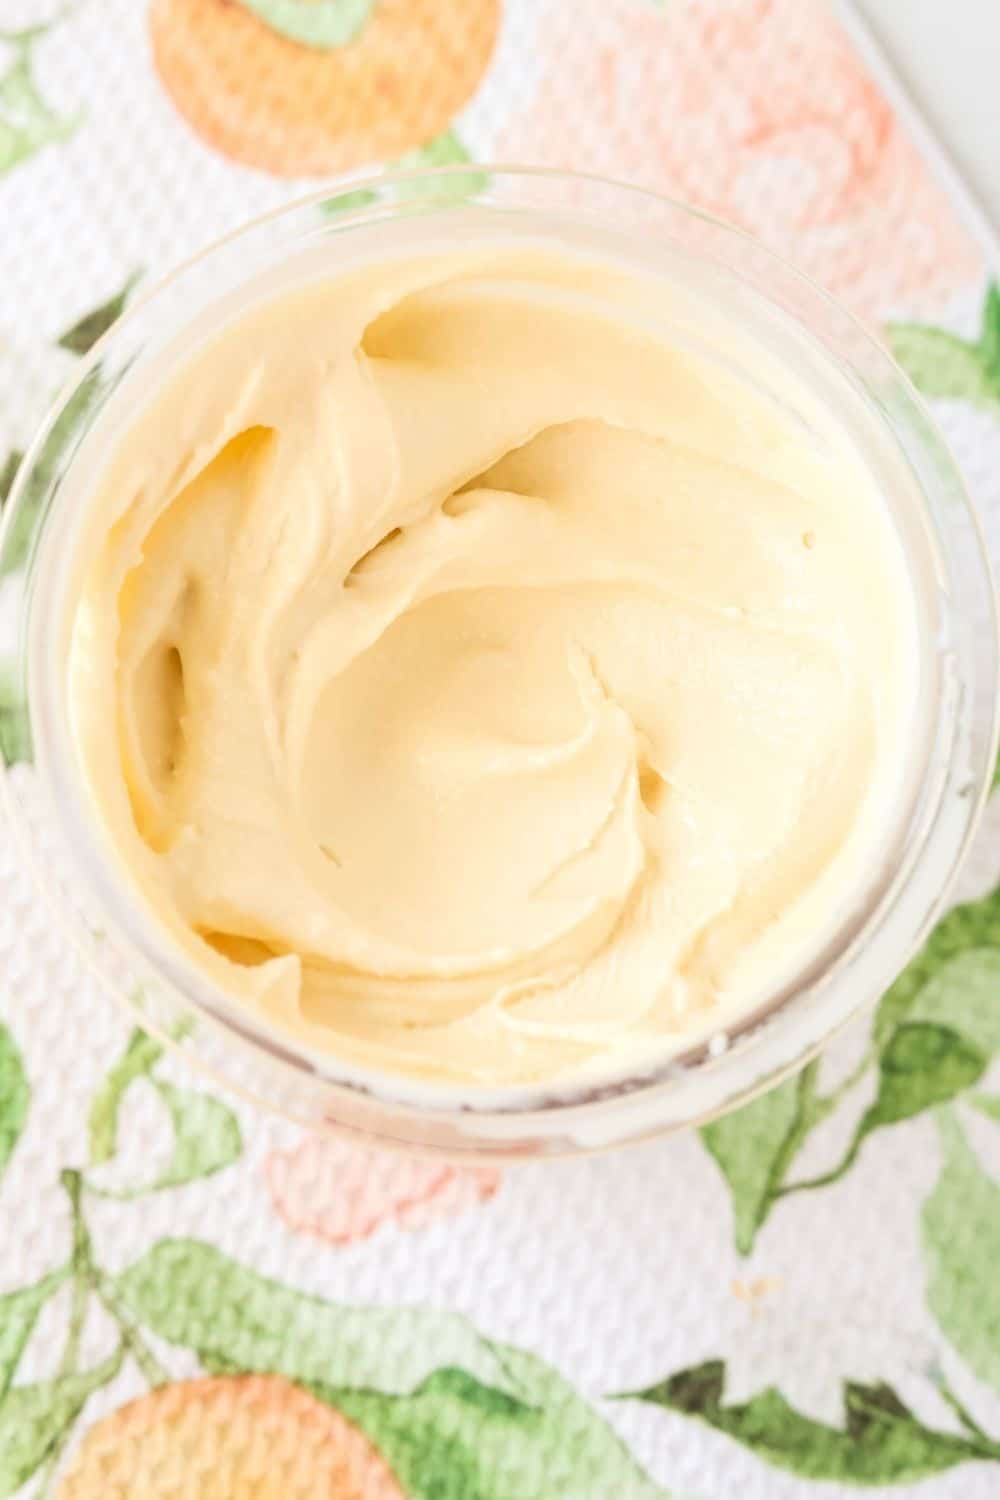
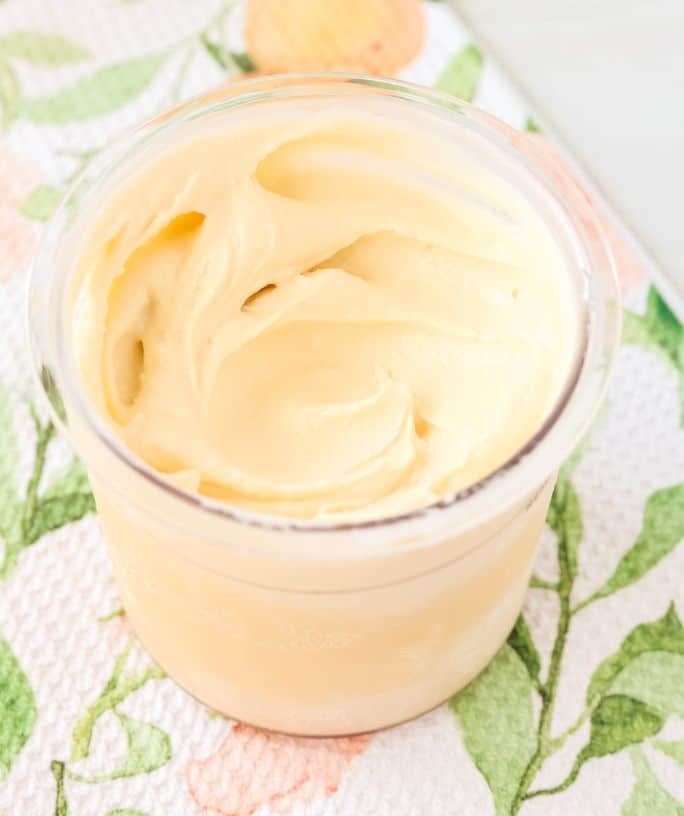
It should be nice and creamy. Enjoy!
Notes and Adaptations:
- I recommend using high-quality vanilla extract, since that’s the star of the show here.
- Feel free to add a mix-in of your choice for a little crunch!
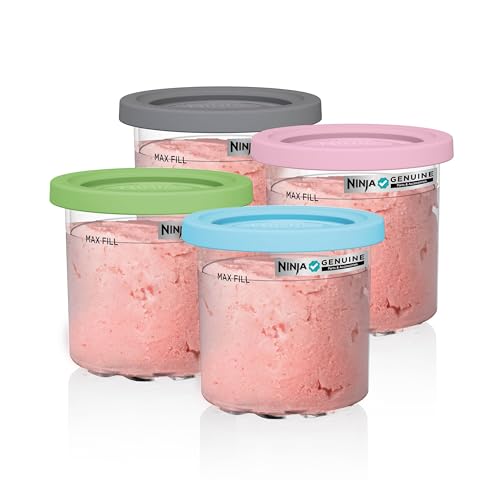
Recommended Equipment:
Ninja Creami Vanilla Gelato
This vanilla gelato made in the Ninja Creami is an indulgent treat that's simple to make!
Ingredients
- 2 egg yolks
- 1 Tablespoon light corn syrup
- 1/3 cup granulated sugar
- 1 cup milk (whole or 2%)
- 2/3 cup heavy cream
- 2 teaspoons vanilla extract
Instructions
- In a small to medium saucepan (off of heat), whisk together egg yolks, corn syrup, and sugar.
- Gradually add milk and heavy cream, whisking well to incorporate until smooth.
- Stir in vanilla extract.
- Place pan over medium heat. Whisking slowly but constantly, heat the mixture to a temperature of 165-175F. I use a candy thermometer clipped to the side of the pan to monitor closely, but you could also check the temperature frequently with an instant-read thermometer.
- Once the mixture reaches the appropriate temperature, remove from heat.
- Place a fine mesh sieve over a Ninja Creami pint container and pour the mixture through it into the pint. Discard any solids that are collected in the sieve.
- Place the pint container into a mixing bowl. Create an ice bath by adding ice cubes and water around the pint container to help it cool down.
- Once cool, remove container from the ice bath and dry the outside. Place the lid on the pint container and transfer to a level surface in your freezer for at least 24 hours.
- Remove from freezer and take off lid. Place pint container into the outer bowl of the Ninja Creami machine, securing the outer bowl lid. Place bowl apparatus into the Ninja Creami machine and lock into place. Press the Gelato button and allow the cycle to complete.
- Check the gelato's texture. If it appears crumbly, insert it back into the machine and use the Re-spin button to cycle it again. If it's still crumbly afterward, add a tablespoon of milk to the gelato, then Re-spin one more time.
Notes
- I recommend using good-quality vanilla extract, since it's the predominant flavor here.
Recommended Products
As an Amazon Associate and member of other affiliate programs, I earn from qualifying purchases.


Nutrition Information:
Yield:
4Serving Size:
1Amount Per Serving: Calories: 279Total Fat: 18gSaturated Fat: 11gTrans Fat: 1gUnsaturated Fat: 6gCholesterol: 142mgSodium: 47mgCarbohydrates: 25gFiber: 0gSugar: 25gProtein: 4g
Nutrition information is automatically calculated and is not guaranteed for accuracy.
Be sure to save this recipe to your Ninja Creami board on Pinterest!


It would be really nice to see the reviews and comments, rather than just the rating.
Hi Lisa! I agree with you! Unfortunately, the software that formats the recipe card and tracks star ratings does not display the comments. Sometimes people leave comments below the recipe (where you left yours), which is helpful, as others can see it!
What can i use instead of corn syrup?
Hi Antonella! You can use honey as a substitution, or omit it. It’s more for texture than sweetness, so you can leave it out all together if needed. Hope that helps! 🙂