

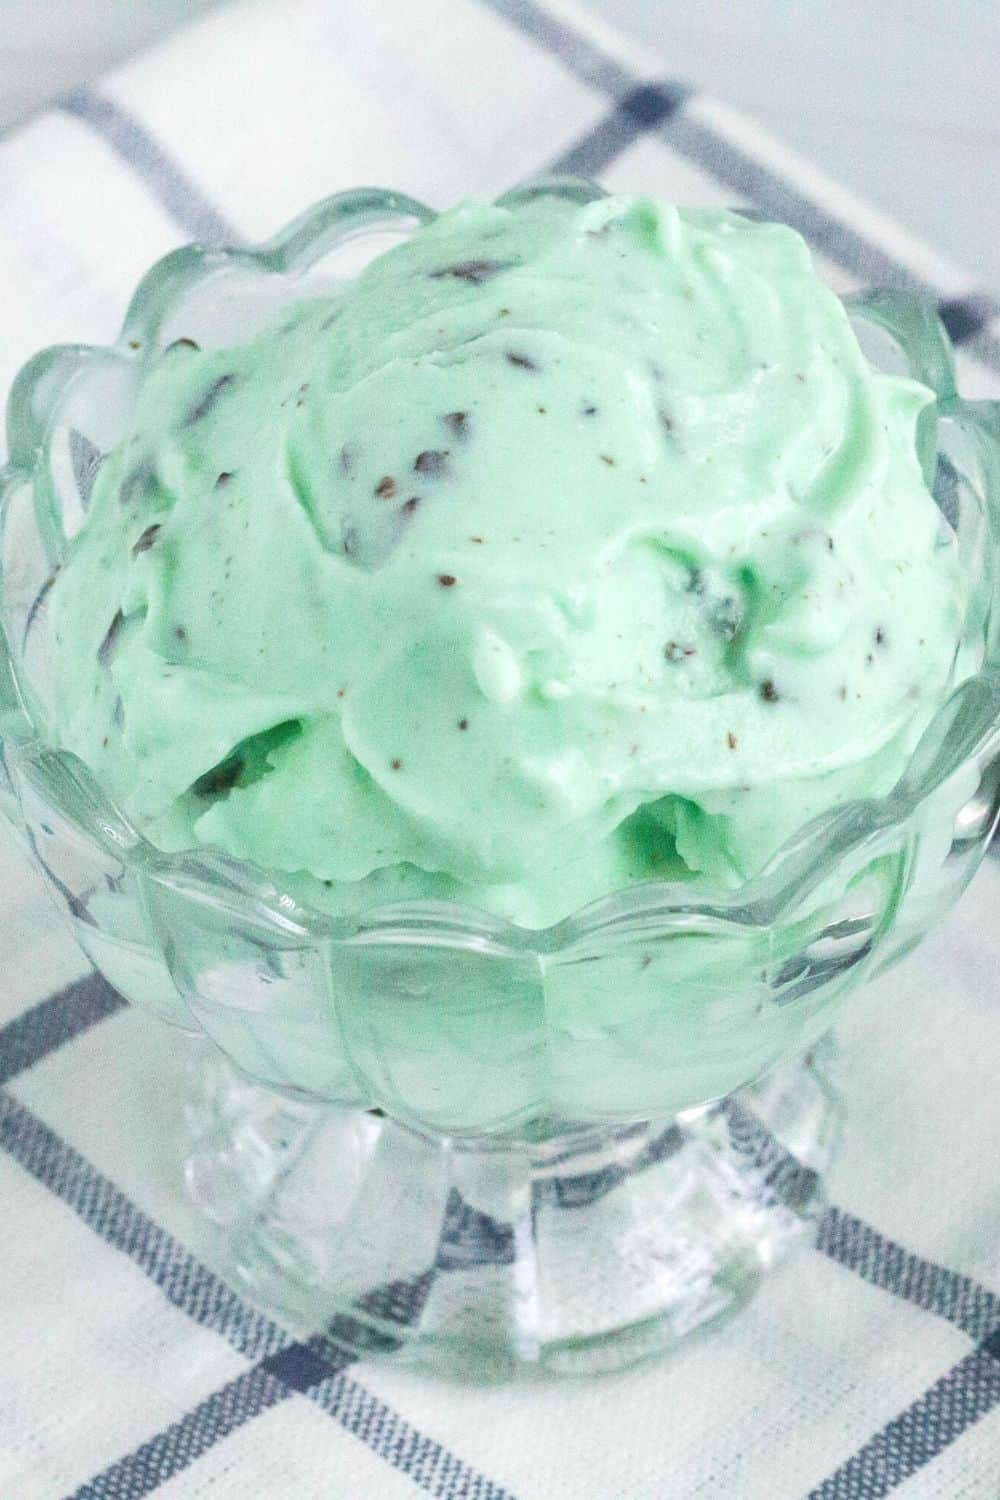
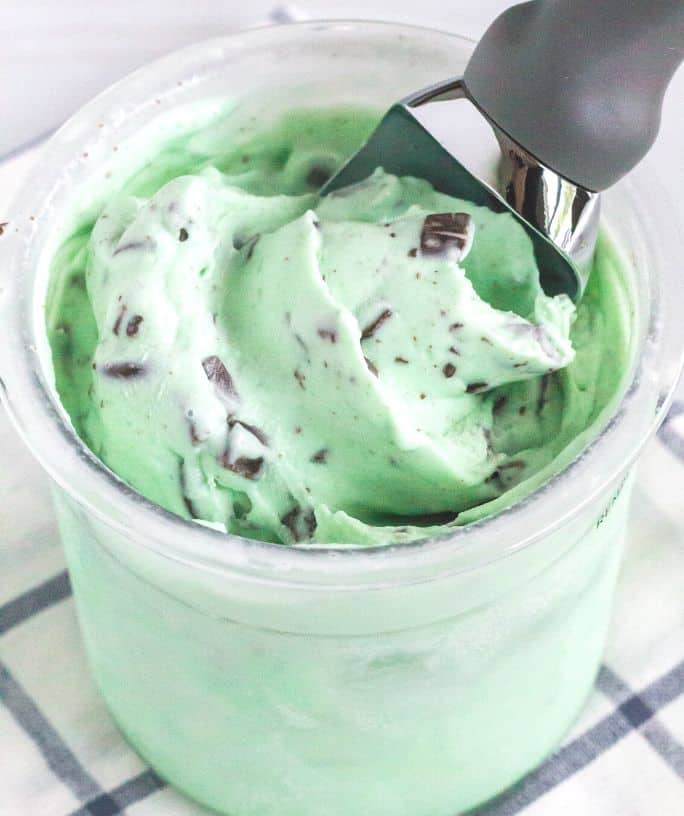
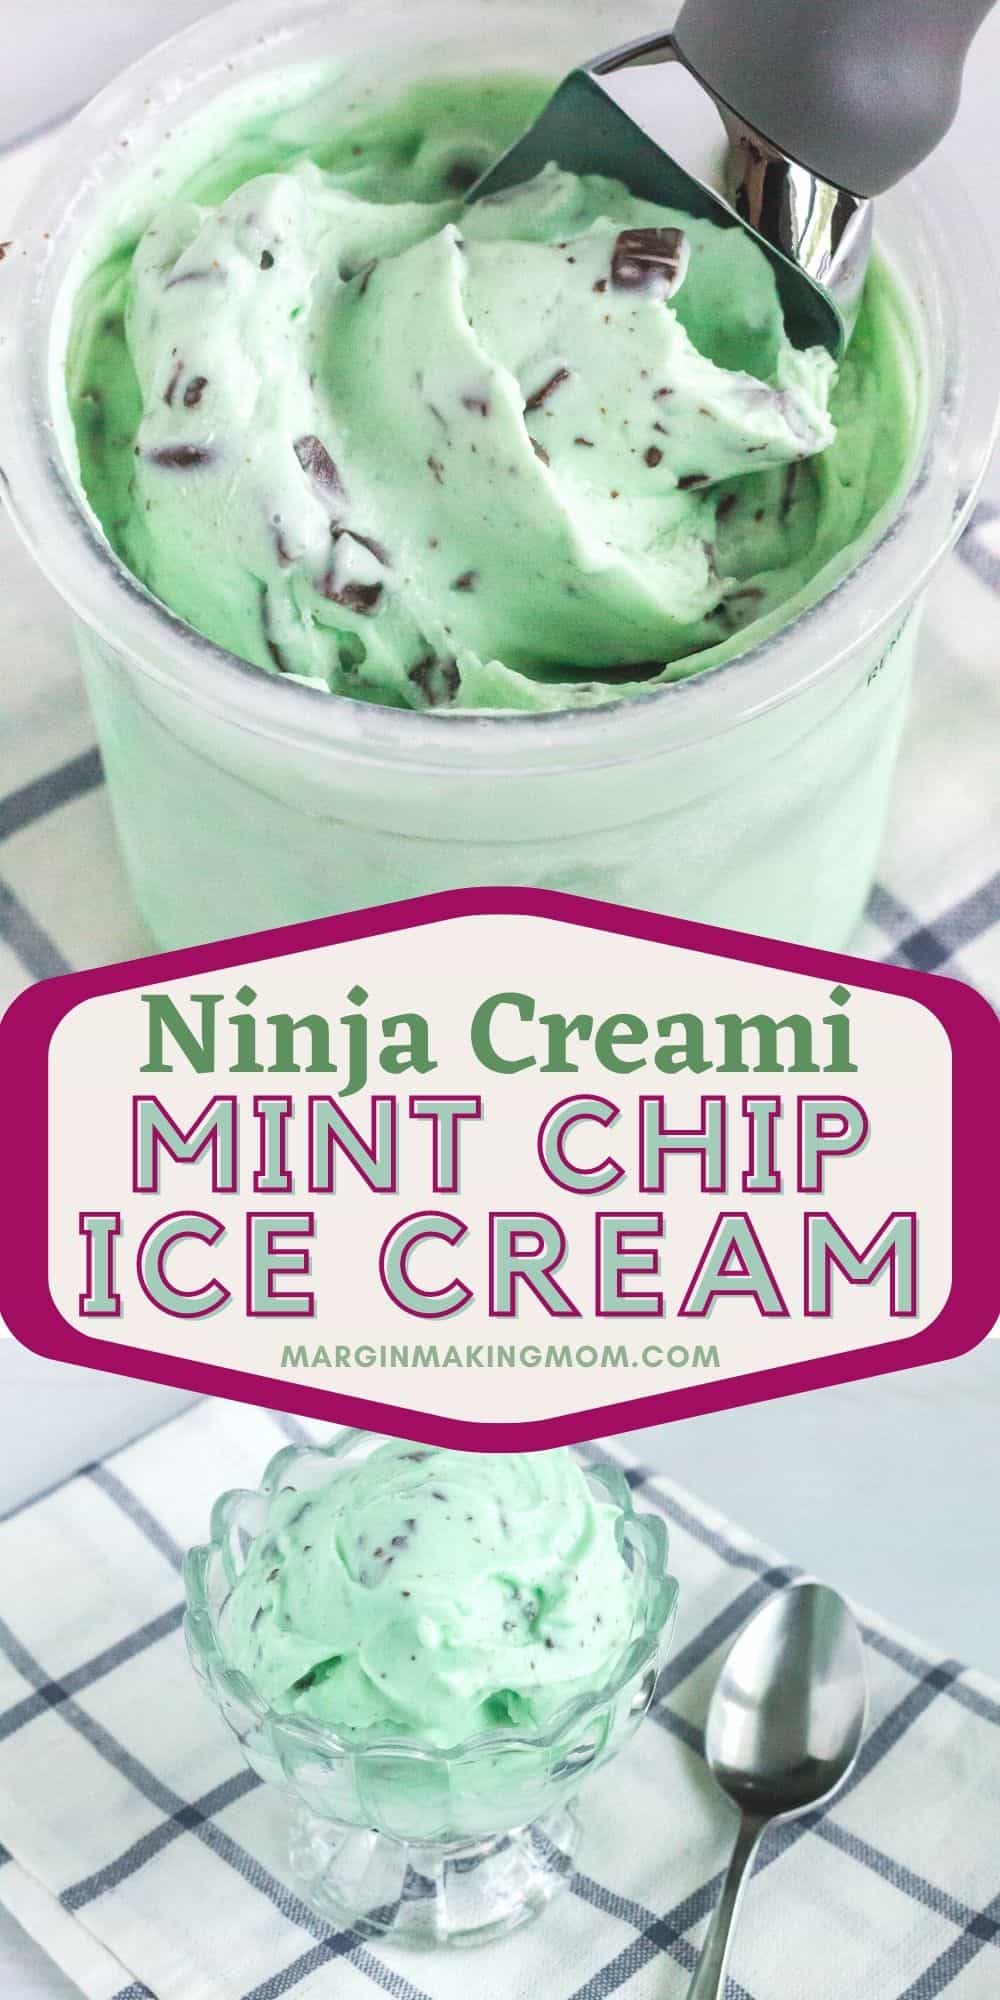
Delicious Ninja Creami Mint Chocolate Chip Ice Cream
Learn how simple it is to make refreshing mint chocolate chip ice cream in the Ninja Creami with this easy recipe.
You’ll love this easy Ninja Creami mint chocolate chip ice cream recipe–it takes minimal effort to enjoy a creamy, indulgent treat.

Note: This post may contain affiliate links for your convenience. If you make a purchase, this site may receive a small commission at no additional cost to you. You can read my full disclosure policy here.
When I first started making homemade ice cream several years ago, I used an ice cream maker attachment for my KitchenAid mixer.
That method has served me well for many years now. I’ve also made many no-churn ice creams, which don’t require an ice cream machine at all!
Every summer, we enjoy some of our favorite homemade frozen treats thanks to those two methods.
But more recently, I invested in a Ninja Creami ice cream maker, which uses a different method for preparing cool and creamy frozen treats.
After making vanilla ice cream and chocolate ice cream in the Ninja Creami, I knew I had to try my hand at Ninja Creami mint chocolate chip ice cream!
The result was so delicious! It’s on my list of the best Ninja Creami recipes, and I think you’ll understand why once you give it a try. 🙂
More Ninja Creami Recipes You’ll Love:
- Ninja Creami Chunky Monkey Banana Ice Cream
- Ninja Creami Pineapple Sorbet
- Ninja Creami Cherry Chocolate Ice Cream
- Ninja Creami Cookies and Cream Ice Cream
- Ninja Creami Rocky Road Ice Cream
- Ninja Creami Pistachio Gelato
- Ninja Creami Vanilla Gelato
- Ninja Creami Orange Soda Ice Cream
- Ninja Creami Peach Sorbet Recipe
- Ninja Creami Fresh Cherry Sorbet
- Ninja Creami Lemon Gelato
- Ninja Creami Pumpkin Cheesecake Ice Cream
- Ninja Creami Chocolate Cottage Cheese Ice Cream
New to the Ninja Creami?
Did you recently get a new Ninja Creami machine? Check out our printable collection of Ninja Creami recipes!
Making Ice Cream in the Ninja Creami
Let’s start off by talking about how traditional ice cream is often made, then I’ll share how the Ninja Creami works.
Most of us are probably familiar with ice cream that’s made with a custard-style base.
These ice cream bases are typically made with eggs, sugar, and milk, and cooked on the stove top to create a custard.
Then after the custard base cools in the fridge for a while, it’s churned in an ice cream maker.
This churning not only helps it freeze, but also aerates it and breaks up ice crystals, so it ends up nice and smooth.
Then there’s no-churn ice cream, where the sweetness is provided by sweetened condensed milk, and the creaminess is provided by fluffy whipped cream.
This makes it an easy way to prepare egg-free ice cream that doesn’t require any cooking, and no special equipment!
The Ninja Creami flips this process around! Instead of churning your base into a light and creamy dessert, then allowing it to freeze, you begin by preparing a liquid ice cream base and freeze it for at least 24 hours.
Once that liquid is frozen solid, you transfer it into your Ninja Creami, which “creamifies” the base with one of seven settings, by finely chopping or shaving the frozen concoction.
I have to admit I was a little skeptical, since there’s no aerating or breaking up crystals prior to freezing.
But to my surprise, the result is rich and creamy ice cream that my whole family loves!
More Mint Chocolate Dessert Ideas:
How to Make Mint Chocolate Chip Ice Cream in the Ninja Creami
It’s really easy to make this simple chocolate ice cream.
Ingredients You’ll Need:
- Cream cheese
- Granulated sugar
- Peppermint extract
- Whole milk
- Heavy cream
- Green food coloring (optional)
- Mini chocolate chips or chunks
How to Make It:
(Full printable recipe is available below)
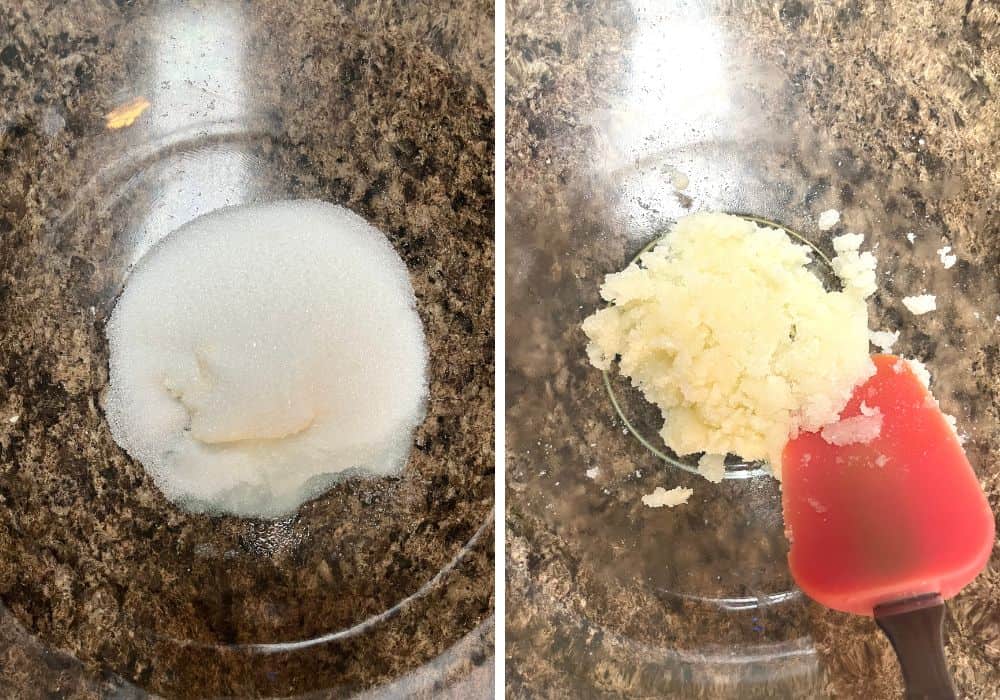
Mix cream cheese, sugar, and peppermint extract. First, you’ll warm up the cream cheese in the microwave.
This gets it nice and soft (you can also let it soften at room temperature if you’d like).
Mix that with the sugar and peppermint extract, using a silicone spatula or wooden spoon, to make a pasty mixture.
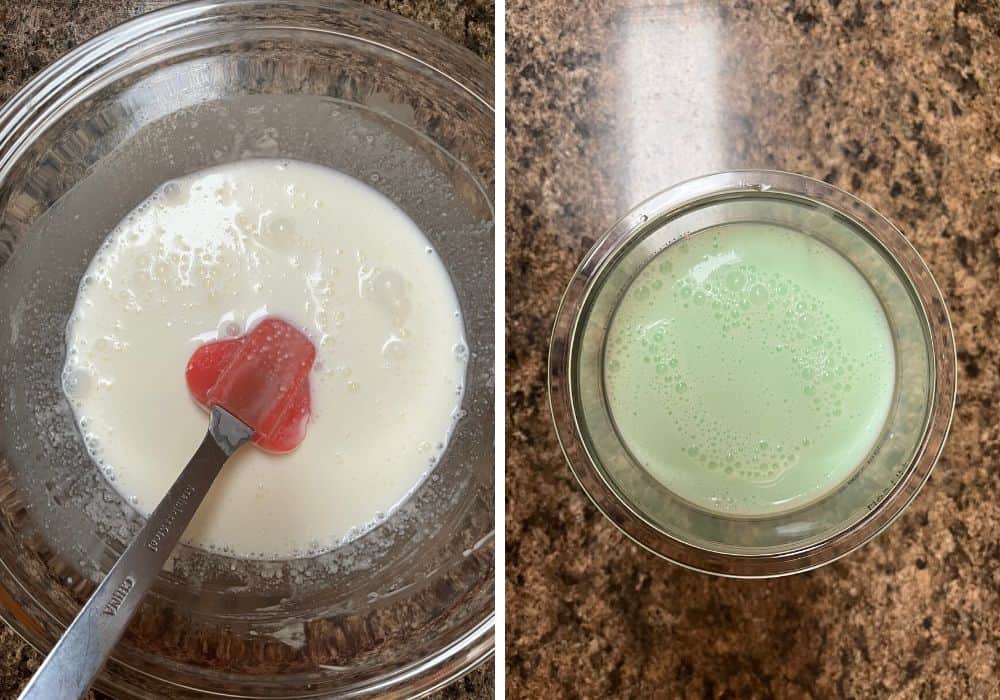
Add liquids. Next, you’ll add in the whole milk and heavy cream gradually.
I typically only add a couple tablespoons at a time in the beginning, mixing well, then adding a little bit more at a time.
Continue stirring until sugar is completely dissolved.
Optional: add food coloring. If you want your ice cream to have a green hue, add in about 4-6 drops of green food coloring, or the amount needed to achieve your desired shade.
Stir until fully combined.
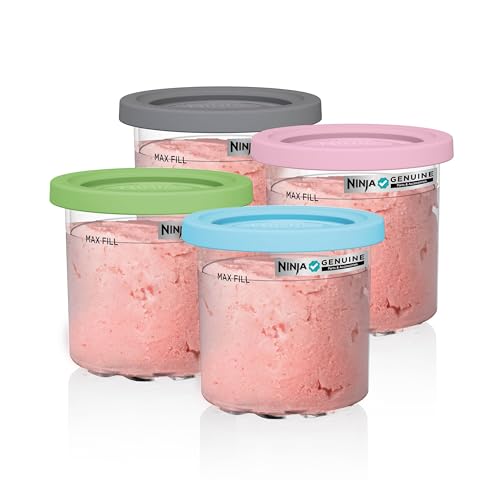
Transfer to a Ninja Creami pint and secure the lid.
Freeze. Next, you’ll transfer the pint to a flat location in your freezer (you want it to freeze nice and level) and freeze for 24 hours.
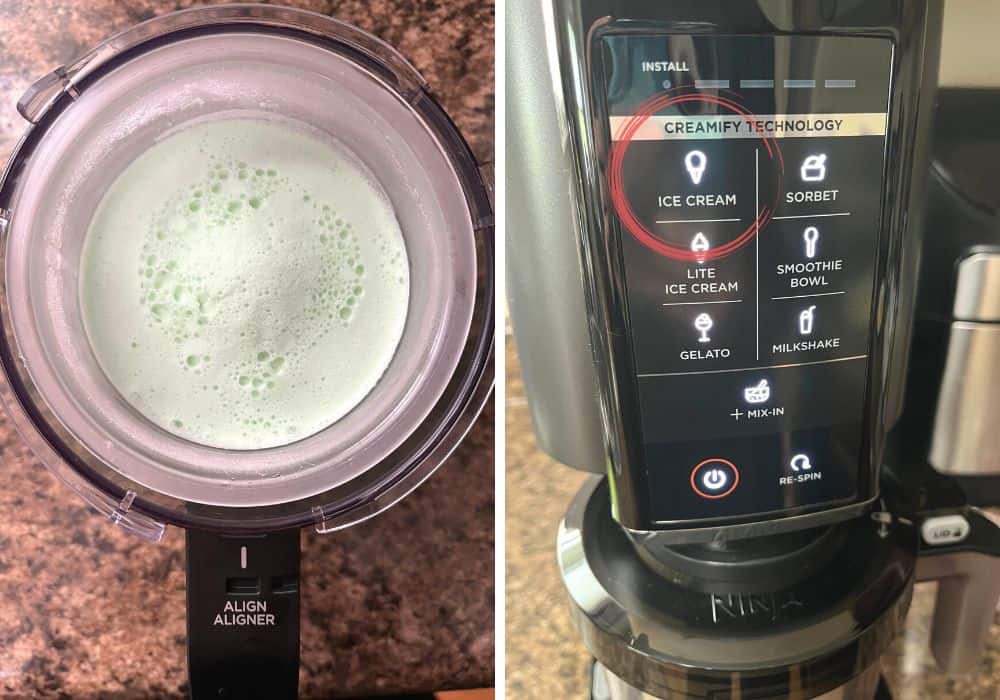
Creamify. After 24 hours, remove the lid from the pint and insert into the bowl of the Ninja Creami.
Lock the lid and click the bowl into place.
Select the Ice Cream function and let the Ninja do the rest!
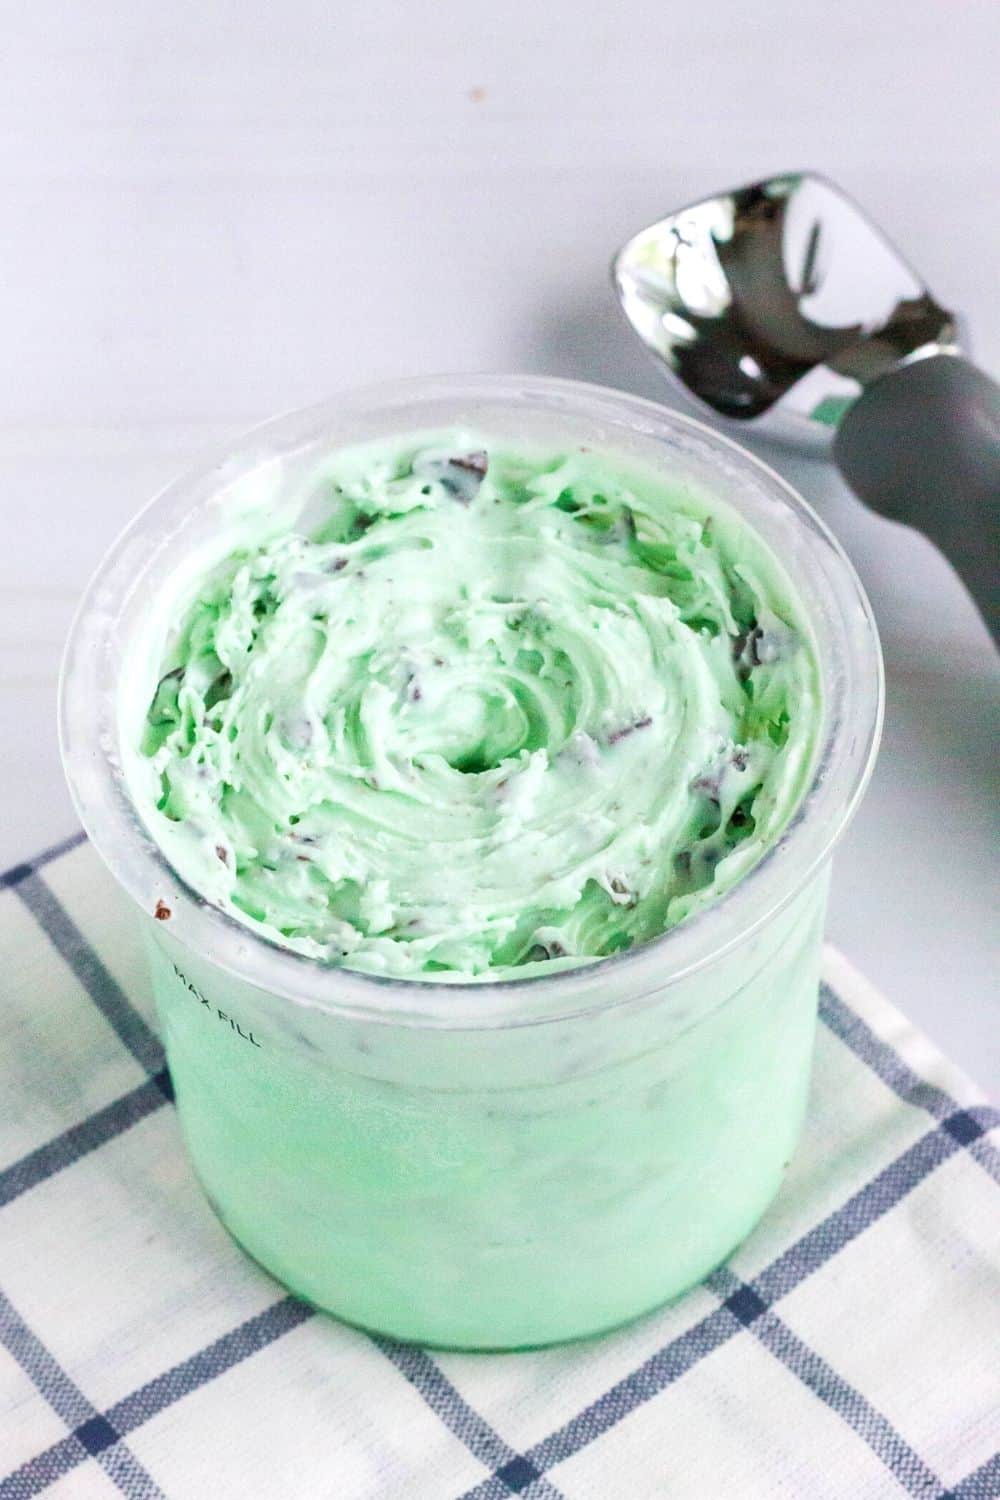
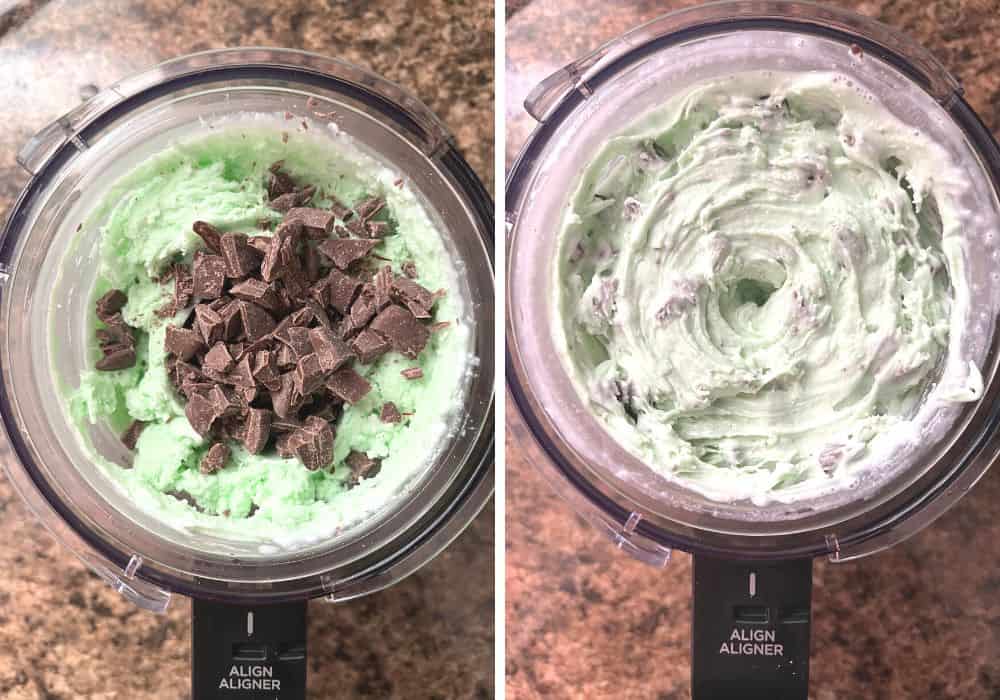
Add chocolate chips. Once the ice cream has been spun, remove it from the machine.
Use a spoon to create a hole in the middle of the pint, about 1 1/2 inches wide, that reaches all the way to the bottom of the pint.
Add the mini chocolate chips (or chopped chocolate) into this well.
Return the bowl to the machine and use the Mix In function to incorporate the chocolate chips.
Notes and Adaptations:
- If your ice cream is crumbly after the first round of churning, you can put it through a Re-Spin cycle. If that doesn’t result in a nice, creamy texture, I like to add a tablespoon of milk and Re-Spin again, which usually does the trick.
- You can use miniature chocolate chips or finely chopped chocolate.
- If you need to make this dairy free, you can use unsweetened oat milk instead of milk, unsweetened coconut cream instead of heavy cream, and vegan cream cheese instead of regular cream cheese.
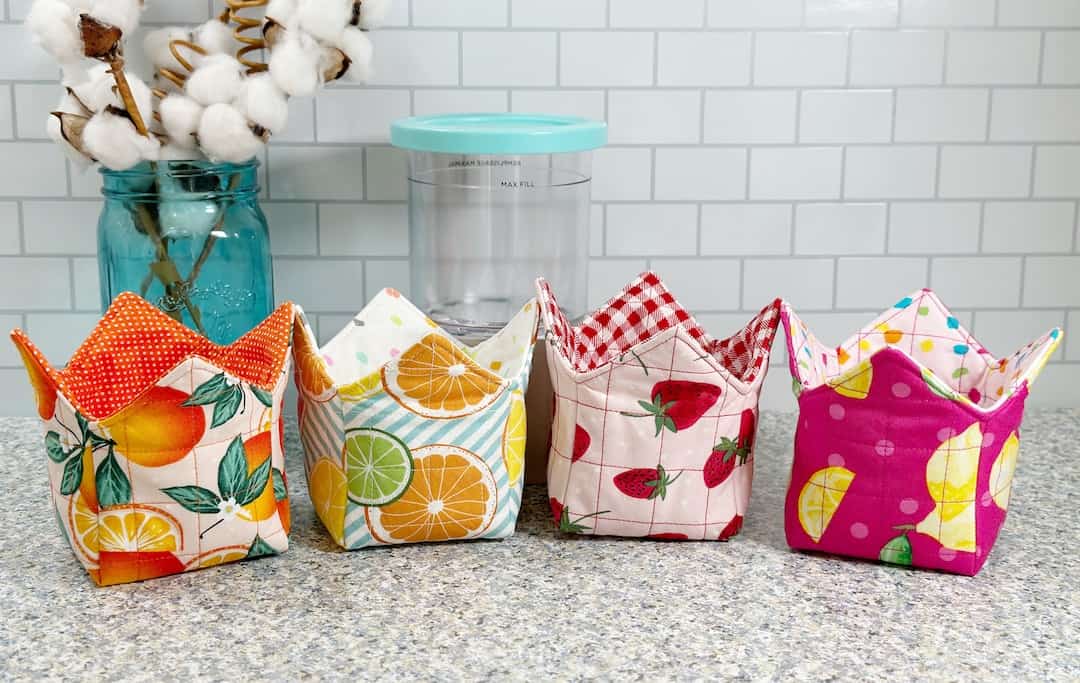
Recommended Equipment:
Printable Ninja Creami Recipes
If you’d like some of our favorite Ninja Creami recipes in printable form, check out Tried and True: 35 Favorite Ninja Creami Recipes!
It contains loads of delicious options in a digital download.
Check it out here, or click the image below!
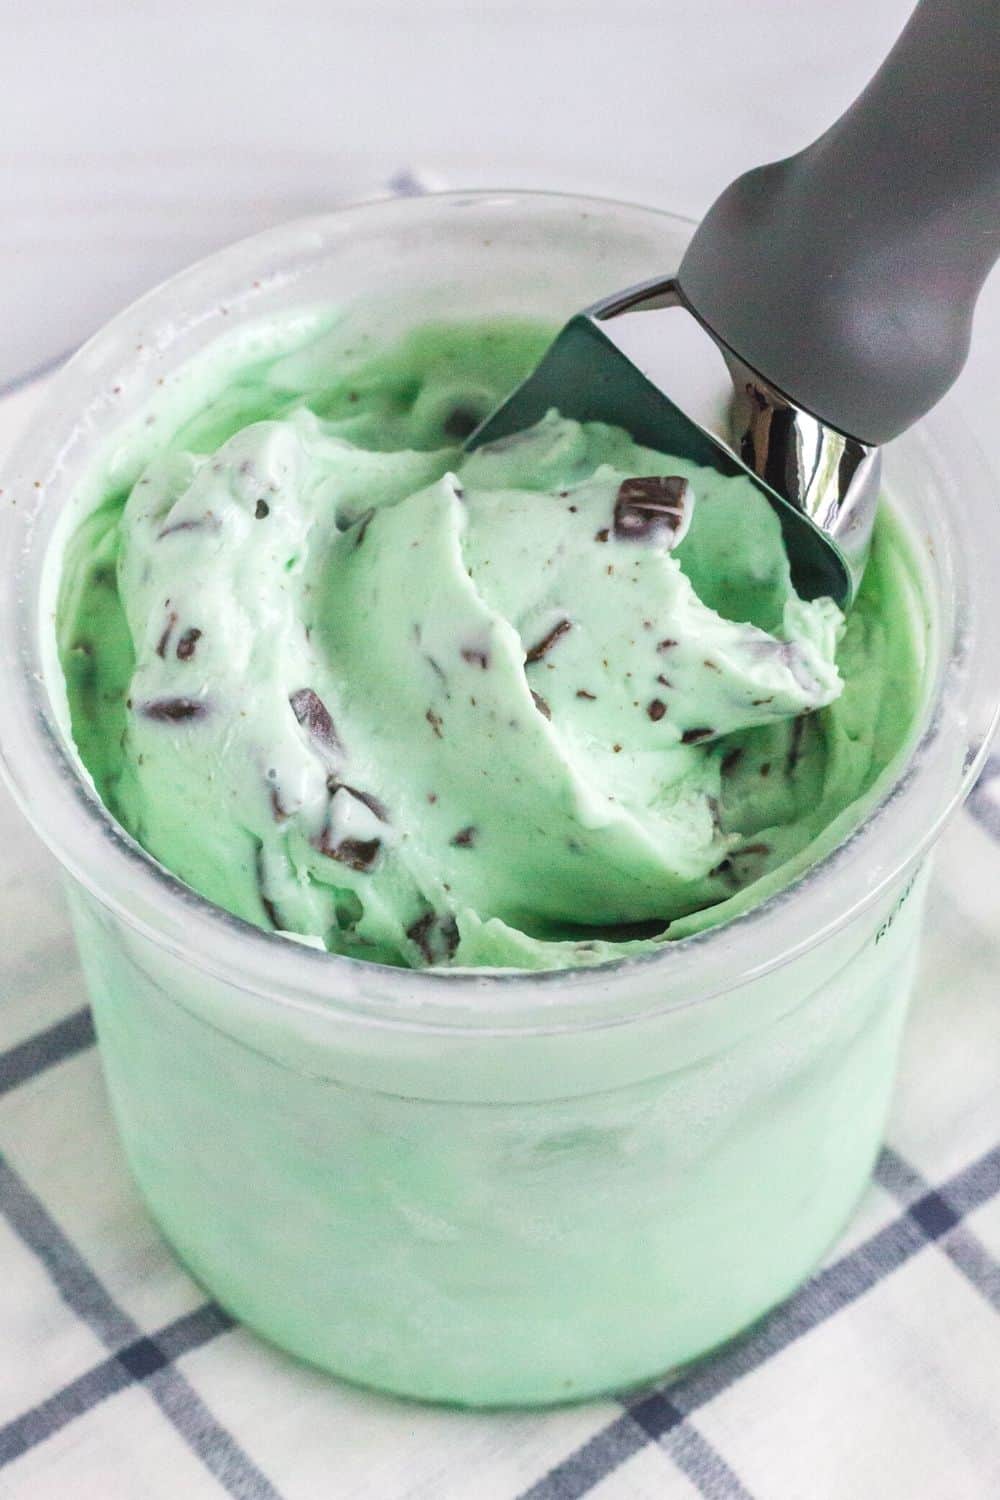
Ninja Creami Mint Chocolate Chip Ice Cream
This refreshingly cool and creamy mint chocolate chip ice cream comes together easily, thanks to the Ninja Creami!
Ingredients
- 1 TBSP (1/2 ounce) cream cheese
- 1/3 cup sugar
- 1 tsp peppermint extract
- 1 cup whole milk
- 3/4 cup heavy cream
- 4-6 drops green food coloring (optional)
- 1/4 cup mini chocolate chips or finely chopped chocolate
Instructions
- Add cream cheese to a microwave-safe bowl. Microwave for 10 seconds.
- Add sugar and peppermint extract to the cream cheese. Use a silicone spatula or wooden spoon to mix together, until incorporated into a thick paste.
- In a separate measuring cup, combine whole milk and heavy cream. Gradually add this liquid to the sugar mixture (a couple tablespoons at a time to start), mixing well to combine. Continue until all liquid is added and the sugar has dissolved.
- If using food coloring, add at this time, starting with a few drops and increasing until your desired color intensity is reached. Stir well to combine.
- Transfer mixture to a Ninja Creami pint. Close the lid an dfreeze for 24 hours on a level location in your freezer.
- After 24 hours, remove from freezer and take off lid. Add pint to the bowl of the Ninja Creami and secure lid. Insert bowl into machine, locking into place.
- Select the Ice Cream function, which will run for about 2 minutes.
- Once the ice cream has been spun, remove from the machine. Use a spoon to create a well in the ice cream that is about 1.5 inches wide and reaches to the bottom of the pint. Add chocolate chips or pieces to this well.
- Reinsert bowl into machine and use Mix In function. Once finished, remove from machine and serve.
Notes
- If your ice cream is crumbly after processing, you can use the Re-Spin function to see if that helps the texture. If not, add 1 tablespoon of milk and Re-Spin again. This usually does the trick. If necessary, you'll want to re-spin prior to adding your chocolate chips.
- Not eating the whole pint at once? Smooth the surface of the remaining ice cream in the pint and place back in the freezer. You can scoop directly from the pint next time, or send it through another Ice Cream cycle on your machine to soften it more (though this will break up your chocolate chips even more).
- If you need to make this dairy free, you can use unsweetened oat milk instead of milk, unsweetened coconut cream instead of heavy cream, and vegan cream cheese instead of regular cream cheese.
Recommended Products
As an Amazon Associate and member of other affiliate programs, I earn from qualifying purchases.


Nutrition Information:
Yield:
4Serving Size:
1/2 cupAmount Per Serving: Calories: 346Total Fat: 24gSaturated Fat: 15gTrans Fat: 1gUnsaturated Fat: 7gCholesterol: 64mgSodium: 87mgCarbohydrates: 29gFiber: 1gSugar: 28gProtein: 5g
Nutrition information is automatically calculated and is not guaranteed for accuracy.
Be sure to save this recipe to your Ninja Creami board on Pinterest!


Does it matter if I use Mint extract in place of Peppermint extract? That’s what I have. Thanks
Hi Mike! Mint extract usually is a combination of spearmint and peppermint, so the flavor will vary slightly, but it should work fine. Some people find mint extract is less potent than peppermint extract, so you may need to increase the amount used according to taste. Enjoy! 🙂
I only had Lorran regular strength peppermint oil and used just about a half teaspoon and it tasted perfect.
Thank you for sharing this, Amy! 🙂
Thank you for including non dairy options! I’m excited to try this!
I hope you enjoy it, Kim! 🙂
Can I use sugar free Skinny syrup in place of extract?
Hi Corey! I haven’t tried it myself, so I can’t say for sure, but I imagine it would work fine. I don’t know how strong the syrup is in terms of flavor (compared to the extract), so you may need to play around with how much you add to get the flavor you want. Enjoy! 🙂
This tasted DELICIOUS, however after running on “ice cream” setting on my Ninja Creami, it came out like a soft milkshake rather than hard ice cream. Any idea why this would happen. (My kids loved it anyway!)
Hi Amy! I’m so glad you enjoyed it! Sometimes the softer texture can be due to higher amounts of sugar or cream, but that shouldn’t be the case with this recipe. I wonder if it just wasn’t frozen enough? If it was in the freezer for at least 24 hours and still turned out kind of soft, maybe the temperature of your freezer was a bit warmer than typical (it should be between 9 and -7 degrees F). I hope that helps! 🙂
This too happened to me. It never froze solid and I ended up with a creamy mess after spinning.
That is very strange! If it didn’t freeze solid, then yes it will be too soft after spinning. Double-check the temp of your freezer–it should be between 9 and -7 degrees F. I hope that helps!