

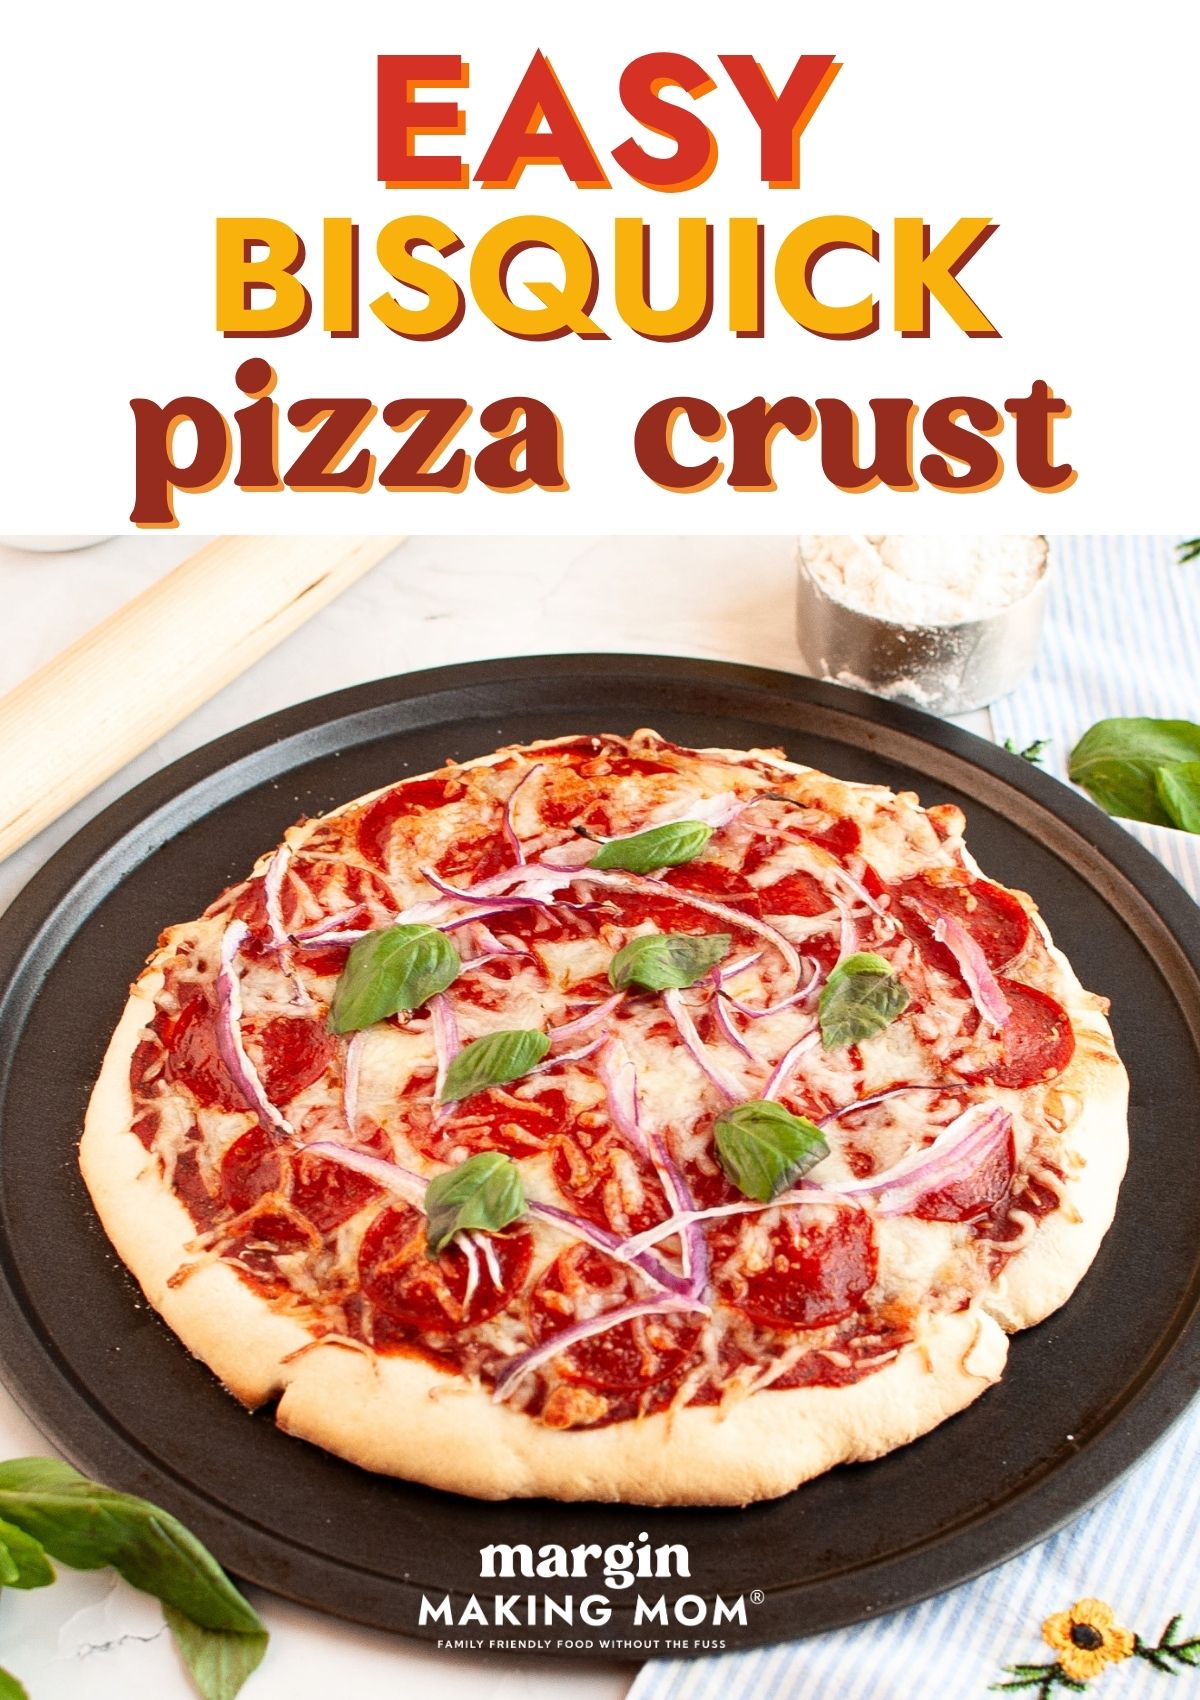
Quick & Easy Bisquick Pizza Crust
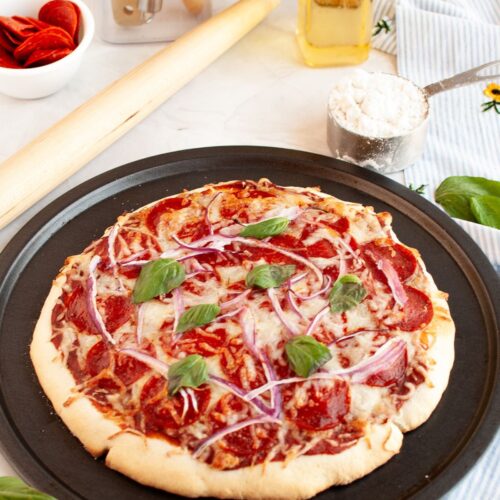
Making your pizza dough with Bisquick baking mix is an easy shortcut that helps you get dinner on the table fast.
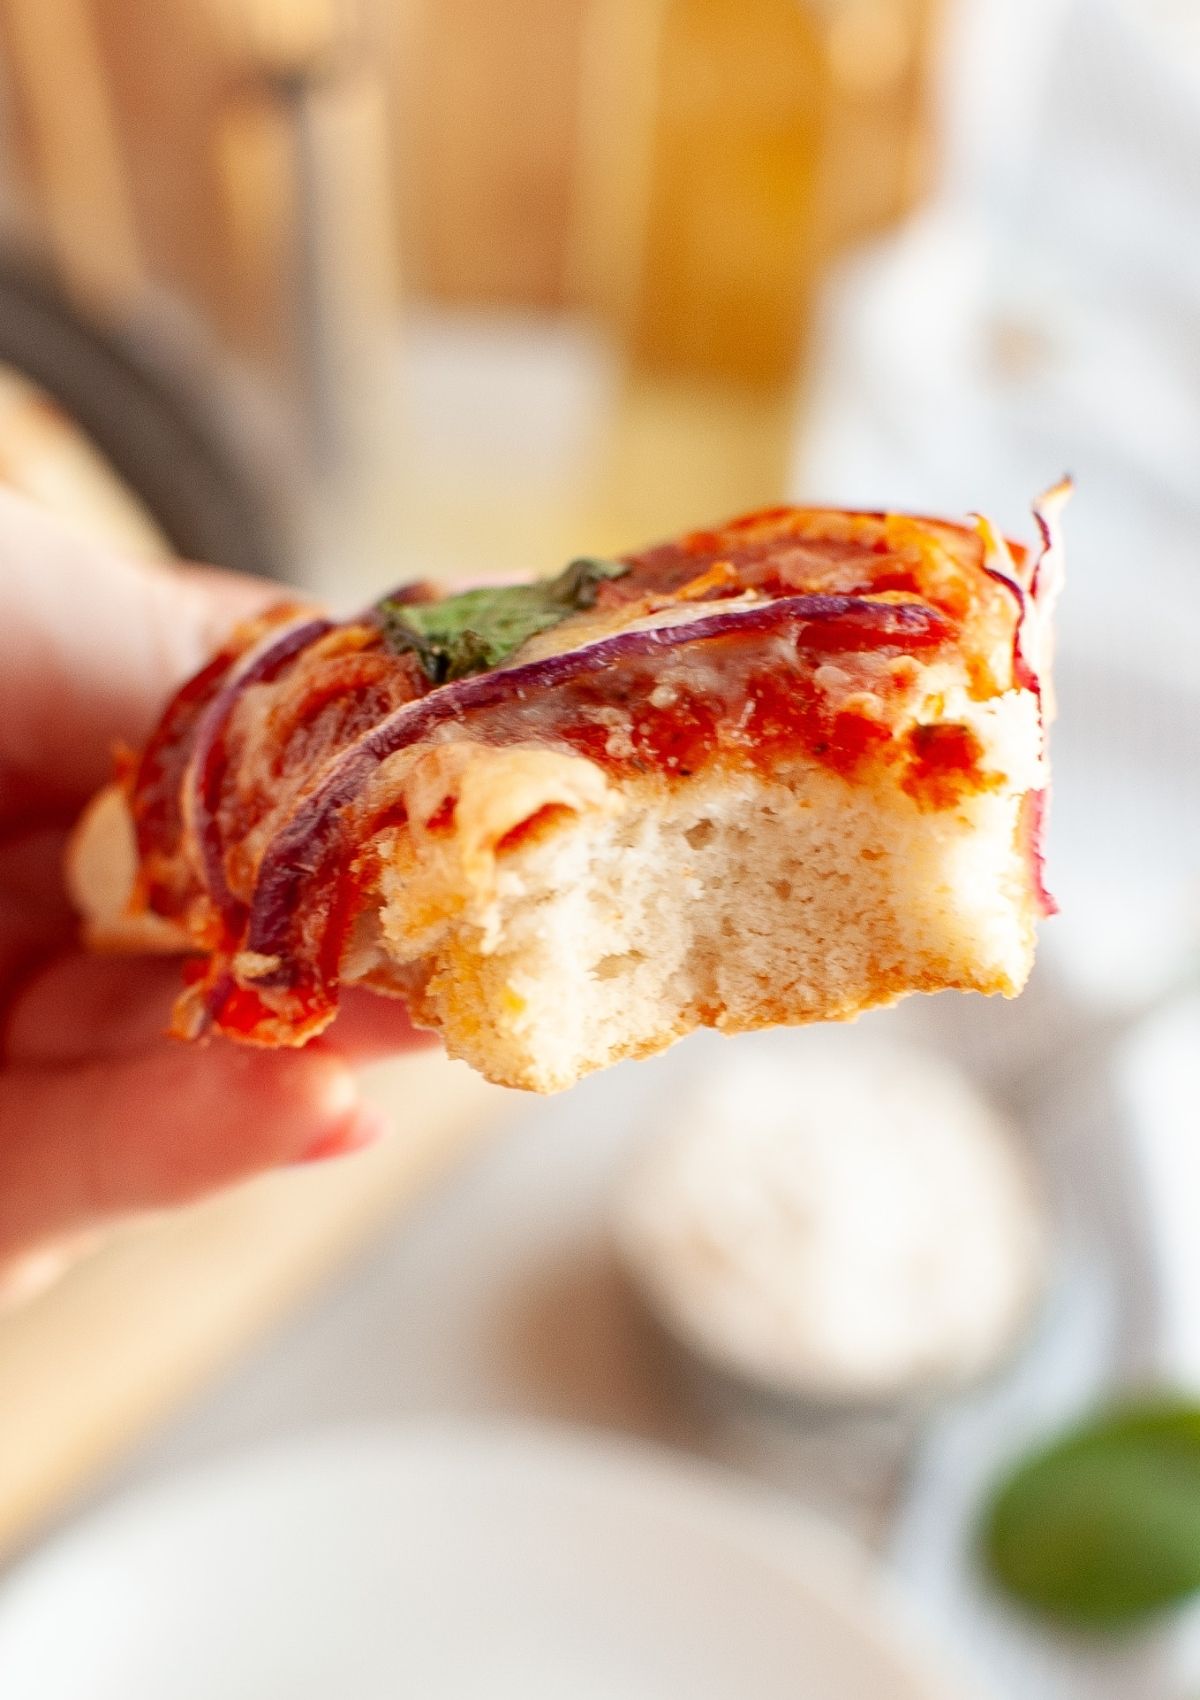
You don’t need any yeast to make Bisquick pizza crust, but you still end up with a crust that’s crispy on the outside and tender on the inside. Add your favorite toppings and you’re set!
Note: This post may contain affiliate links for your convenience. If you make a purchase, this site may receive a small commission at no additional cost to you. You can read my full disclosure policy here.
Friday night pizza night is a weekly staple in our meal plan rotation, and we almost always make the pizza ourselves.
Although I often use a yeast pizza dough, there are times when I run out of yeast or don’t have time for a longer rise.
That’s where this Bisquick pizza crust comes in! Because Bisquick has leavener already in the mix, the dough will puff up nicely without having to add any yeast.
I’ve been a fan of shortcut Bisquick recipes for a long time, and this is one that makes getting a family-friendly dinner on the table easier, which is always a win.
More Time-Saving Bisquick Favorites:
- Easy Bisquick Dinner Rolls
- Original Bisquick Dumplings
- The Best Bisquick Biscuits
- Bisquick Cinnamon Rolls
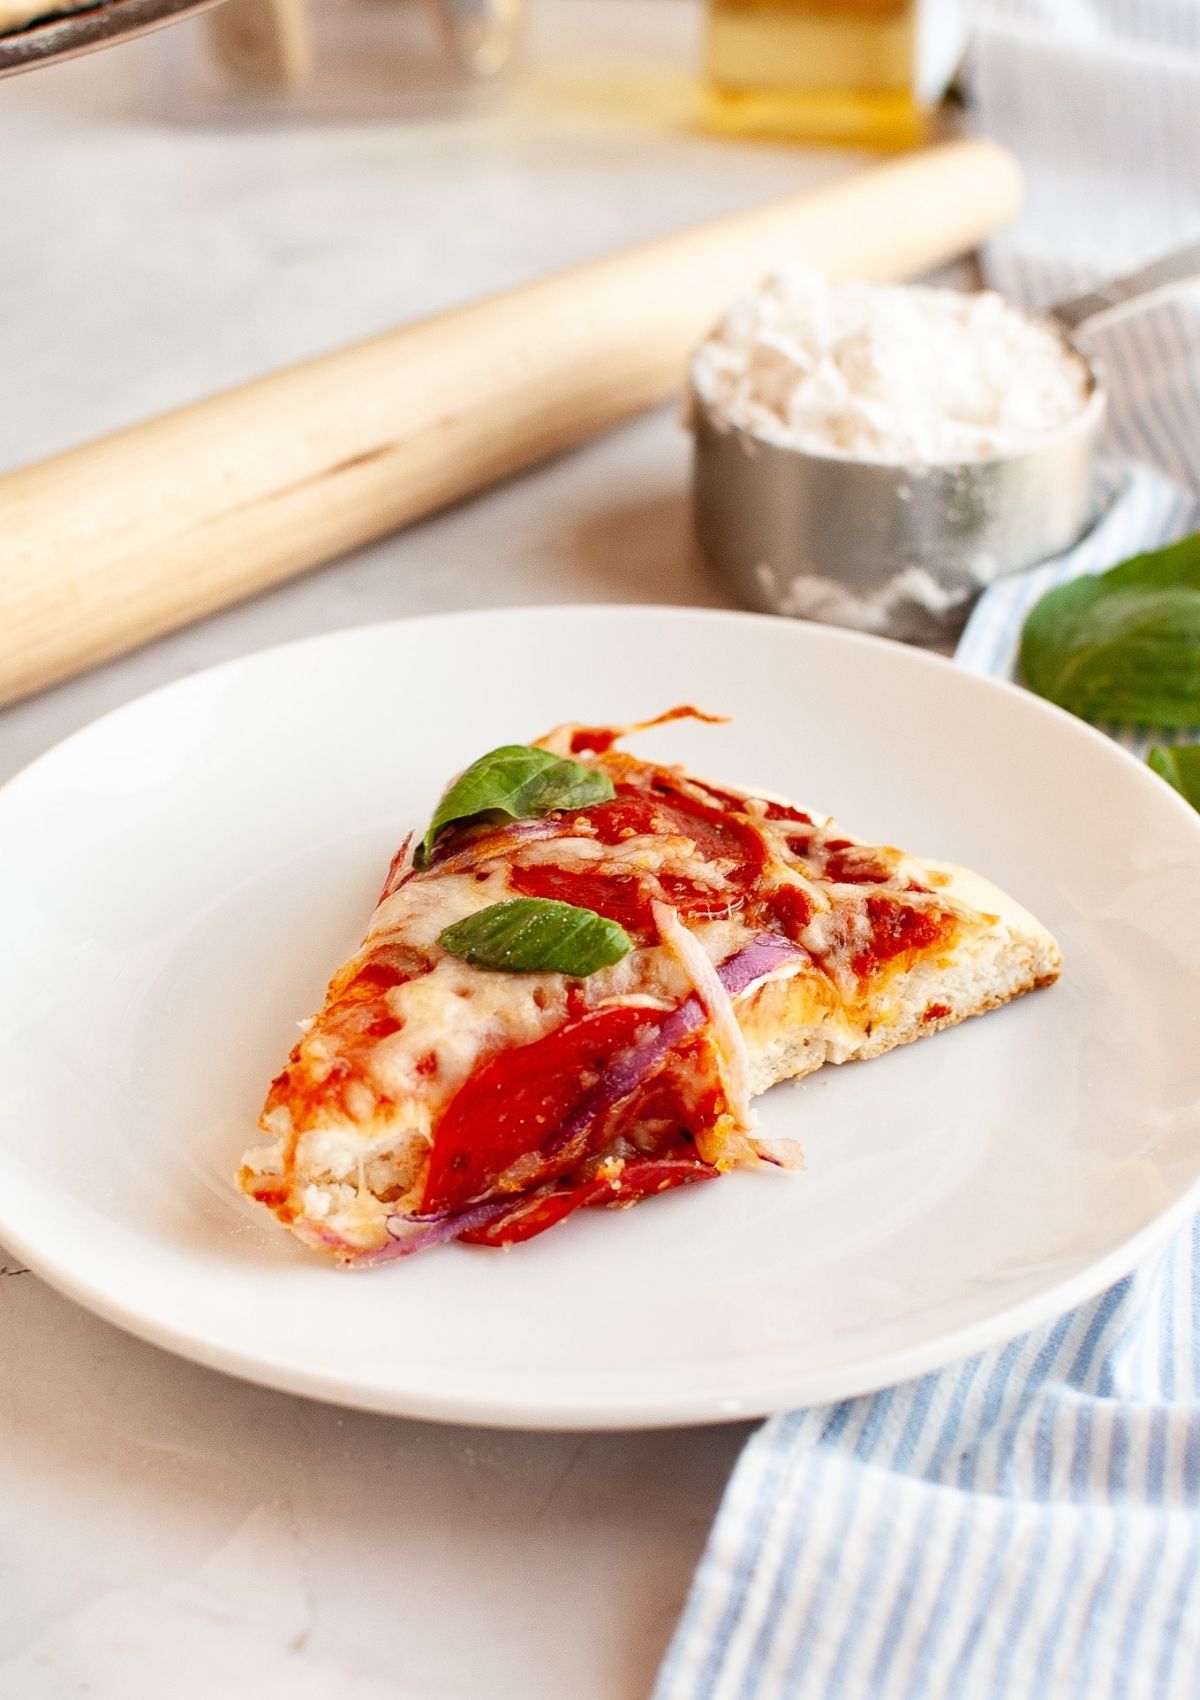
How to Make Pizza with Bisquick
It’s really easy to make this quick pizza dough.
Ingredients You’ll Need
- Bisquick baking mix
- Water
- Olive oil
- Pizza sauce, cheese, and toppings
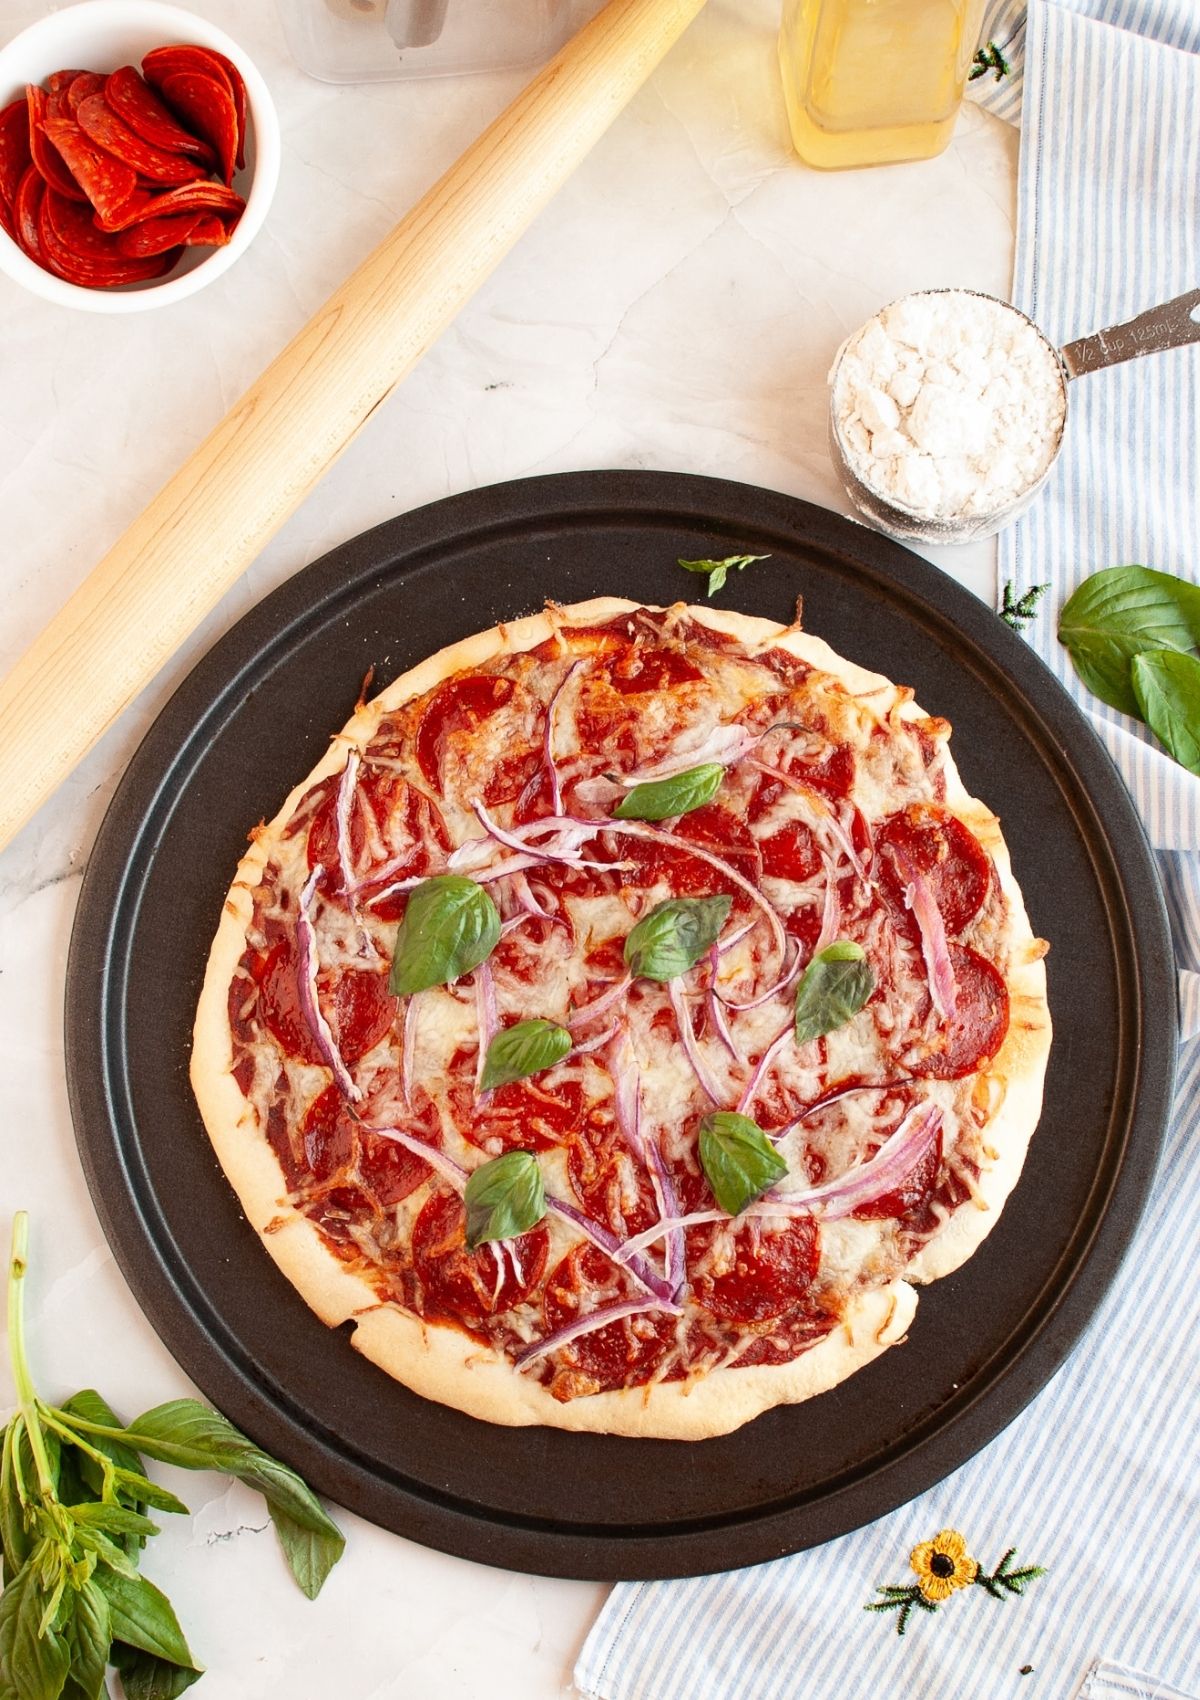
How to Make It:
Find the full printable recipe available below
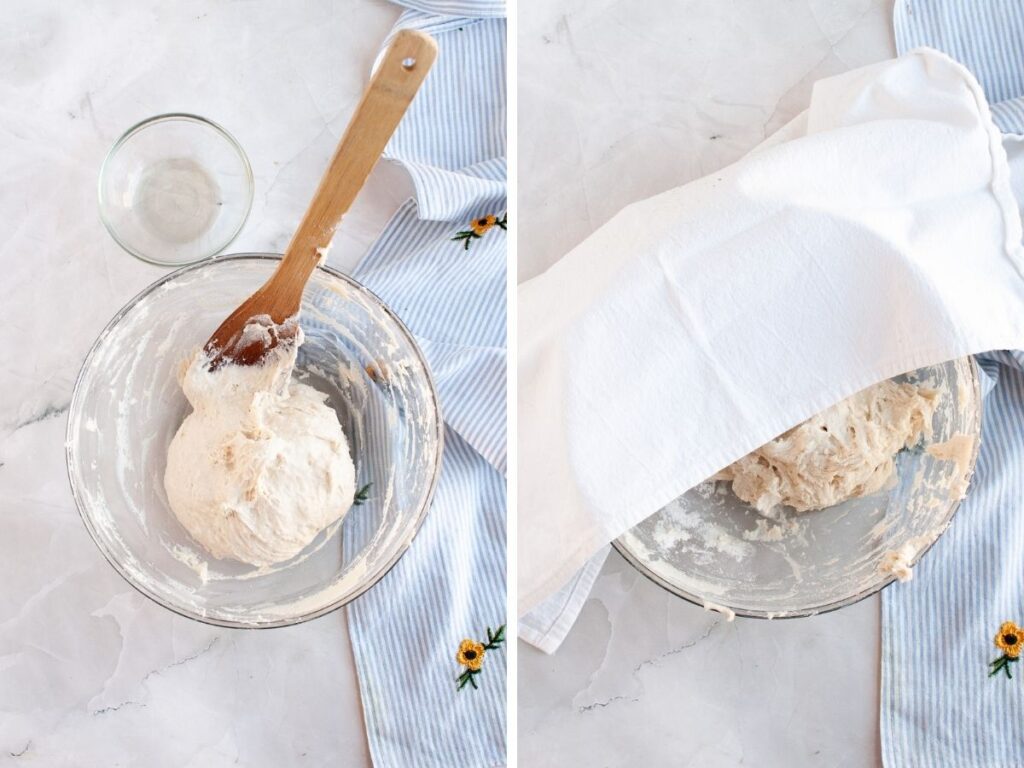
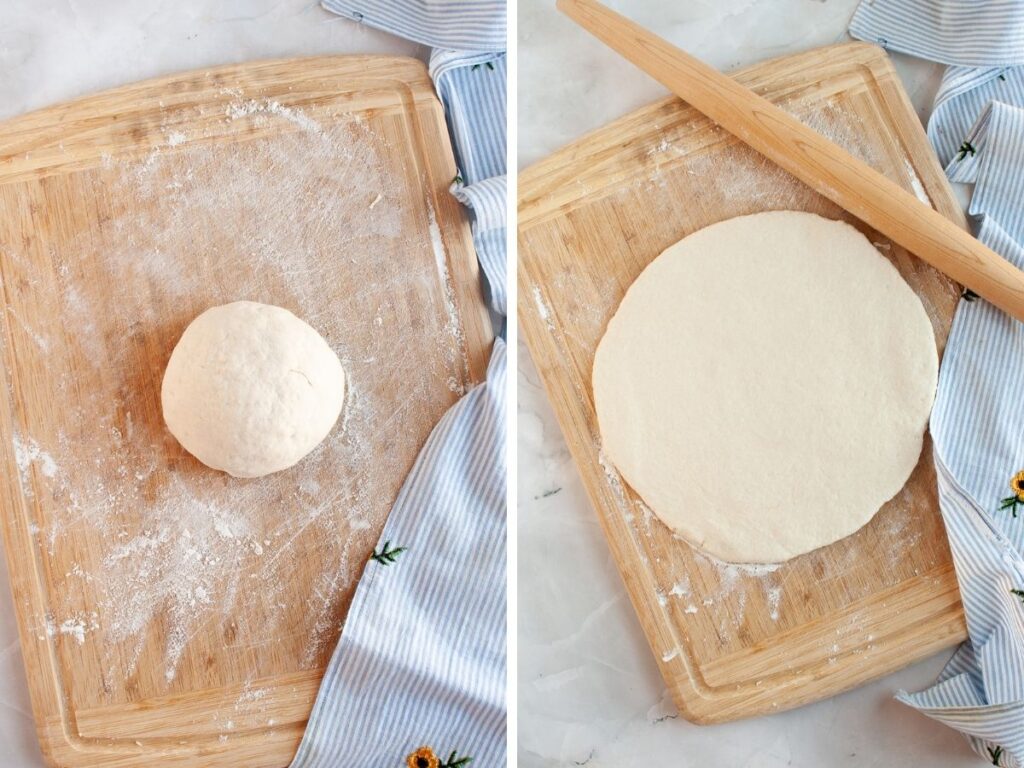
Mix the dough. First, you’ll combine the Bisquick baking mix and water. Stir until dough forms. If the dough is too sticky, add a little more Bisquick.
Coat the dough ball with olive oil, then cover with a clean kitchen towel and let rest for about 5 minutes.
Roll out the dough. Then, you’ll roll the dough out onto a floured surface (or your pizza pan), until it’s about 1/4-inch thick.
That seems thin, but the dough will puff up while baking, so go ahead and roll it thin.
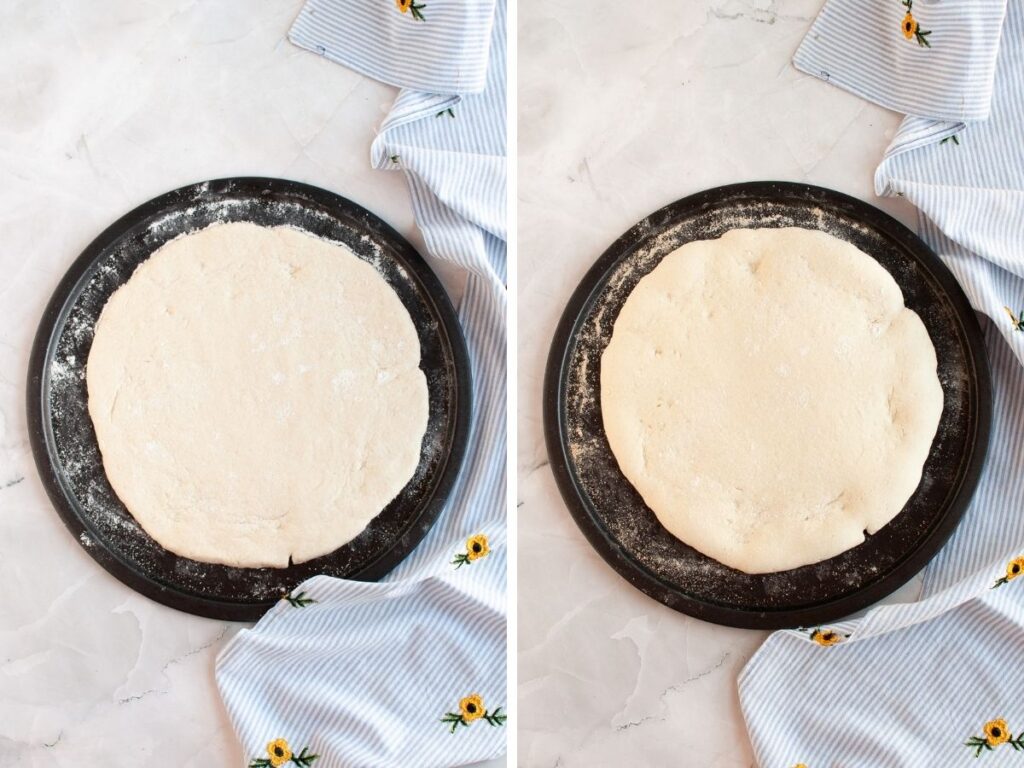
Parbake the crust. Then, you’ll partially bake (AKA parbake) the dough on a pizza pan for 5 minutes. Baking it a bit before adding the toppings helps ensure the crust won’t be soggy.
If you want, you can brush the crust with olive oil or garlic butter prior to the first bake. It’s not necessary, but it can add a little extra flavor and crispness to the crust. Totally up to you!
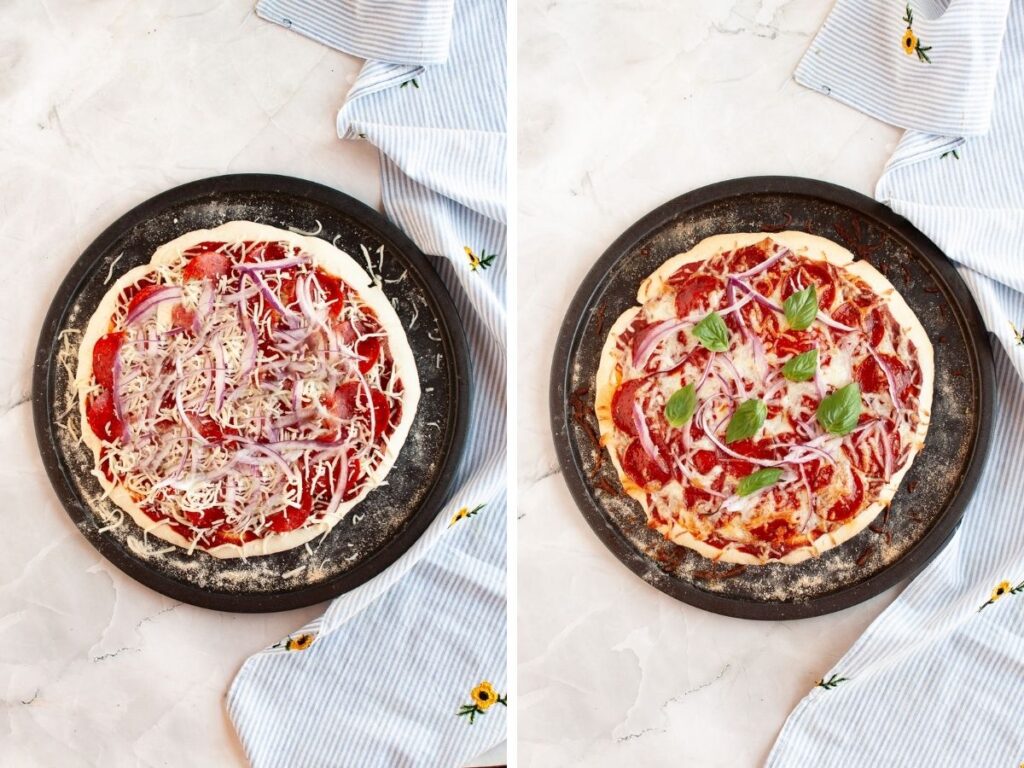
Add toppings and finish baking. Then, you’ll spread the crust with sauce, cheese, and any desired toppings.
Return the pizza to the oven and bake for another 7-10 minutes, or until the crust is light golden-brown and the cheese is melted.
Let it cool for a few minutes before slicing and serving warm. Enjoy!
Notes and Adaptations:
- If desired, you can brush the crust with olive oil or garlic butter before the first bake. You can also sprinkle with garlic powder before baking.
- Feel free to add some dried Italian herbs to the dough before rolling it out. You could use Italian seasoning, basil, or oregano.
Recommended Equipment:
Bisquick Pizza Crust
Ingredients
- 2 cups Bisquick baking mix
- 1/2 – 3/4 cup warm water
- 1 teaspoon olive oil (plus more for brushing dough, if desired)
- flour (or additional Bisquick) for rolling the dough out
- toppings, as desired
Instructions
- Preheat oven to 450F.
- In a medium-sized bowl, mix together Bisquick and ½ cup warm water until it forms a soft dough that holds its shape (not too sticky or wet). If the dough is too dry, add a little bit more water as needed.
- Shape the dough into a ball, then coat the surface of the dough lightly with olive oil.
- Cover the bowl with a clean kitchen towel and let rest for 5 minutes.
- Turn the dough out onto a lightly-floured surface and roll out to a circle that's ¼ inch thick. This may seem thin, but your pizza dough will rise nicely! (You can also roll directly on your pizza pan if you prefer)
- Transfer the pizza dough to a pizza pan or pizza stone. If desired, brush the surface of the dough with additional olive oil.
- Bake in the oven for 5 minutes.
- Remove from the oven and top with sauce, cheese, and your favorite toppings!
- Return pizza to oven and bake for another 7-10 minutes or until your cheese is melted and your crust is crisped to a nice golden-brown color.
- Remove from oven and let cool for a few minutes, then cut your pizza into your desired amount of slices and enjoy!
Notes
- If desired, you can brush the crust with olive oil before the first bake. You can also sprinkle with garlic powder before baking.
- Feel free to add dried Italian herbs to the dough if you’d like.
- The amount of water you add to the dough can be influenced by the humidity in your area. I recommend starting with 1/2 cup, then if the dough is too dry, add more, a tablespoon at a time. Similarly, if the dough is too sticky, you can sprinkle in a little bit more Bisquick.
Equipment
Nutrition
Did you try this recipe?
Don’t forget to leave a rating below and make sure to follow on Instagram and Pinterest for more easy recipes!
More Recipes for the Pizza Lover:
- Homemade School Cafeteria Pizza
- Air Fryer Naan Pizza
- Instant Pot Pizza Sloppy Joes
- Instant Pot Pepperoni Pizza Tortellinia
- West Virginia Pepperoni Rolls
Don’t forget to save this recipe to your easy dinner ideas board on Pinterest!









Easy family-friendly recipes in your inbox!