

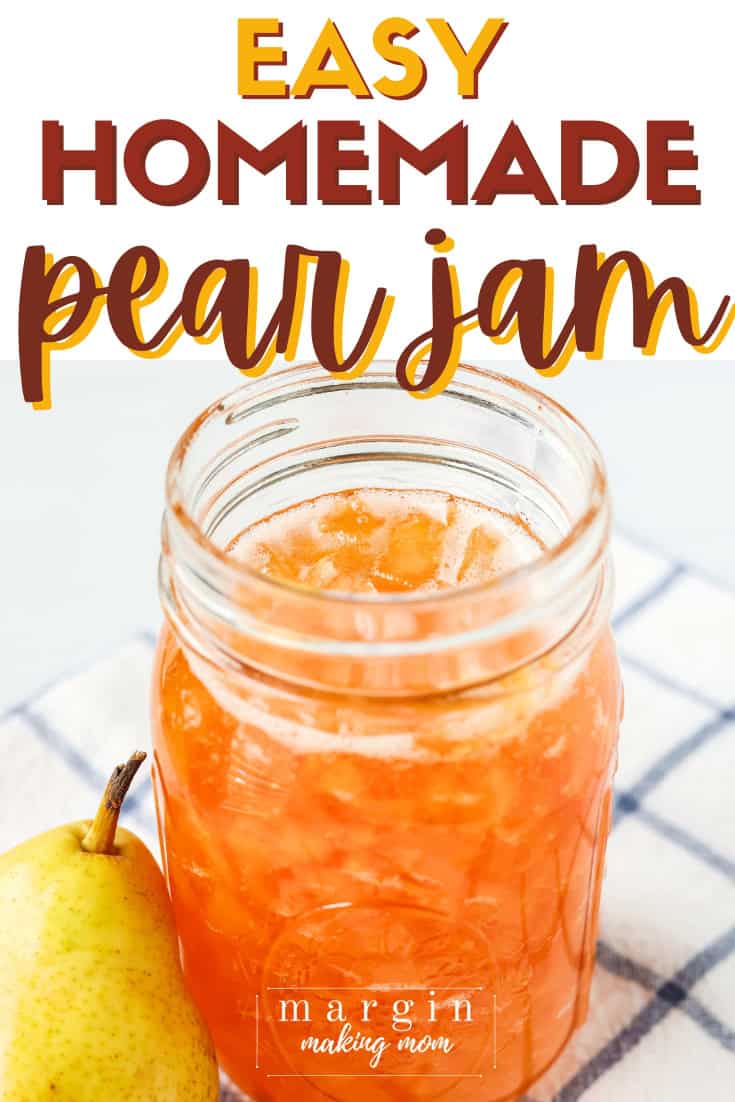
Simple Homemade Pear Jam
Sweet and simple pear jam, made with just three ingredients, is perfect for spreading on toast or adding to your favorite dishes.
This homemade pear jam is a delightful way to capture the essence of fall, bringing a touch of sweetness to your breakfast or snack.
Note: This post may contain affiliate links for your convenience. If you make a purchase, this site may receive a small commission at no additional cost to you. You can read my full disclosure policy here.
Fall is one of my favorite times to get creative in the kitchen.
Apples, pears, and pumpkins are everywhere, and I love finding ways to bring those seasonal flavors into my cooking.
Pear jam is one of those recipes that I turn to when pears are in abundance—or when I simply can’t resist fresh pears at the market.
There’s something so satisfying about capturing the sweet, delicate flavor of pears in a jar.
Homemade jam makes preserving the season so easy and I can enjoy the coziness of autumn well into the winter months.
With just three ingredients, it’s not only easy to whip up, but it also allows the natural flavor of the pears to shine through.
Plus, it keeps in the fridge for a few weeks (without actually canning), so you can savor that homemade pear jam even after the leaves have fallen.
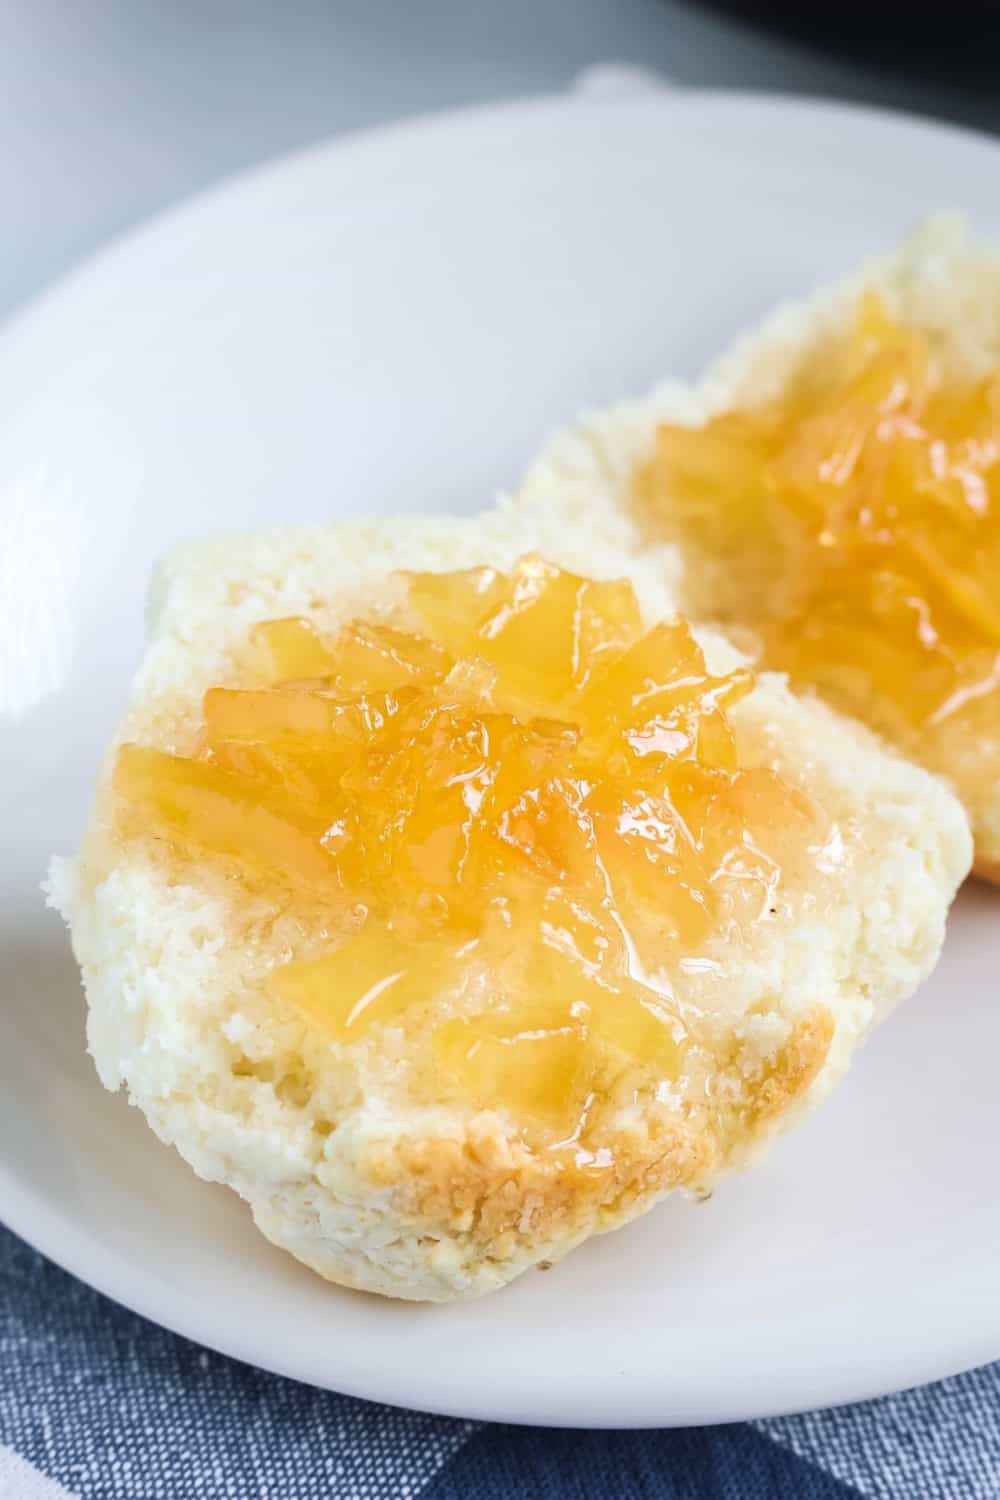
I love having a stash of this jam in my fridge, ready to be spread on toast or French bread, slathered onto handmade biscuits, Bisquick biscuits, or dinner rolls, or stirred into oatmeal.
More Delicious Pear Recipes to Try:
- Best Ever Pear Bread
- Pear Muffins with Streusel Topping
- Easiest Fresh Pear Cobbler
- Apple Pear Butter
- Old Fashioned Pear Cake
- No Peel Fresh Pear Cake
- Pear Apple Sauce
- Pear Coffee Cake
- Fresh Pear Crumble
Tips for Making Homemade Pear Jam
Whether you’ve got a ton of pears to use up or you just can’t resist making a batch of pear jam every fall, this recipe is a must-try.
If you’re new to jam-making, don’t worry—this recipe is straightforward and beginner-friendly.
Here are a few tips to keep in mind!
- Choose Slightly Under-ripe Pears: Slightly underripe pears have more natural pectin, which helps the jam set better. If your pears are too ripe, consider using them for pear butter instead.
- Dice Pears Finely: The pear pieces won’t break down much during cooking, so dicing them finely ensures a smoother texture in the finished jam.
- Macerate for Maximum Flavor: Let the pears and sugar sit together for 12-24 hours before cooking. This step allows the pears to release their juices, resulting in a more flavorful jam.
- Use a Candy Thermometer: To achieve the perfect consistency, cook the jam until it reaches 220 degrees Fahrenheit. A candy thermometer can help you closely monitor the temperature.
- Stir Constantly: As the jam cooks, stir frequently to prevent it from sticking to the pot and burning.
- Expect Thickening After Cooling: The jam will continue to thicken as it cools, so don’t worry if it seems a bit runny when you remove it from the heat.
- Store Properly: Once cooled, store the jam in airtight jars in the refrigerator. It should keep well in the fridge for up to three weeks (or freeze for up to a year). No boiling water baths required!
How to Make Pear Jam
It’s really easy to make this simple spread.
Ingredients You’ll Need:
- Fresh Lemon Juice
- Pears (slightly underripe)
- Granulated Sugar
How to Make It:
(Full printable recipe card is available below)
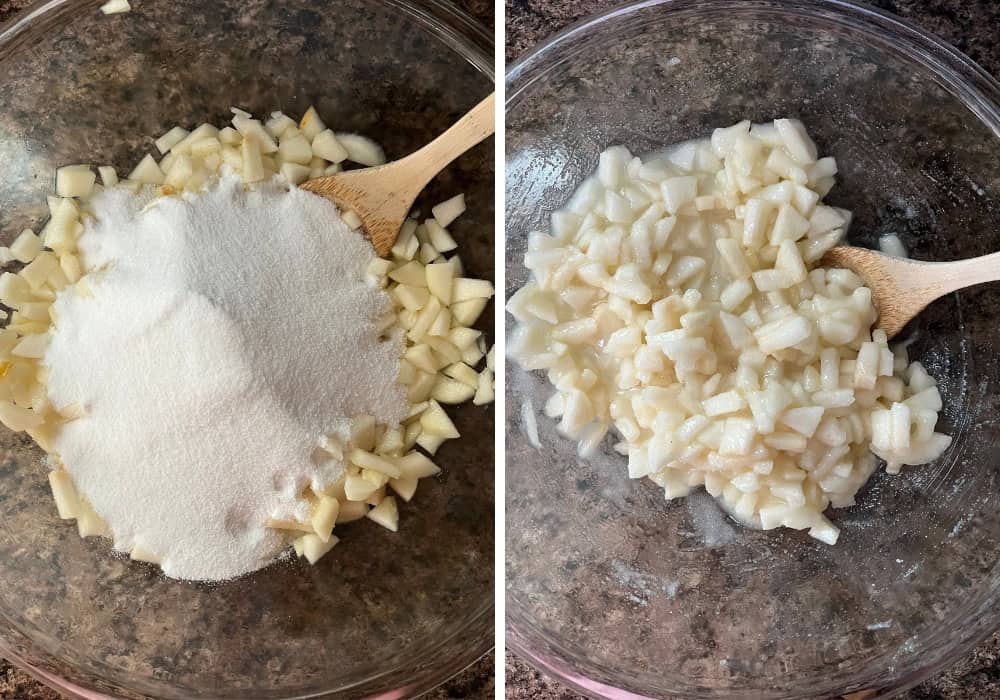
Macerate the pears. First, you’ll toss the diced pears with lemon juice then mix with the sugar.
Cover with plastic wrap and let sit at room temperature for 12-24 hours (I let mine sit overnight). This will allow the pears to macerate and release their juices.
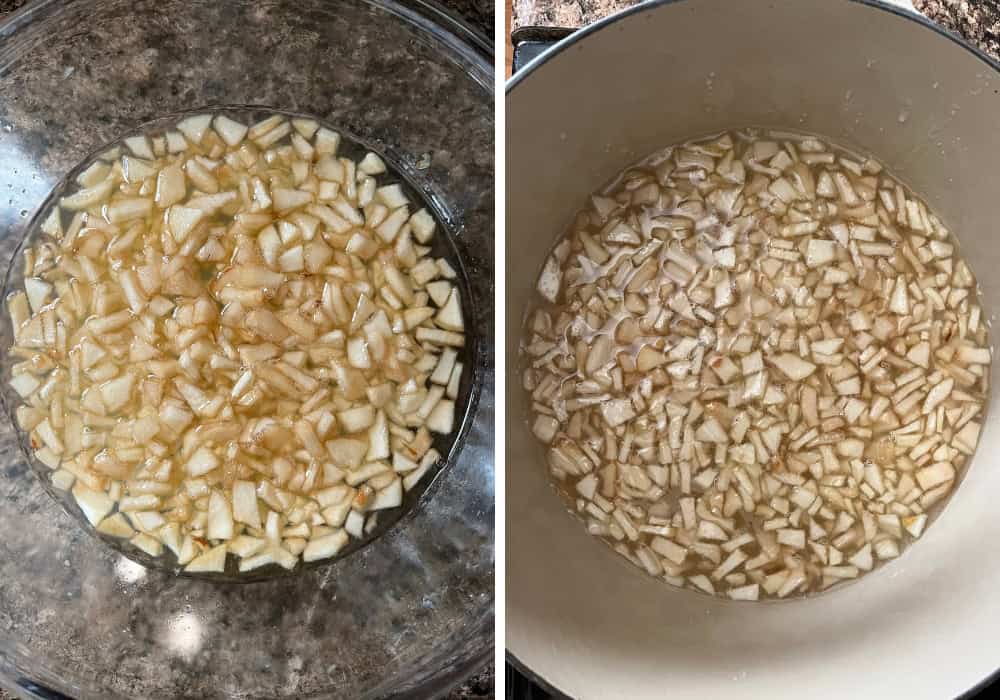
Boil the pears. Next, you’ll stir well and pour the mixture into a large stockpot or Dutch oven (you want plenty of space to accommodate bubbling and foaming).
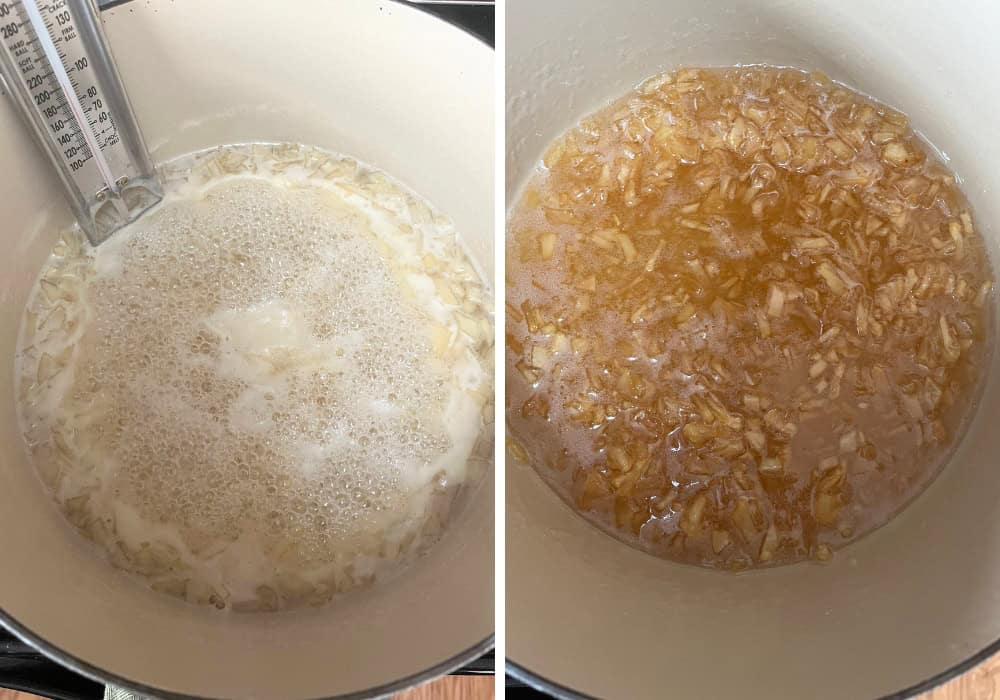
Cook over medium-high heat and bring the mixture to a boil and continue cooking, stirring frequently, for about 10 minutes.
Gel the mixture. Then, you’ll turn the heat down to medium.
Continue cooking, stirring almost constantly, until the mixture reaches a temperature of 220F (I use a candy thermometer clipped to the side of the pot).
This is the temperature required for gelling to occur.
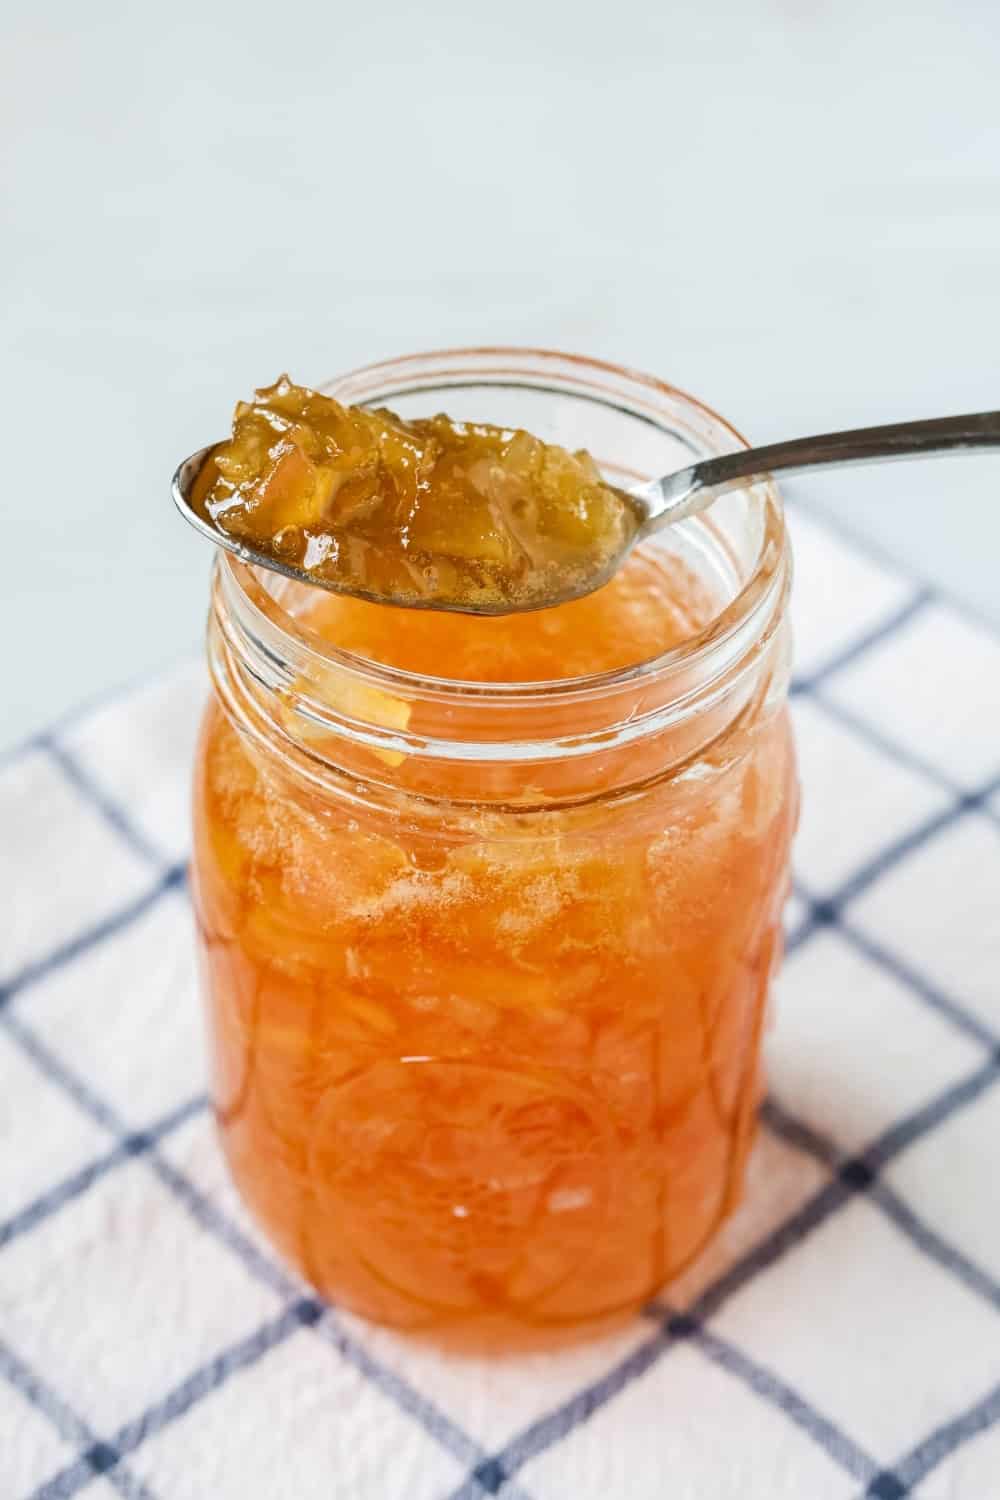
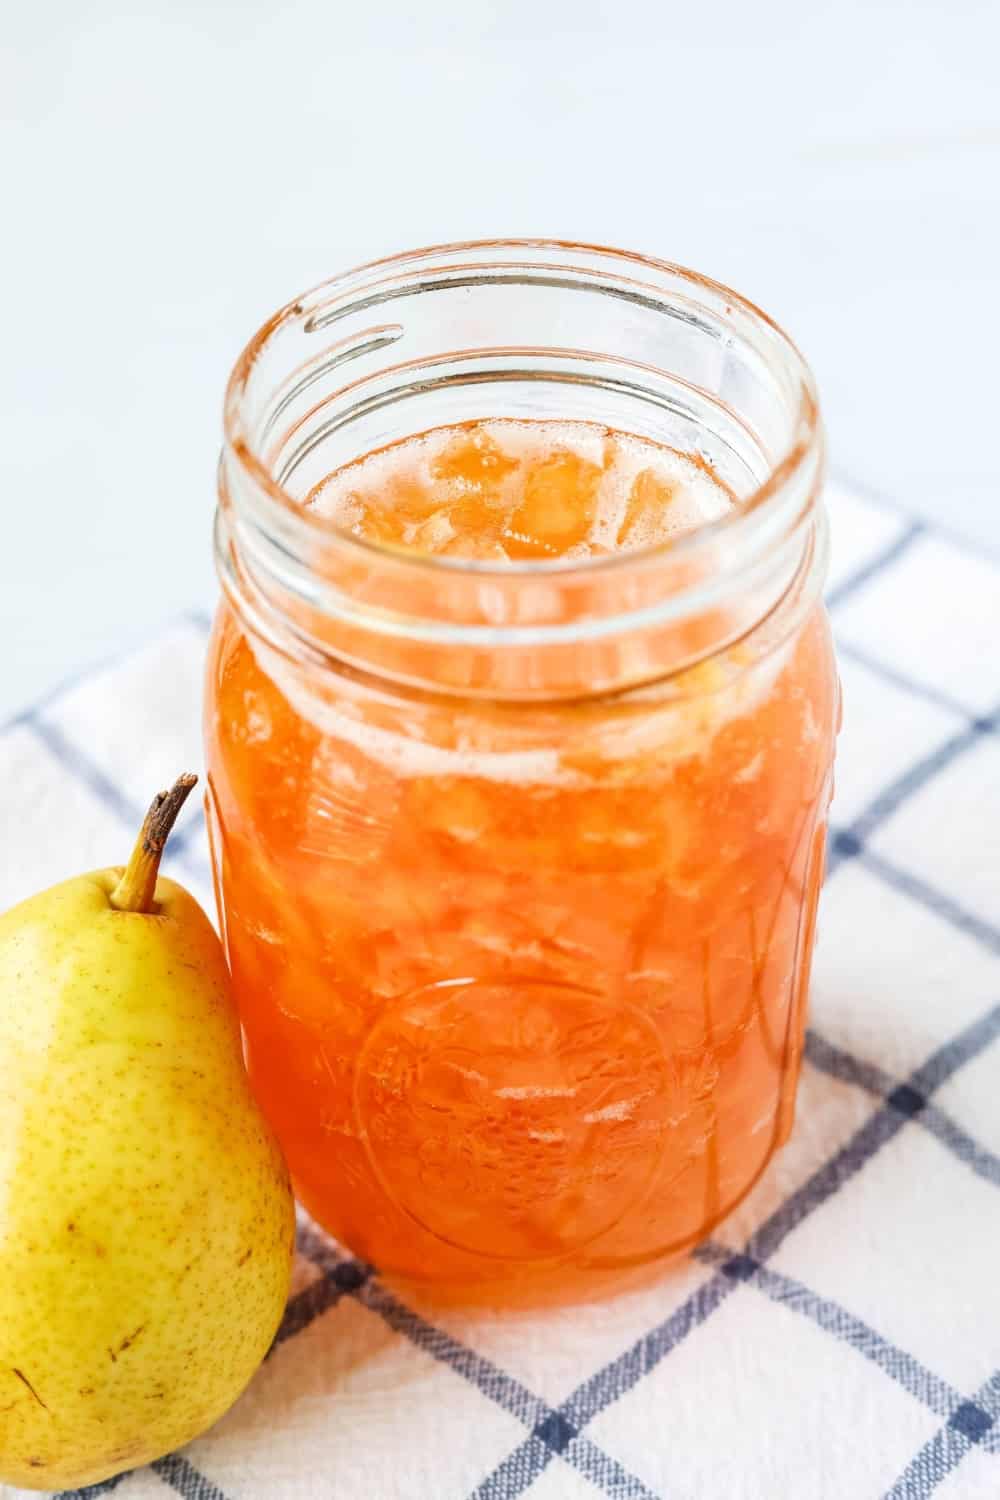
Transfer to jars. Last, you’ll remove the pot from the heat. Ladle jam into prepared jars and close lids.
Allow to cool completely, then refrigerate for up to 3 weeks or freeze for up to a year.
Notes and Adaptations:
- I dice my pears pretty finely, as the pieces will not get much smaller during cooking.
- If you have overripe pears, I recommend making my easy pear butter instead of jam, as underripe pears work best for this jam.
- Keep in mind that the jam will thicken more as it cools. So even if it doesn’t look thick enough when the temperature reaches 220F, go ahead and remove it from the heat and let it thicken.
Recommended Equipment:
- Johnny Apple peeler (I use this to peel, core, and slice my pears, then I dice the slices)
- Dutch oven or stock pot (you want a pot big enough to allow room for the mixture to bubble and foam)
- Clip-on candy thermometer
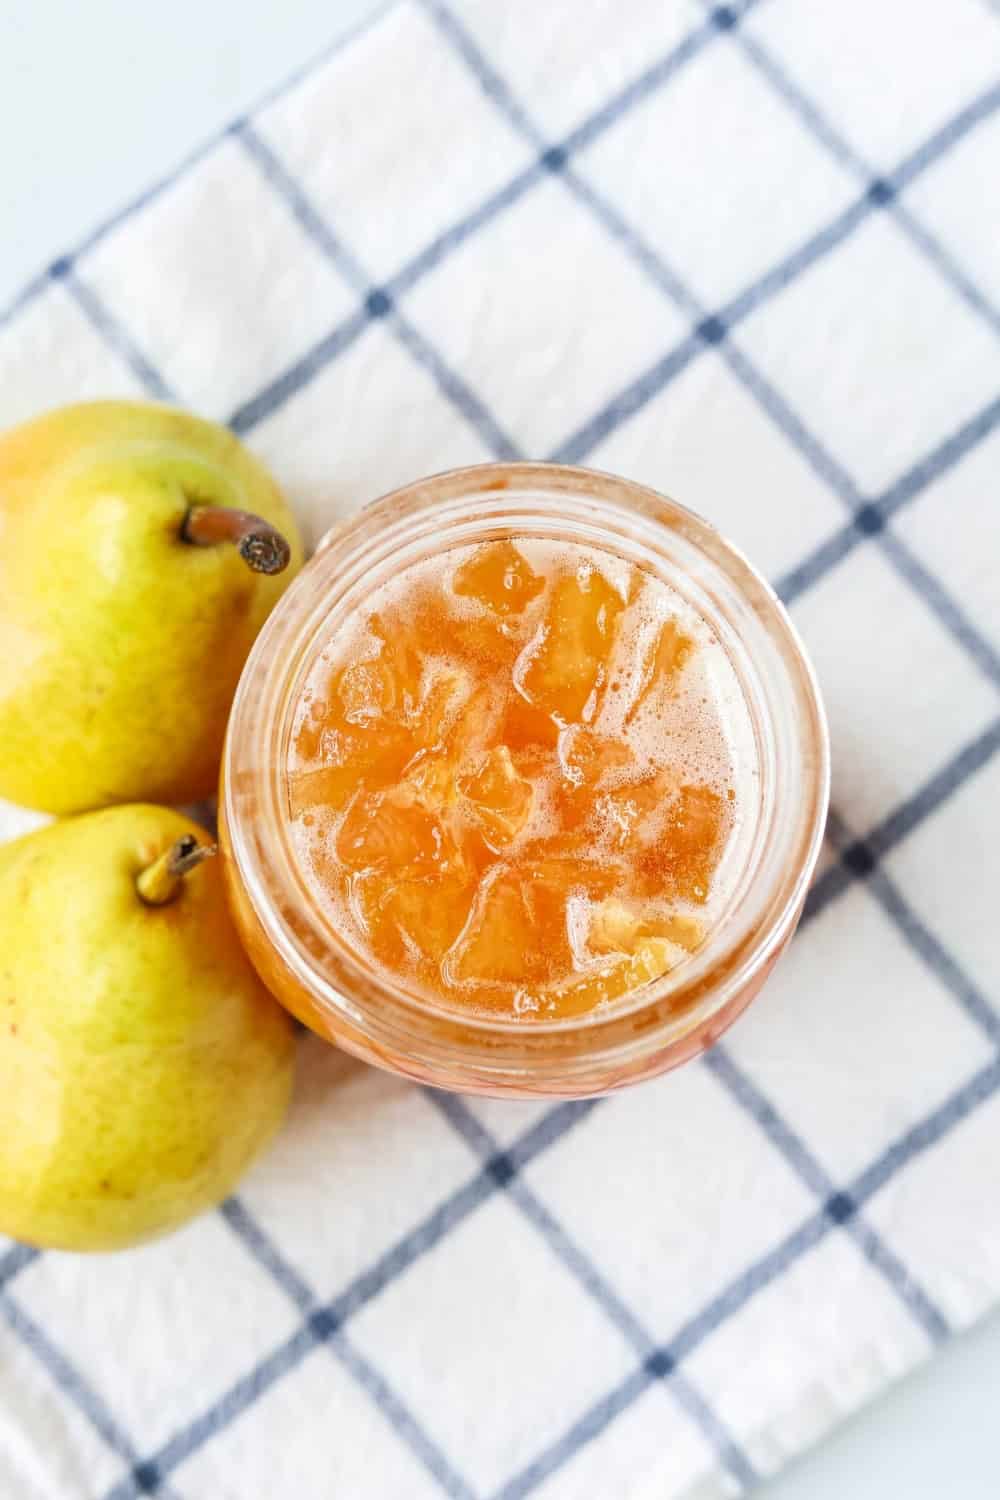
Homemade Pear Jam
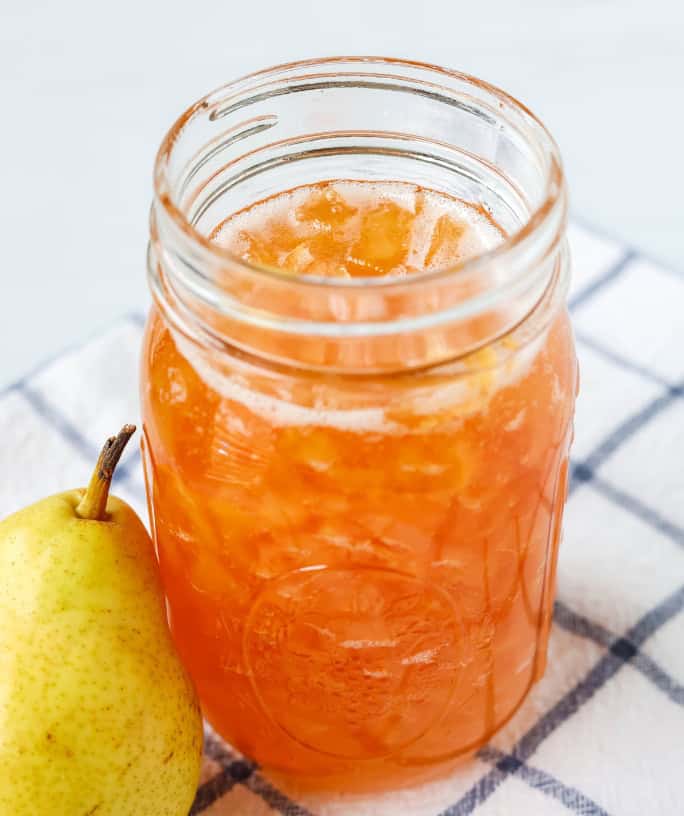
Making homemade pear jam is a delicious way to savor the sweetness of the fruit year-round. It's delicious spread on biscuits or toast, dolloped on pancakes, or swirled into oatmeal!
Ingredients
- 1/4 cup fresh lemon juice
- 3 lbs pears, peeled and diced (slightly underripe pears are best!)
- 3 cups granulated sugar
Instructions
- Add lemon juice to a large mixing bowl, then stir in the diced pears to coat.
- Add the sugar to the mixture, stirring well to incorporate.
- Cover with plastic wrap and let sit at room temperature for 12-24 hours (I let mine sit overnight). This will allow the pears to macerate and release their juices.
- After the pears have released their juices, stir the mixture well (some sugar may have accumulated at the bottom of the bowl).
- Pour the mixture into a large stockpot or Dutch oven. Cooking over medium-high heat, bring the mixture to a boil and continue cooking, stirring frequently, for about 10 minutes.
- Turn the heat down to medium. Continue cooking, stirring almost constantly, until the mixture reaches a temperature of 220F (I use a candy thermometer clipped to the side of the pot). This is the temperature required for gelling to occur.
- Remove pot from heat. Ladle jam into prepared jars and close lids. Allow to cool completely, then refrigerate for up to 3 weeks, or freeze for up to a year..
Notes
- I dice my pears pretty finely, as the pieces will not get much smaller during cooking.
- Pears that are slightly underripe contain more pectin, so they are recommended for this recipe. If you have overripe pears, I recommend making my easy pear butter instead!
- Keep in mind that the jam will thicken more as it cools. So even if it doesn't look thick enough when the temperature reaches 220F, go ahead and remove it from the heat and let it thicken.
Recipe adapted from USA Pears
Recommended Products
As an Amazon Associate and member of other affiliate programs, I earn from qualifying purchases.


Nutrition Information:
Yield:
12Serving Size:
2 tablespoonsAmount Per Serving: Calories: 259Total Fat: 0gSaturated Fat: 0gTrans Fat: 0gUnsaturated Fat: 0gCholesterol: 0mgSodium: 2mgCarbohydrates: 68gFiber: 4gSugar: 61gProtein: 0g
Nutrition information is automatically calculated and is not guaranteed for accuracy.
More Homemade Jam Recipes:
- No-Peel Peach Jam
- Instant Pot Strawberry Jam
- Instant Pot Pineapple Jam
- Strawberry Rhubarb Freezer Jam
Be sure to save this recipe to your favorite Pinterest board!


Was wondering if it’s ok to can this recipe. Like water bath to seal?
Hi Shayla! I haven’t personally canned this recipe, but I think it should be fine as long as you’re following the proper procedure for water bath canning. This pear preserves canning recipe may be helpful as well: https://nchfp.uga.edu/how/make-jam-jelly/preserves/pear-preserves/
Thank you for the pear jelly recipe wanting it to be more like pear preserves . Any suggestions
Scott Knight
From Kentucky
Hi Scott! This is more of a jam than jelly, since it’s made with pieces of fruit instead of just strained fruit juice. If you want it to be more like preserves instead of jam, you could try using slightly larger chunks of pears and maybe cooking it for just a little less time, so it’s more of a “loose” consistency with bigger pieces of fruit. I hope that helps! 🙂
Can this be canned in water bath to store out of the fridge?
Hi Carla! I haven’t tried canning this particular recipe. Although I’ve used water bath canning with other jams, I’m not enough of an expert to know if this amount of lemon juice provides enough acid for safe preservation. You might try contacting your local county agriculture extension office to have them weigh in. You can find them here: https://www.pickyourown.org/countyextensionagentoffices.htm#google_vignette I hope that helps! 🙂